API Element
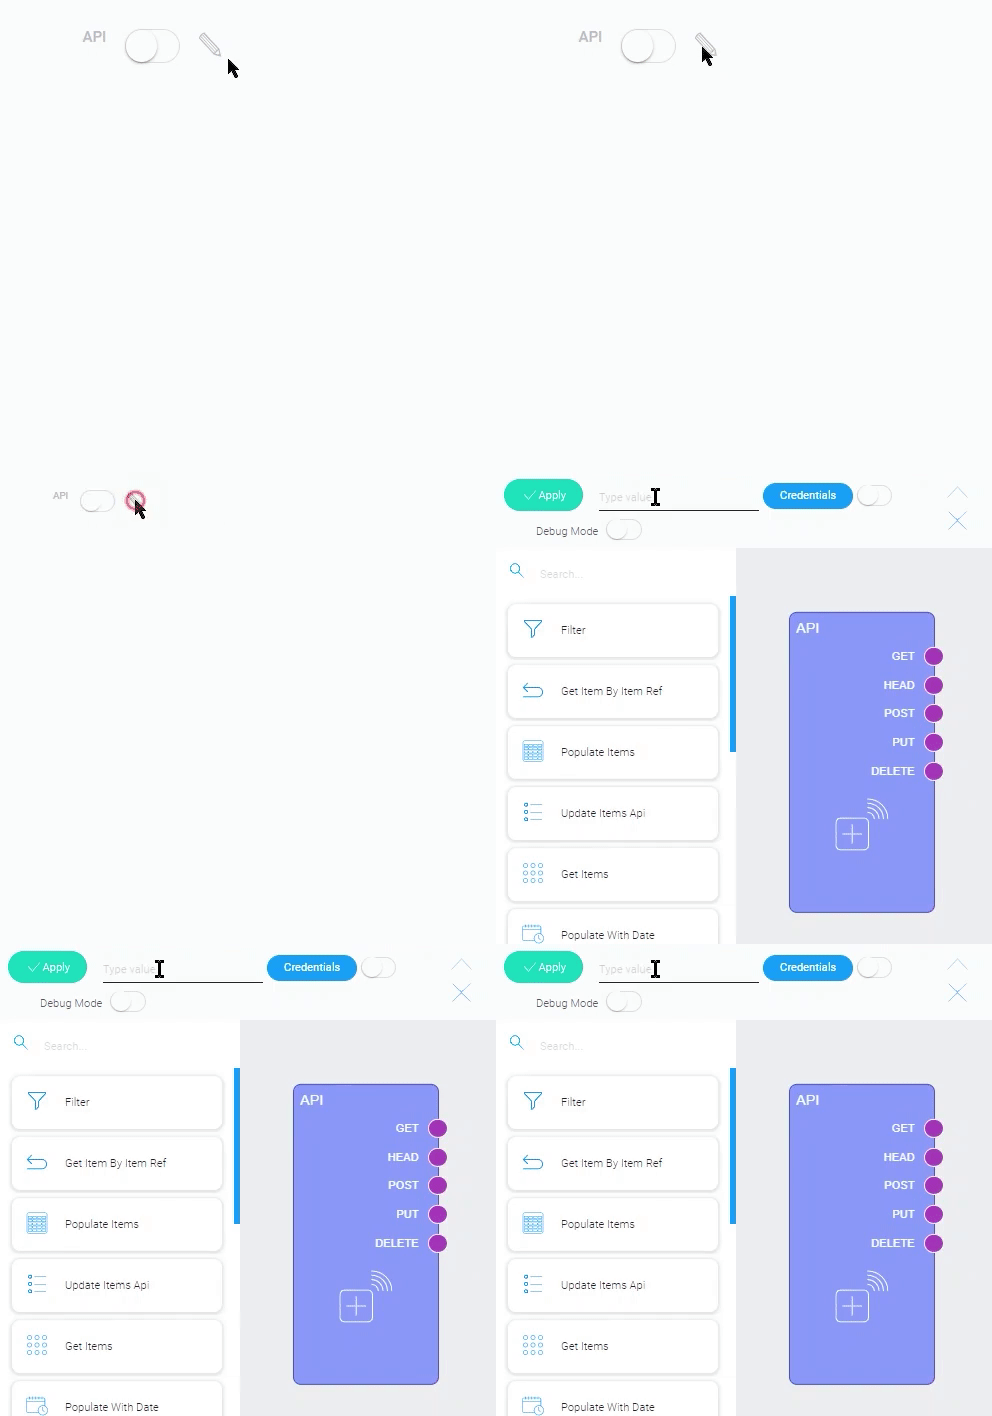
API Element is a gh-element that allows you to send requests to certain endpoints. Its work is based on automation. The API processes the request according to the node scheme. You can also configure each of these nodes, and add or remove any of them. Therefore, it has a separate automation settings window that opens when the user clicks on the pencil button near the switch.

After opening the API workspace, you will see a list of nodes and an area for creating a node scheme, and above them are important functions such as debug mode, credentials, and an activation button. You can read about automation in the Automation Overview. Here we also mention two unique nodes that are available only in the API element. They are the default nodes for API:
- API allows you to select the request method.
- Response allows you to get a response to a request in a specific format.
Due to the unique automation settings, you can create an unlimited number of different APIs in one application. Namely, a new item is required for each endpoint.
The API also has its own endpoint that consists of the base URL:
https://gudhub.com/api/services/prod/api/30192/
and the unique route entered by the user:
test_route
The base URL is the same for all items in the application. Which API to send the request to is determined by a custom route.
The user can copy the endpoint in the pop-up window that opens after clicking on the Credentials button. But before that, he/she needs to enter the route in the field beside this button.

After configuring a scheme and an endpoint you need to activate your API. There is a switch that allows you to do that. It is located:
-
In the API element itself

-
Next to the Credentials button

And the last part of the API functionality is Debug Mode. Allows you to create a template of mocks and customize the node layout. But before that, you must activate the debug mode using the switch. Then the debug settings will appear.

How to use the debug mode you can read in the Automation Settings. The API element has a unique set of mock settings.

| Name | Description |
|---|---|
| Name | allows you to enter the name of the template |
| Output | allows to select the request method; five methods sre available: GET, HEAD, POST, PUT, DELETE |
| Settings | allows to enter the mock data |
| Edit | allows to edit or delete the mock template |
Functional Characteristic
As you have already understood, the API element allows the user to send requests to the created endpoints that will be processed by the scheme of the nodes. This element has a very wide range of applications, so we have divided the examples by the available request methods.
Note that the API accepts the requests in accordance with the request method selected in the API node.
GET
The GET method allows you to get the data from the required resource. Use the API element to get any data from the body of the GET requests.
HEAD
Such requests are the same as GET requests, but they do not have a body. For example, you can count the number of views of an article by counting HEAD requests.
POST
The POST is designed for sending data to the server. That allows you to add or update any data on the server. You can configure the API so that it requires an access word before updating data.
PUT
The current method is used to create or replace any data on the server. For this method, you can track data updates and record the date of the update.
DELETE
The last method DELETE is used to delete required data from the server. The example here is quite simple. More precisely, any request aimed at deleting data may have this method.
Element Options
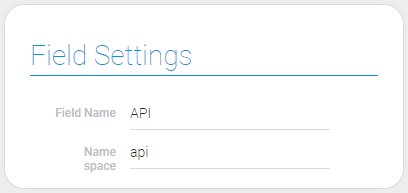
This element can only be configured using the standard field settings.

Element Style
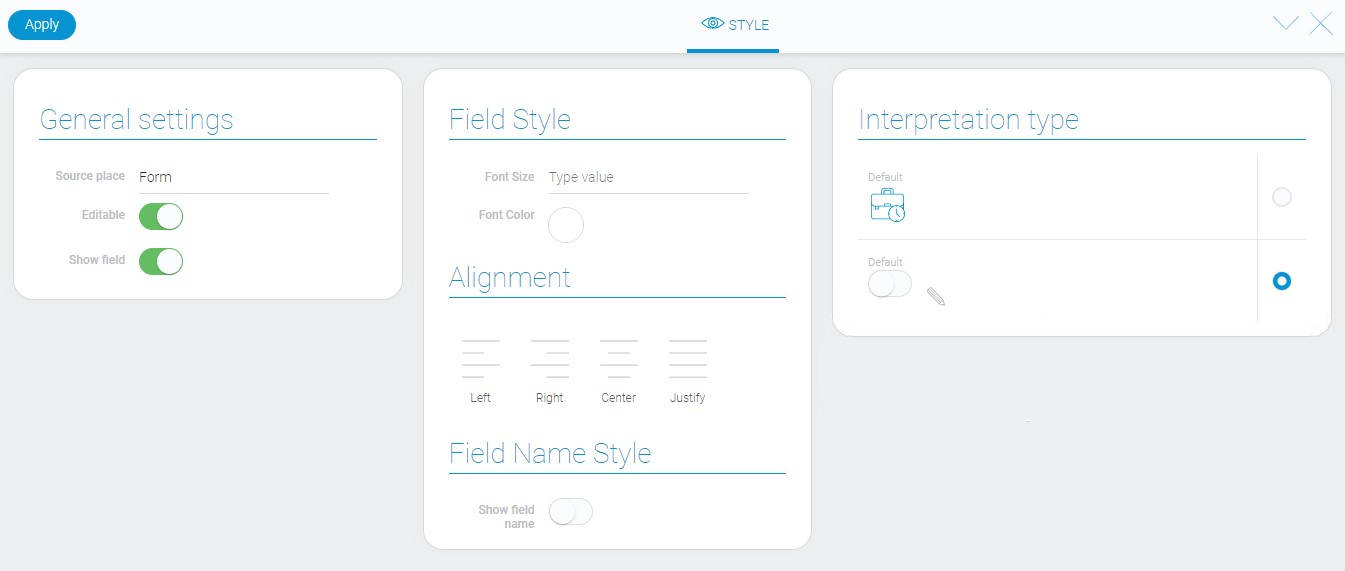
The API element has a fairly simple appearance that can be customized with a set of standard options. Its interpretation types are described below.

Filtration
This filter cannot be filtered out.
Interpretation
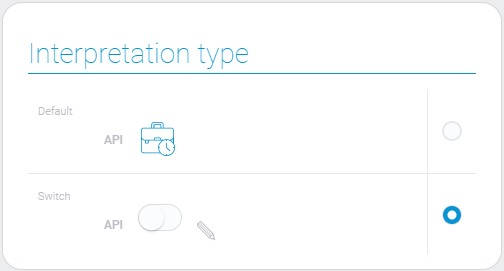
The current element has only two interpretation types.

Default
The default interpretation type displays the element as an icon.
Switch
Another type allows you to display the element as a radio button with a pencil button next to it.
Value Format
The current element does not contain any value.
Data Model
The current element has quite a small data model:
{
    "data_model": {
        "automation": {},
        "interpretation": []
    }
}
| Name | Type | Description |
|---|---|---|
| automation | object |
contains all configured automation settings |
| interpretation | array |
contains all interpretation types |

 Edit document