
Setting Up IP Telephony in Twilio for GudHub CRM #
IP telephony in GudHub allows you to handle calls directly in your CRM: make and receive calls, assign phone numbers to system users, and work with customer and lead contacts.
To set up telephony, you need to configure a SIP Trunk in Twilio and connect it to your GudHub profile. Below is a step-by-step guide to setting up telephony in GudHub CRM.
Setting Up a SIP Trunk #
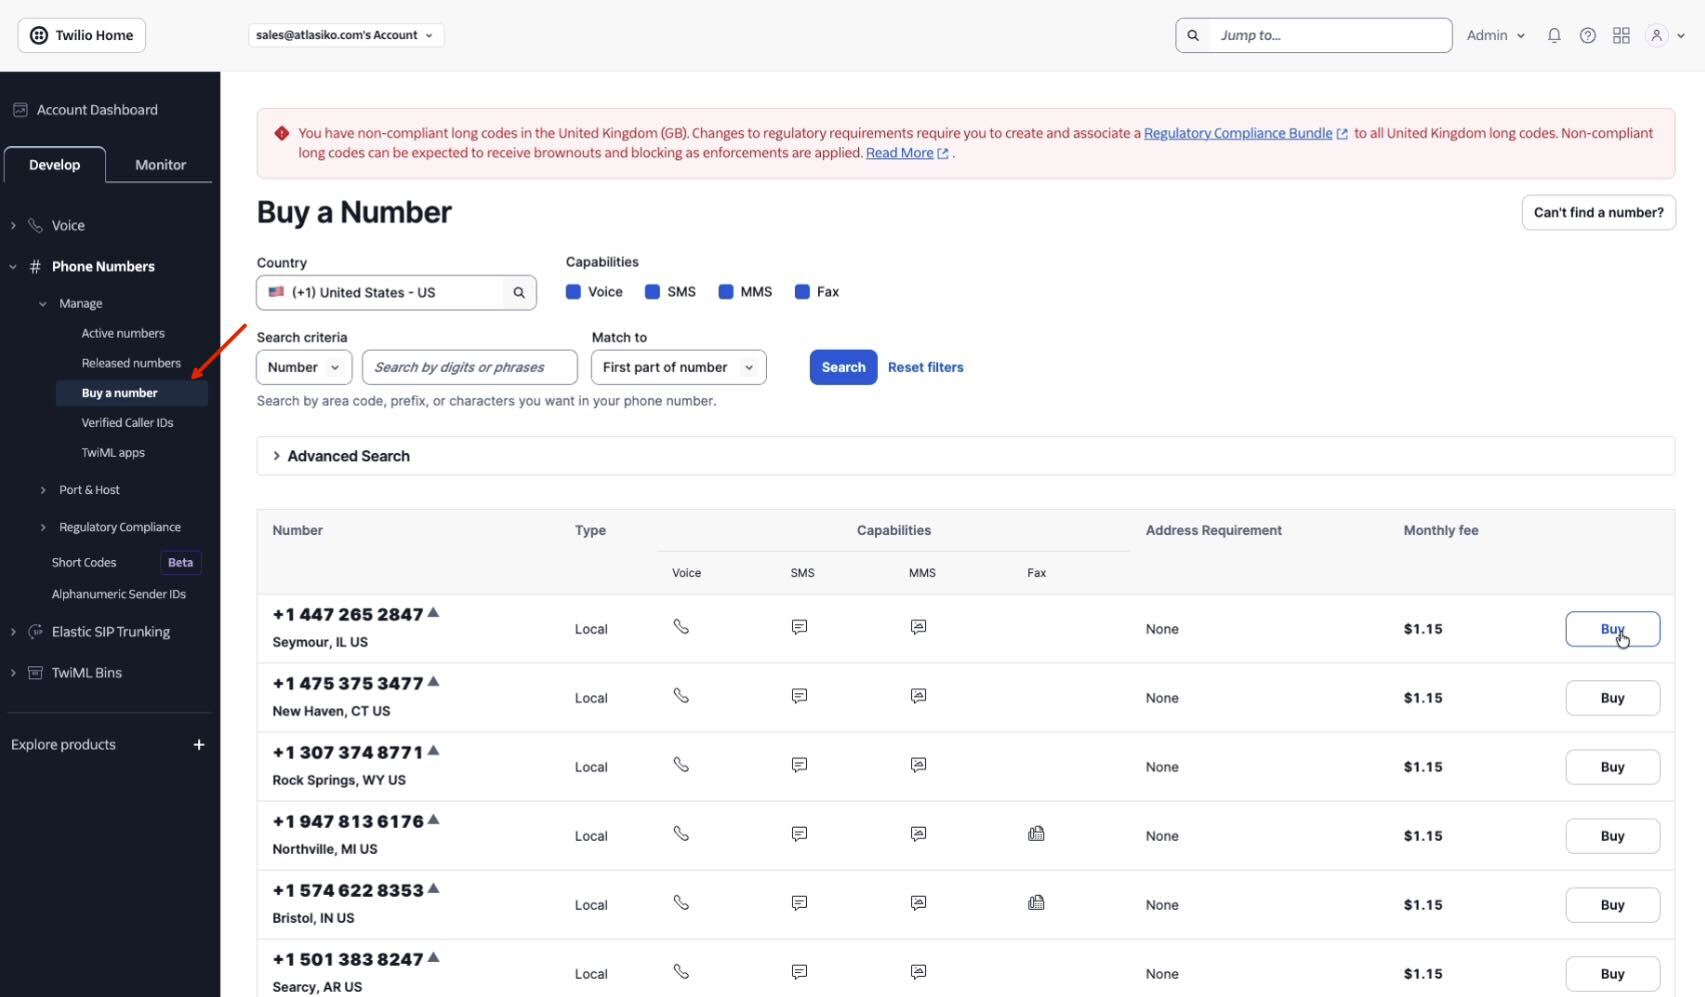
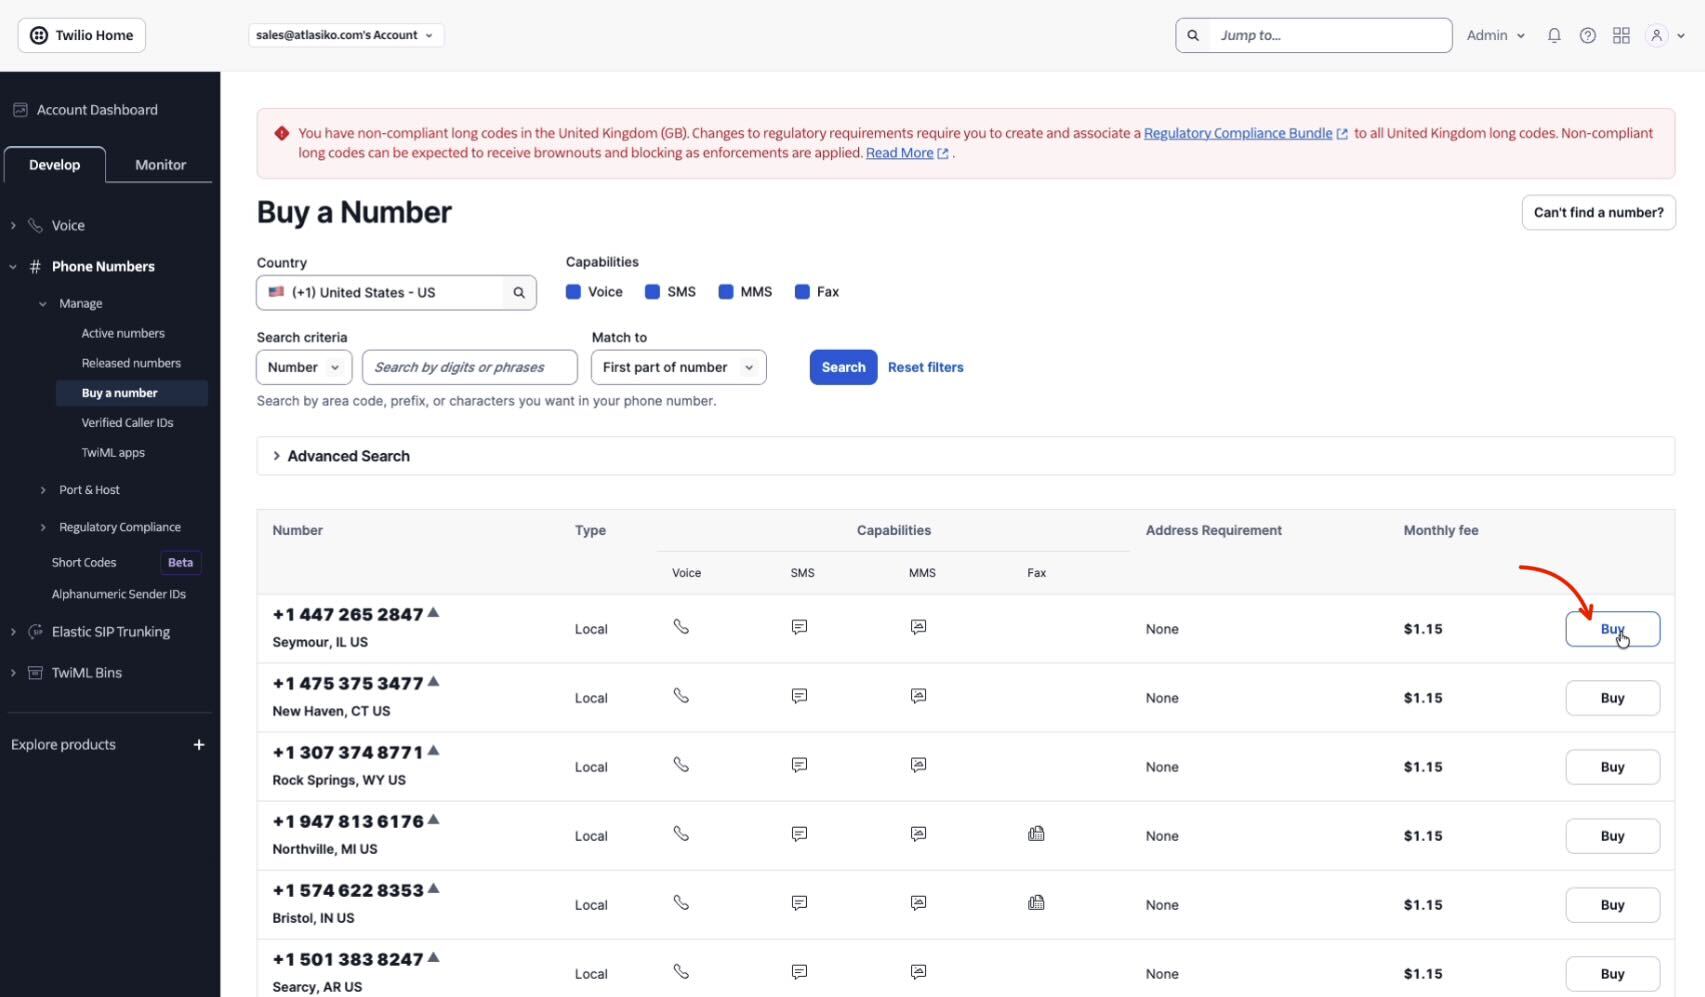
To connect IP telephony to your CRM through Twilio, first purchase a phone number and create a SIP Trunk. Then, configure it in GudHub.
IP telephony in a CRM works through a SIP Trunk – a virtual channel that routes calls between the phone system and the CRM. Internet telephony allows you to make and receive calls directly within the system.
Purchasing a Phone Number #
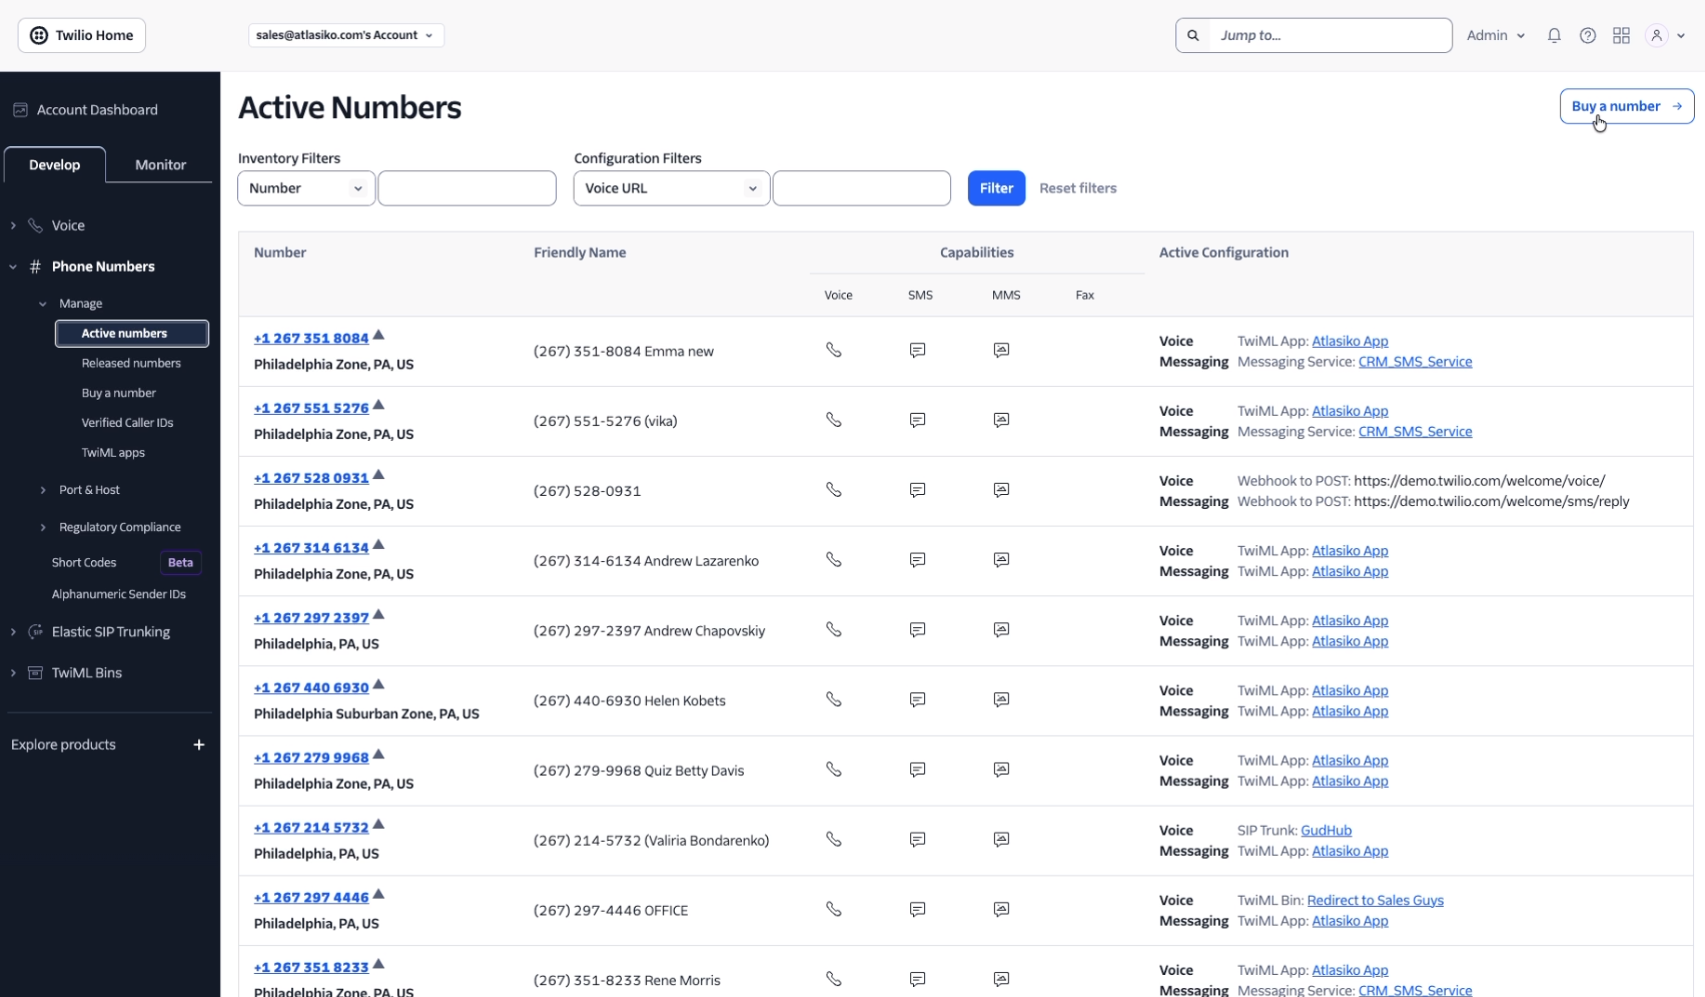
Go to the Active Numbers tab under Manage. If you have not used Twilio before, this tab will be empty.
Creating a SIP Trunk #
To connect the purchased phone number to IP telephony in your CRM, you need to create a SIP Trunk.
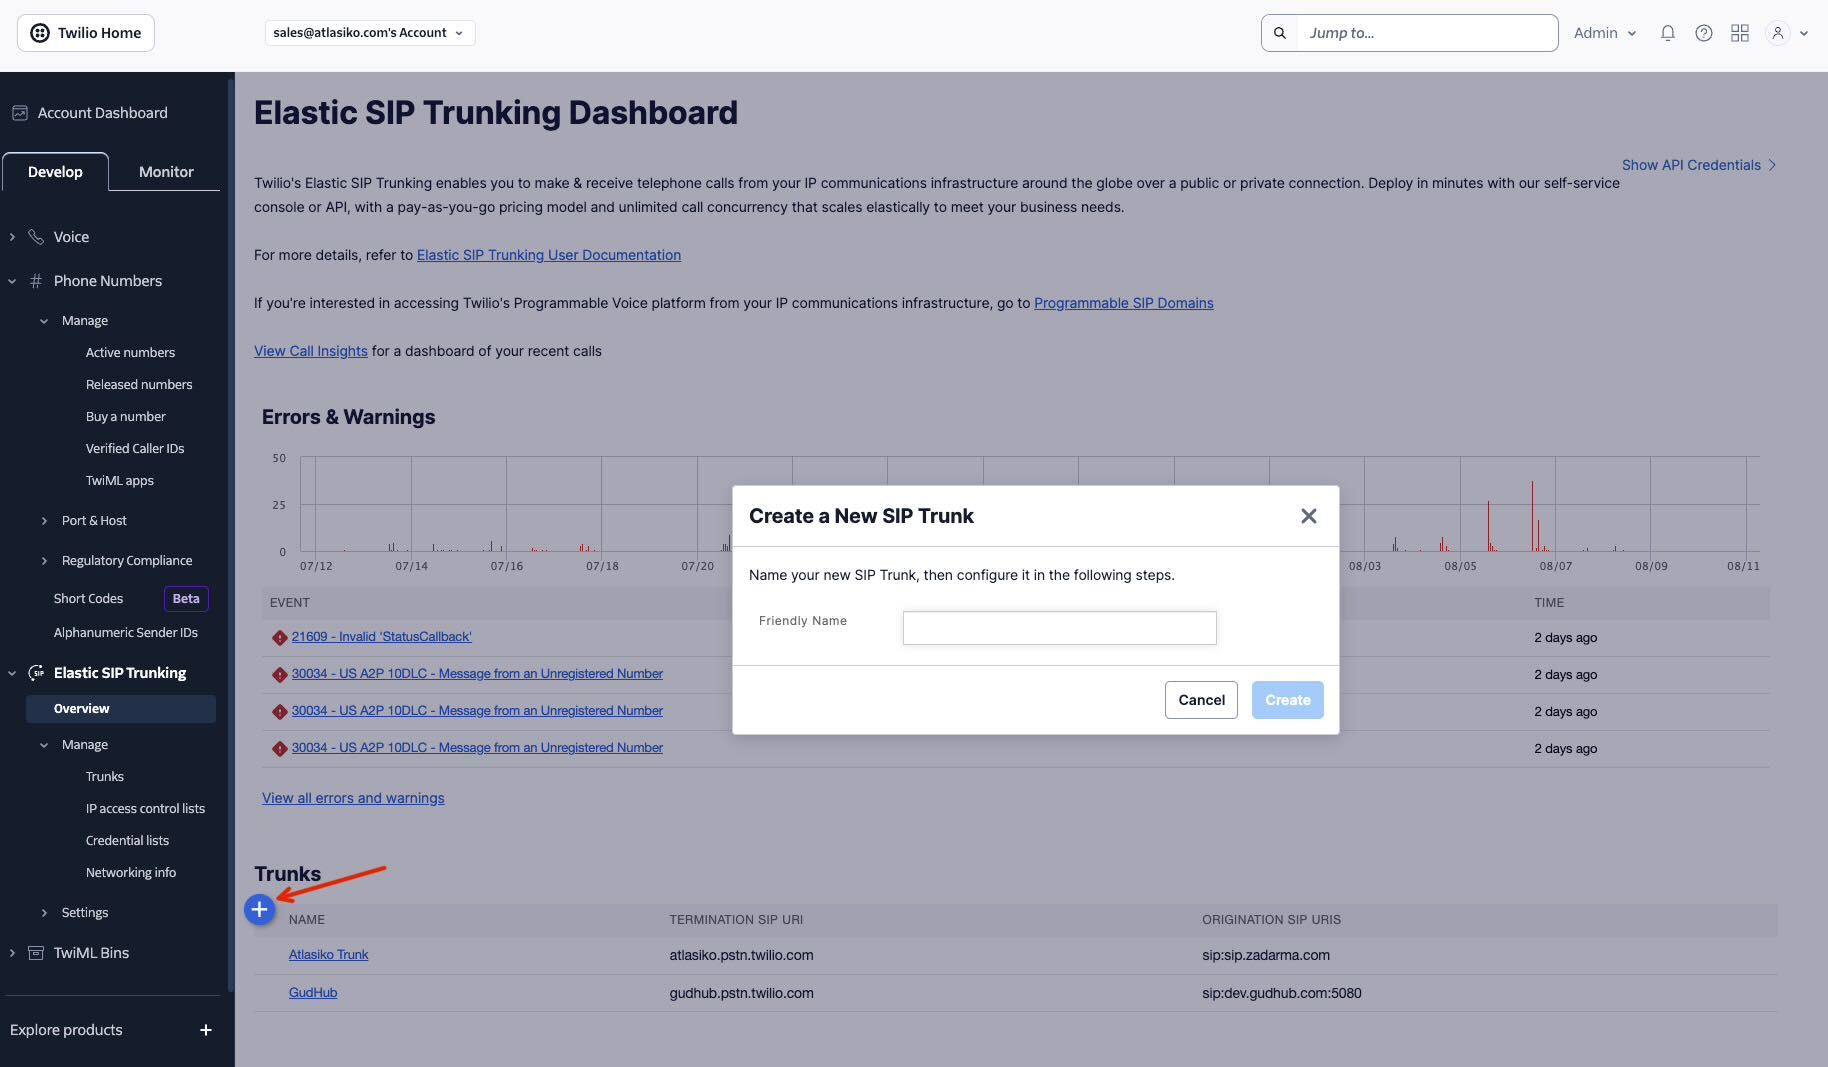
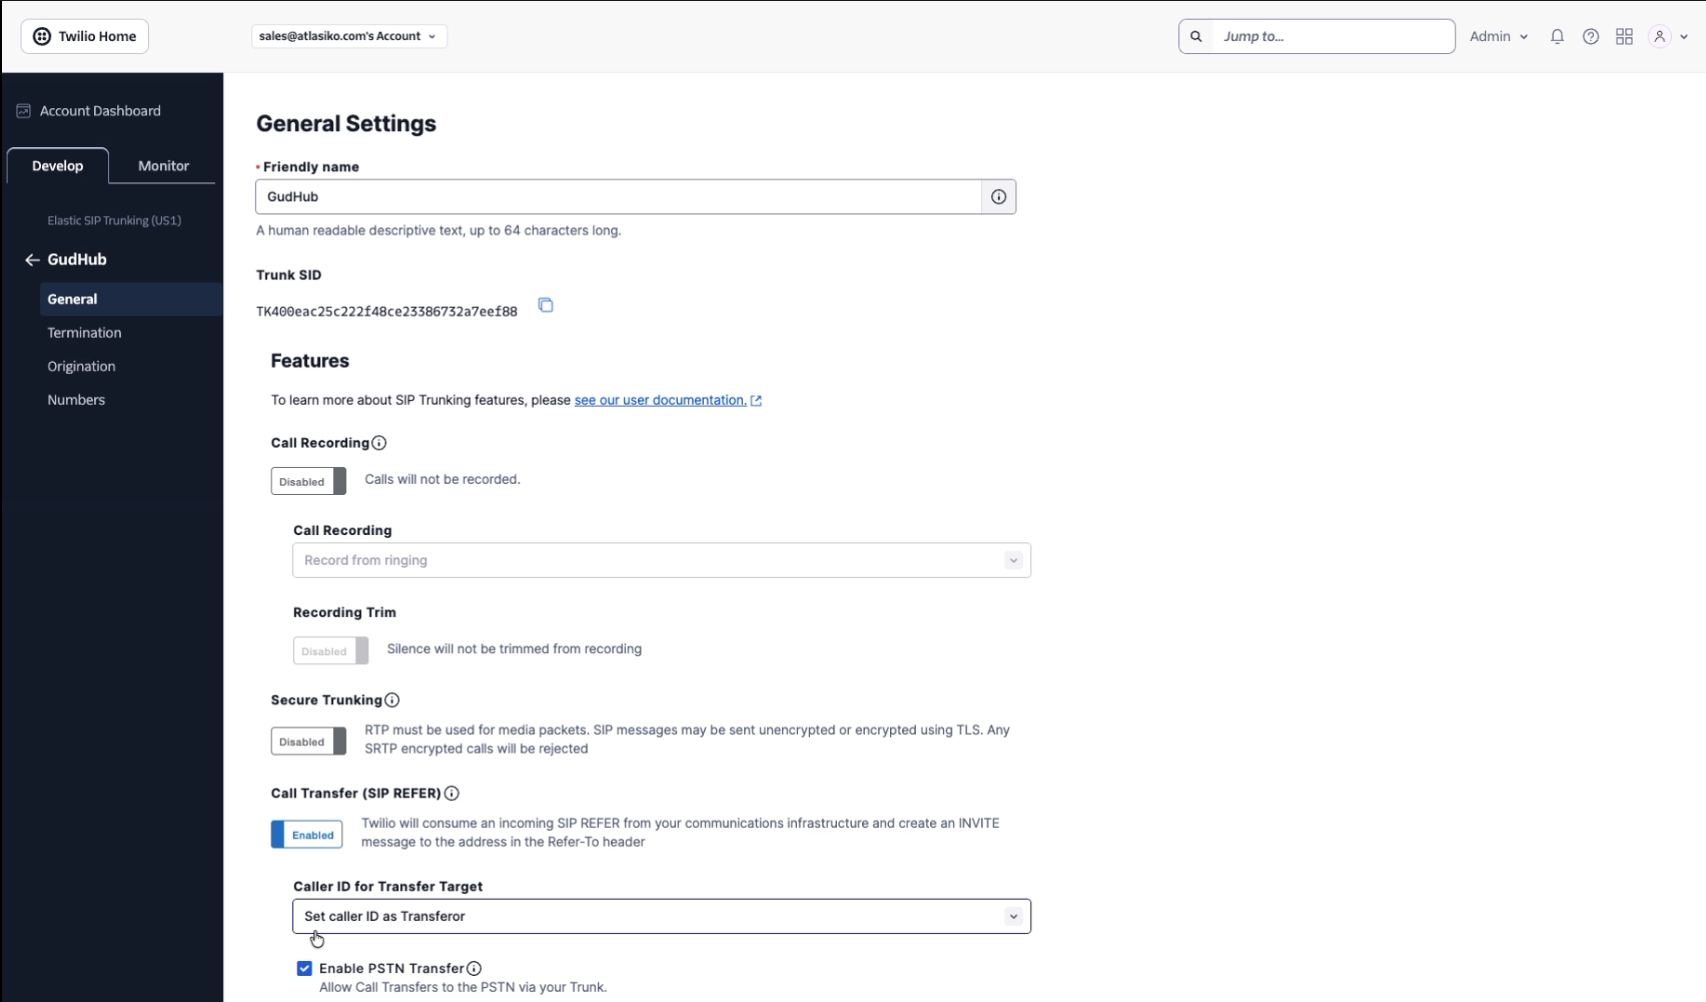
Go to the Overview tab under Elastic SIP Trunking.
On the page that opens, click “+”.
Enter a name for the SIP Trunk.
Setting Up Incoming Calls #
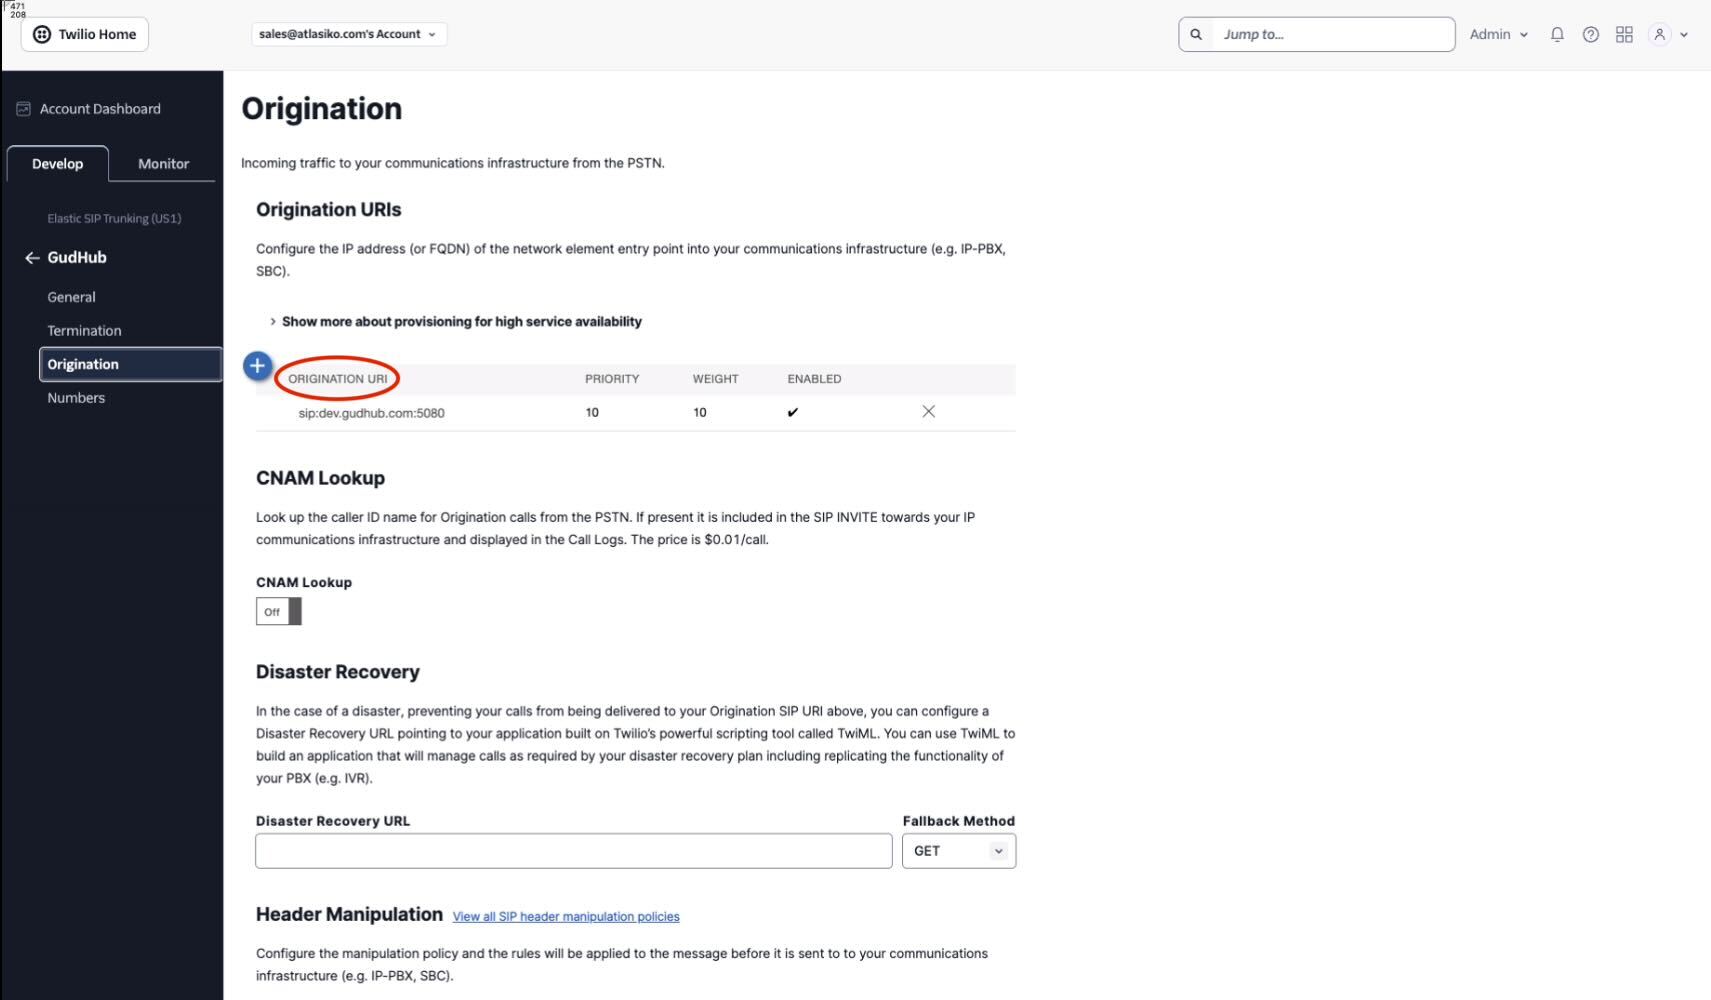
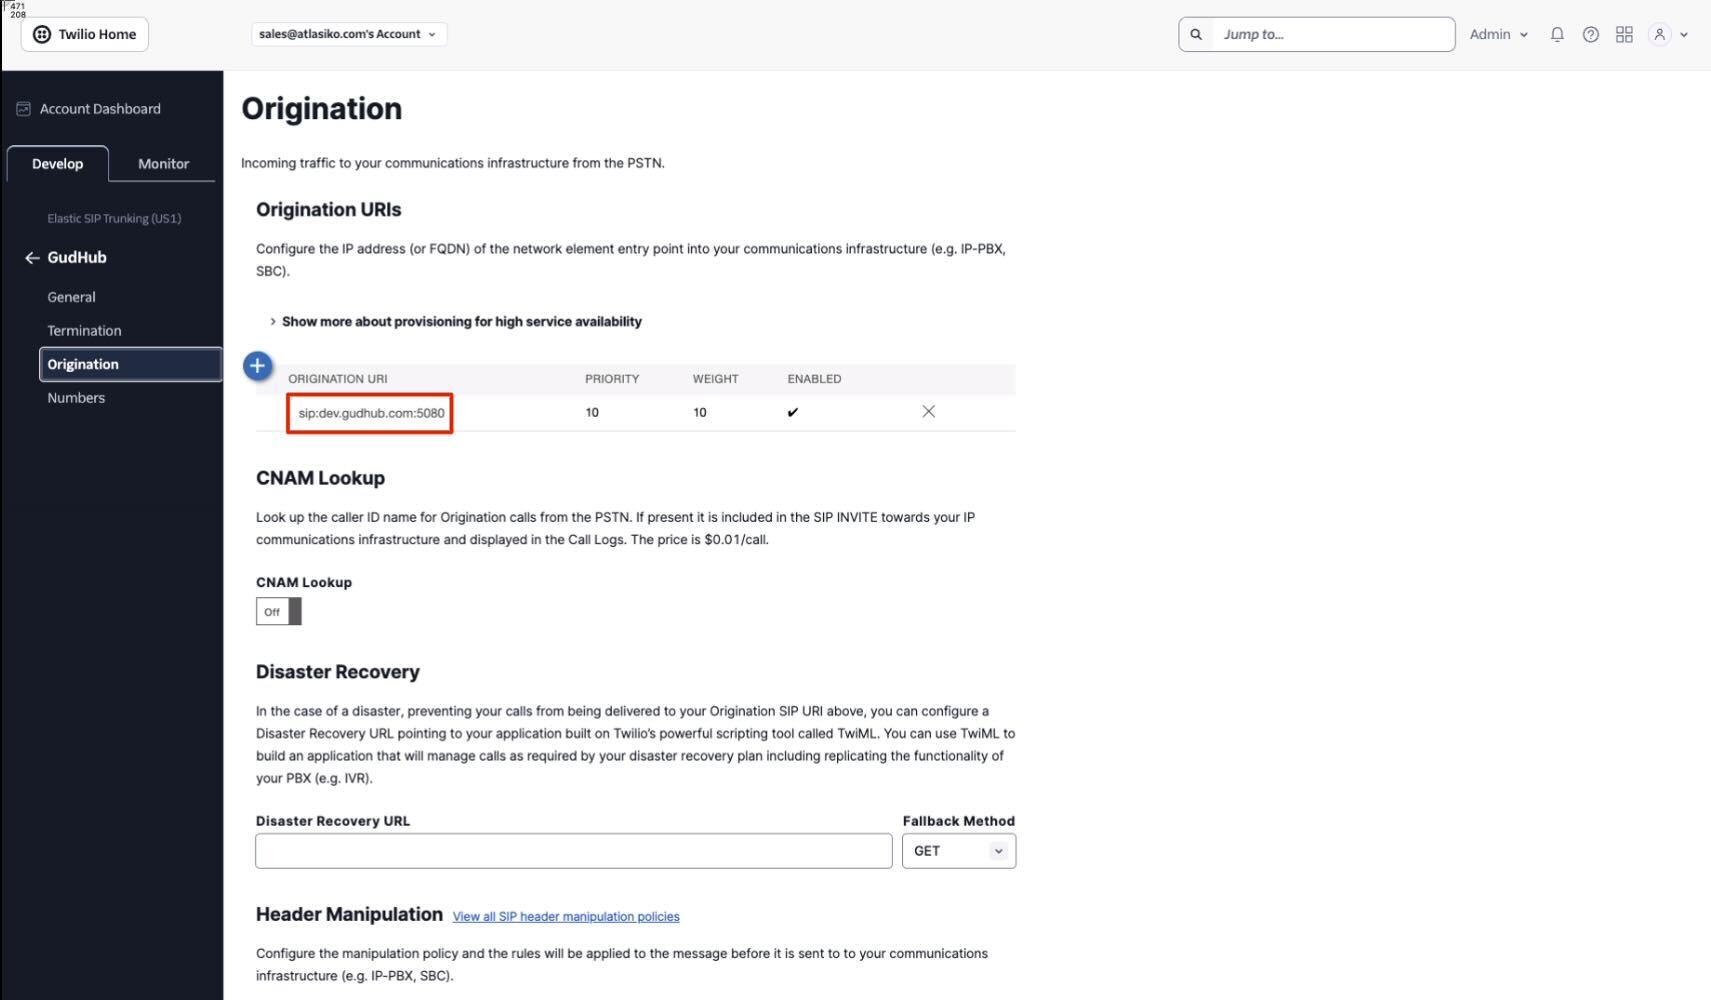
Go to the Origination tab.
Origination is used for incoming calls.
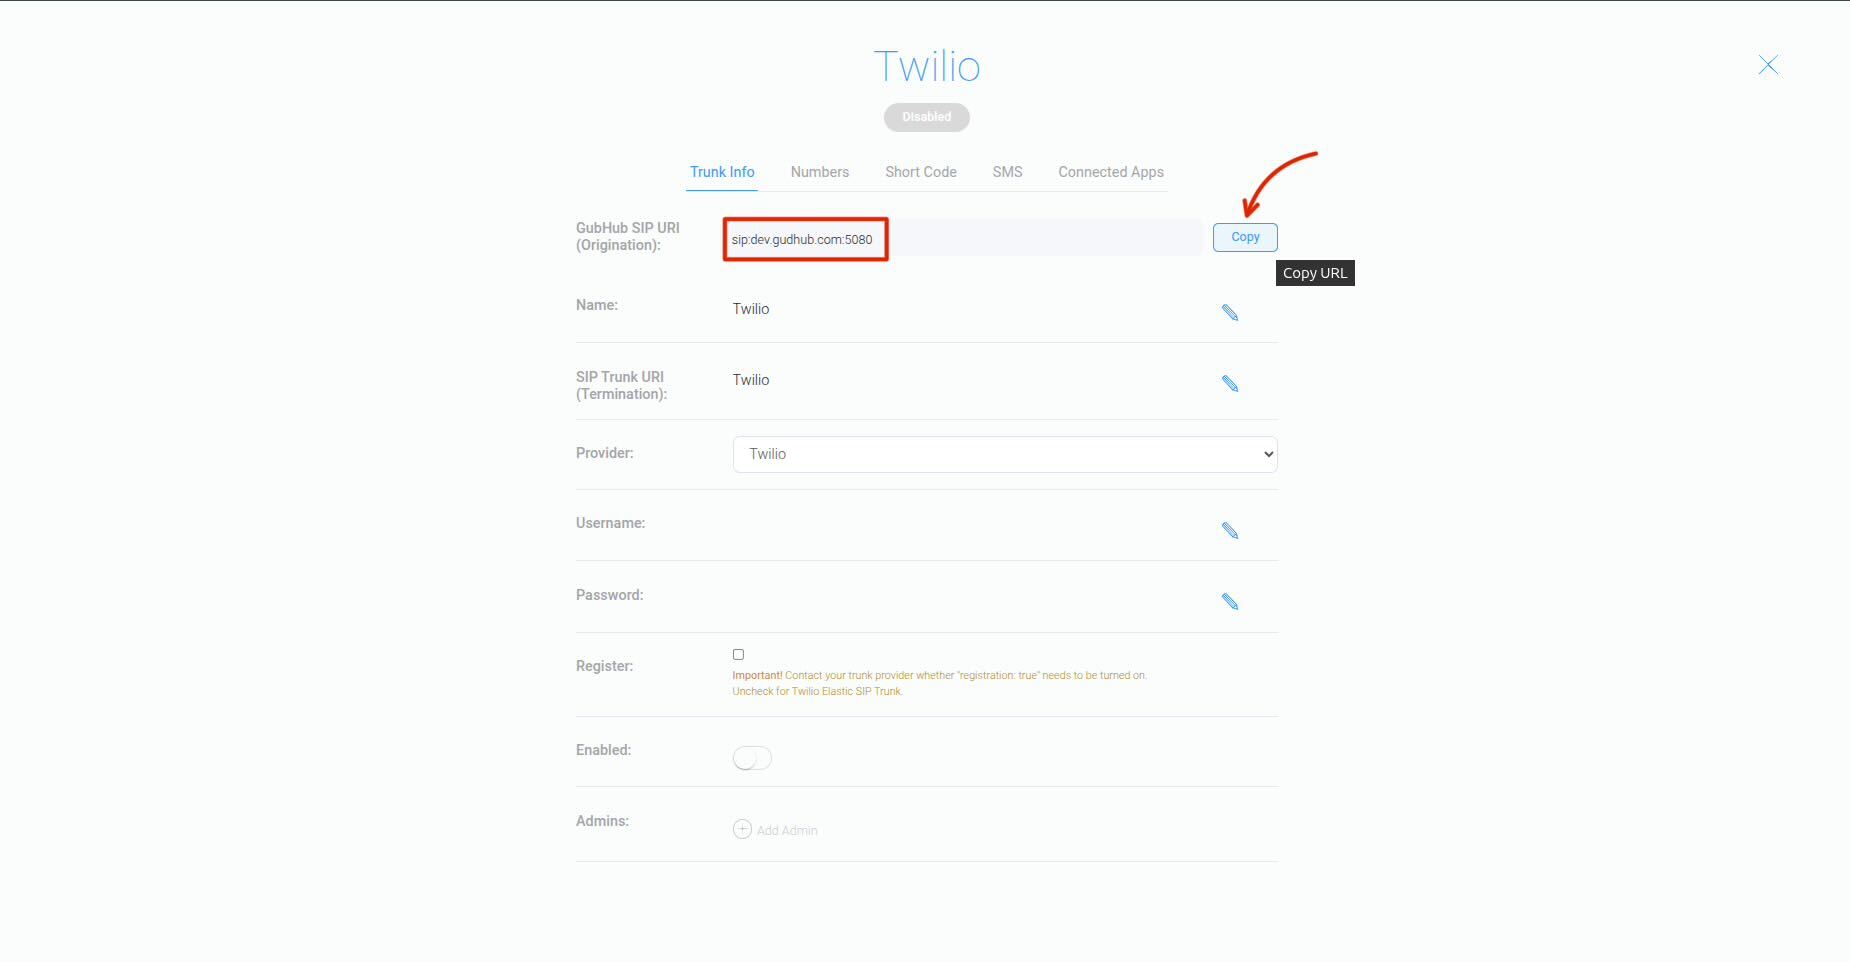
Enter the address of the server that will receive these calls in the "Origination URL" field.
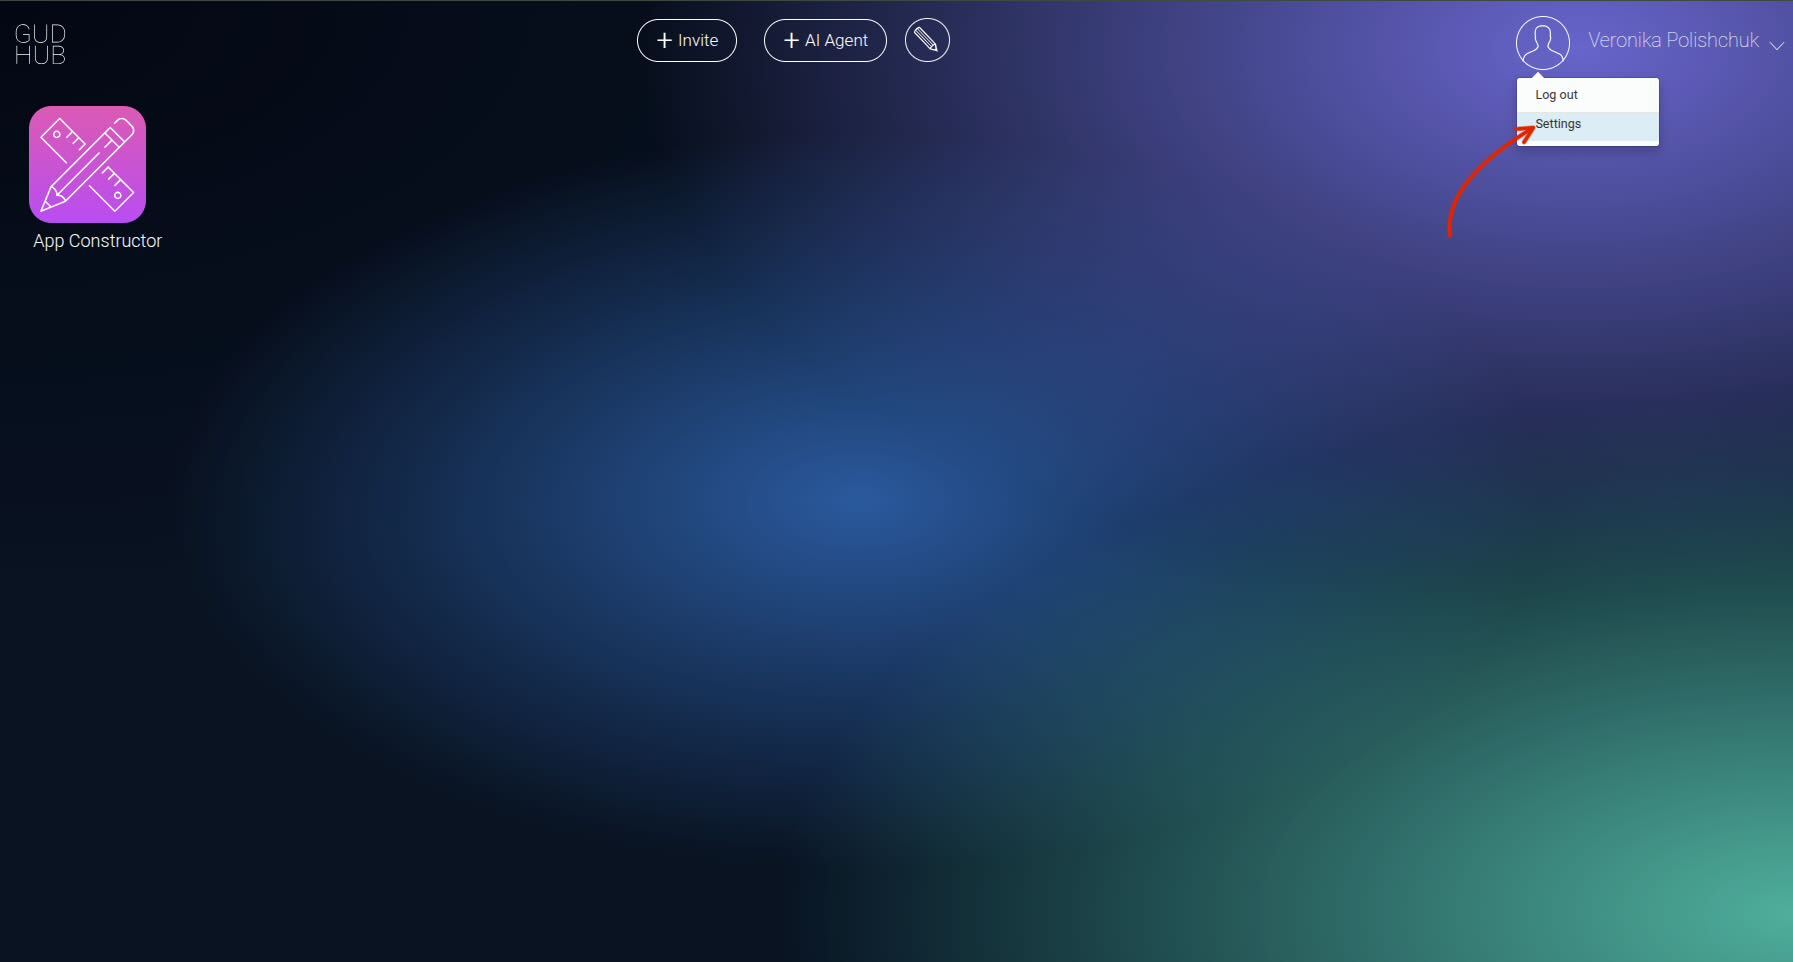
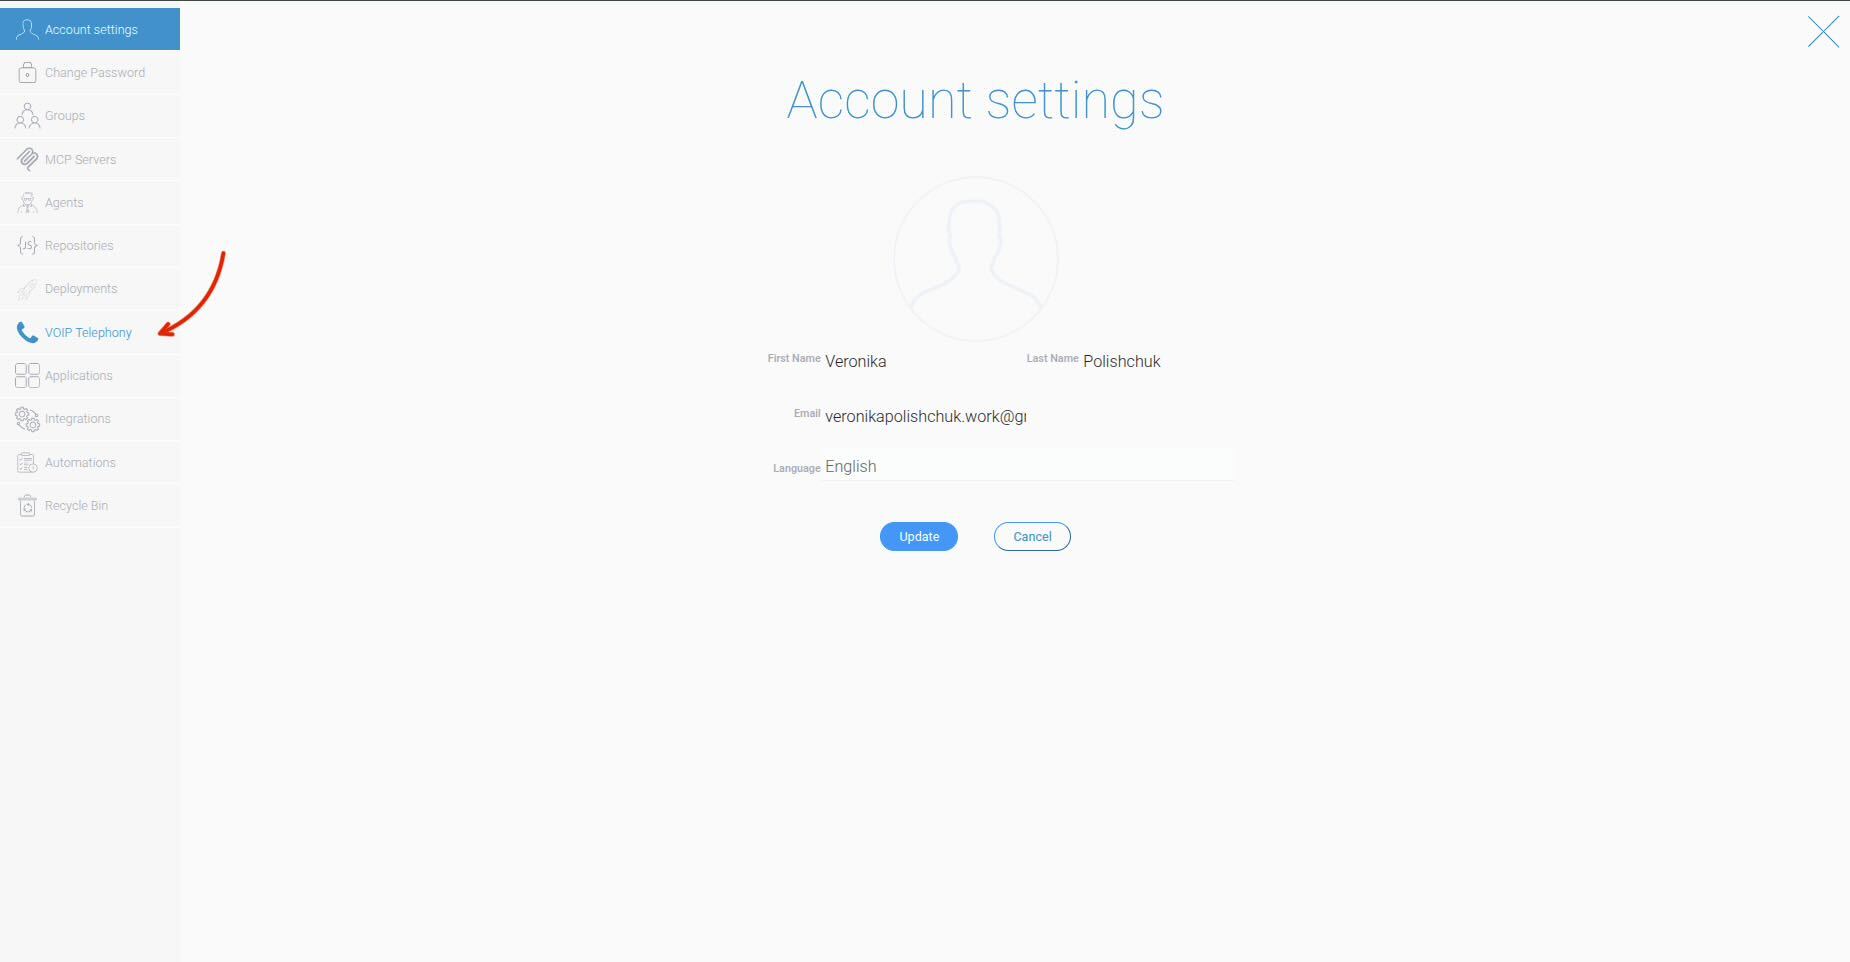
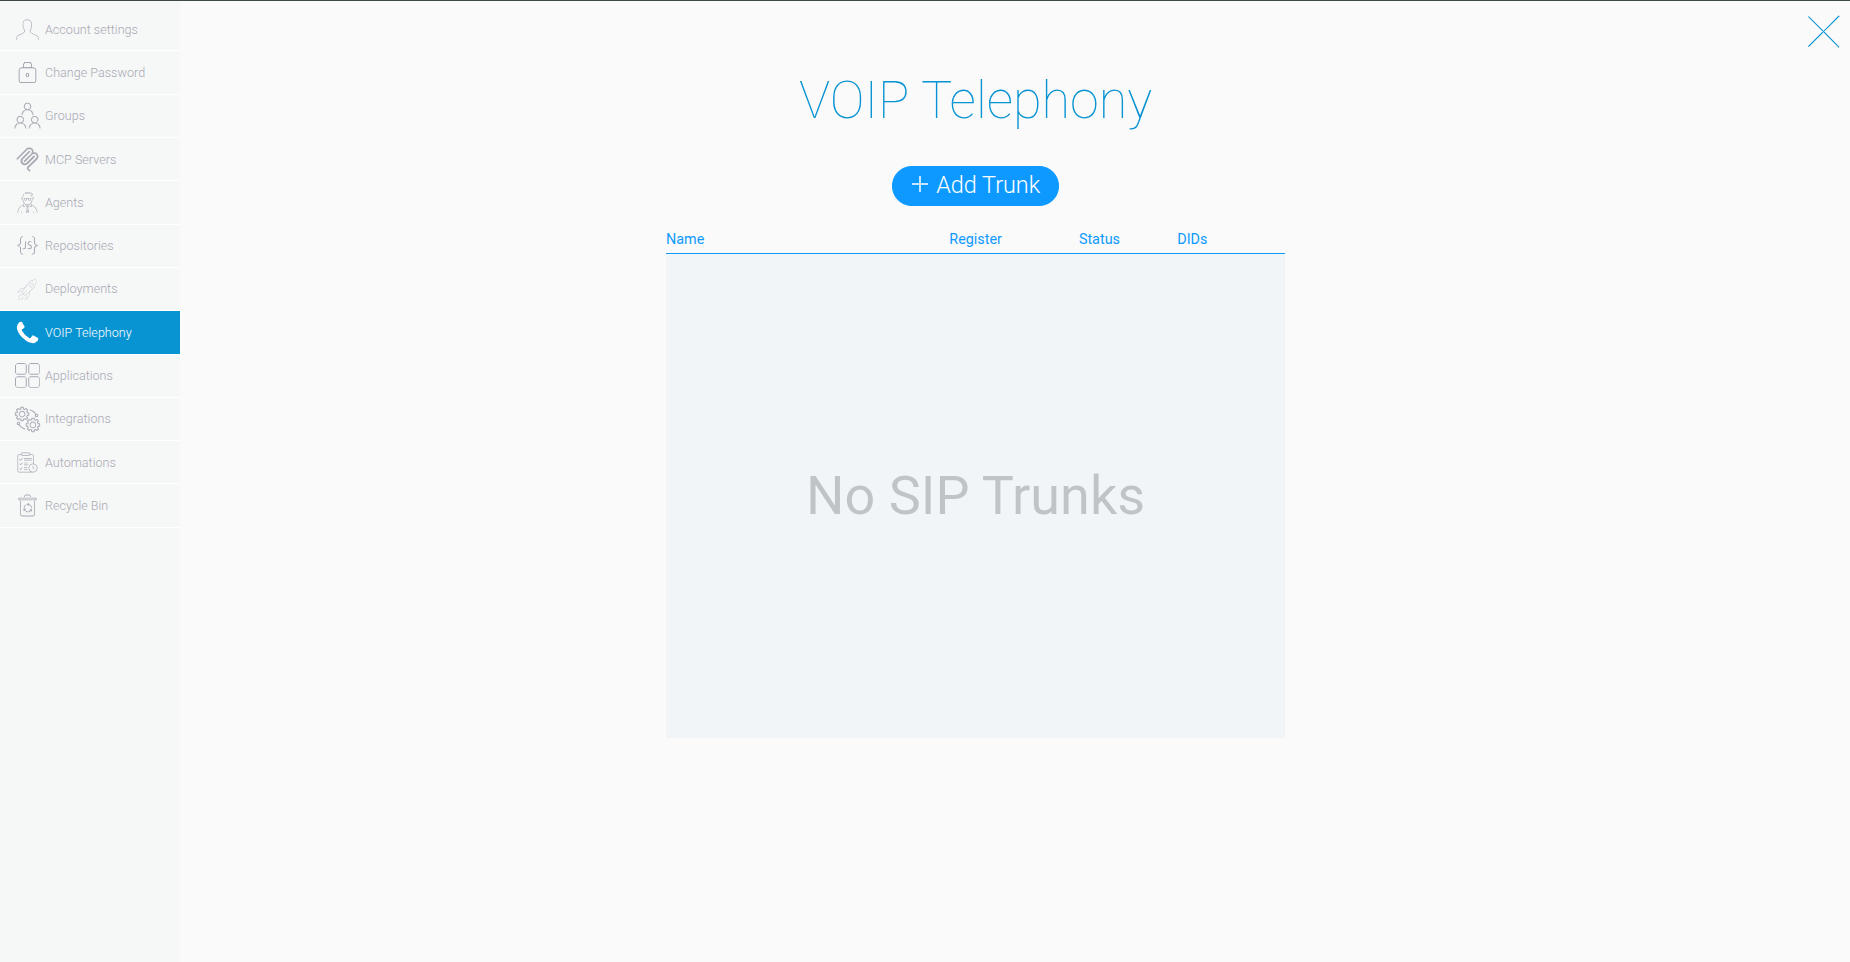
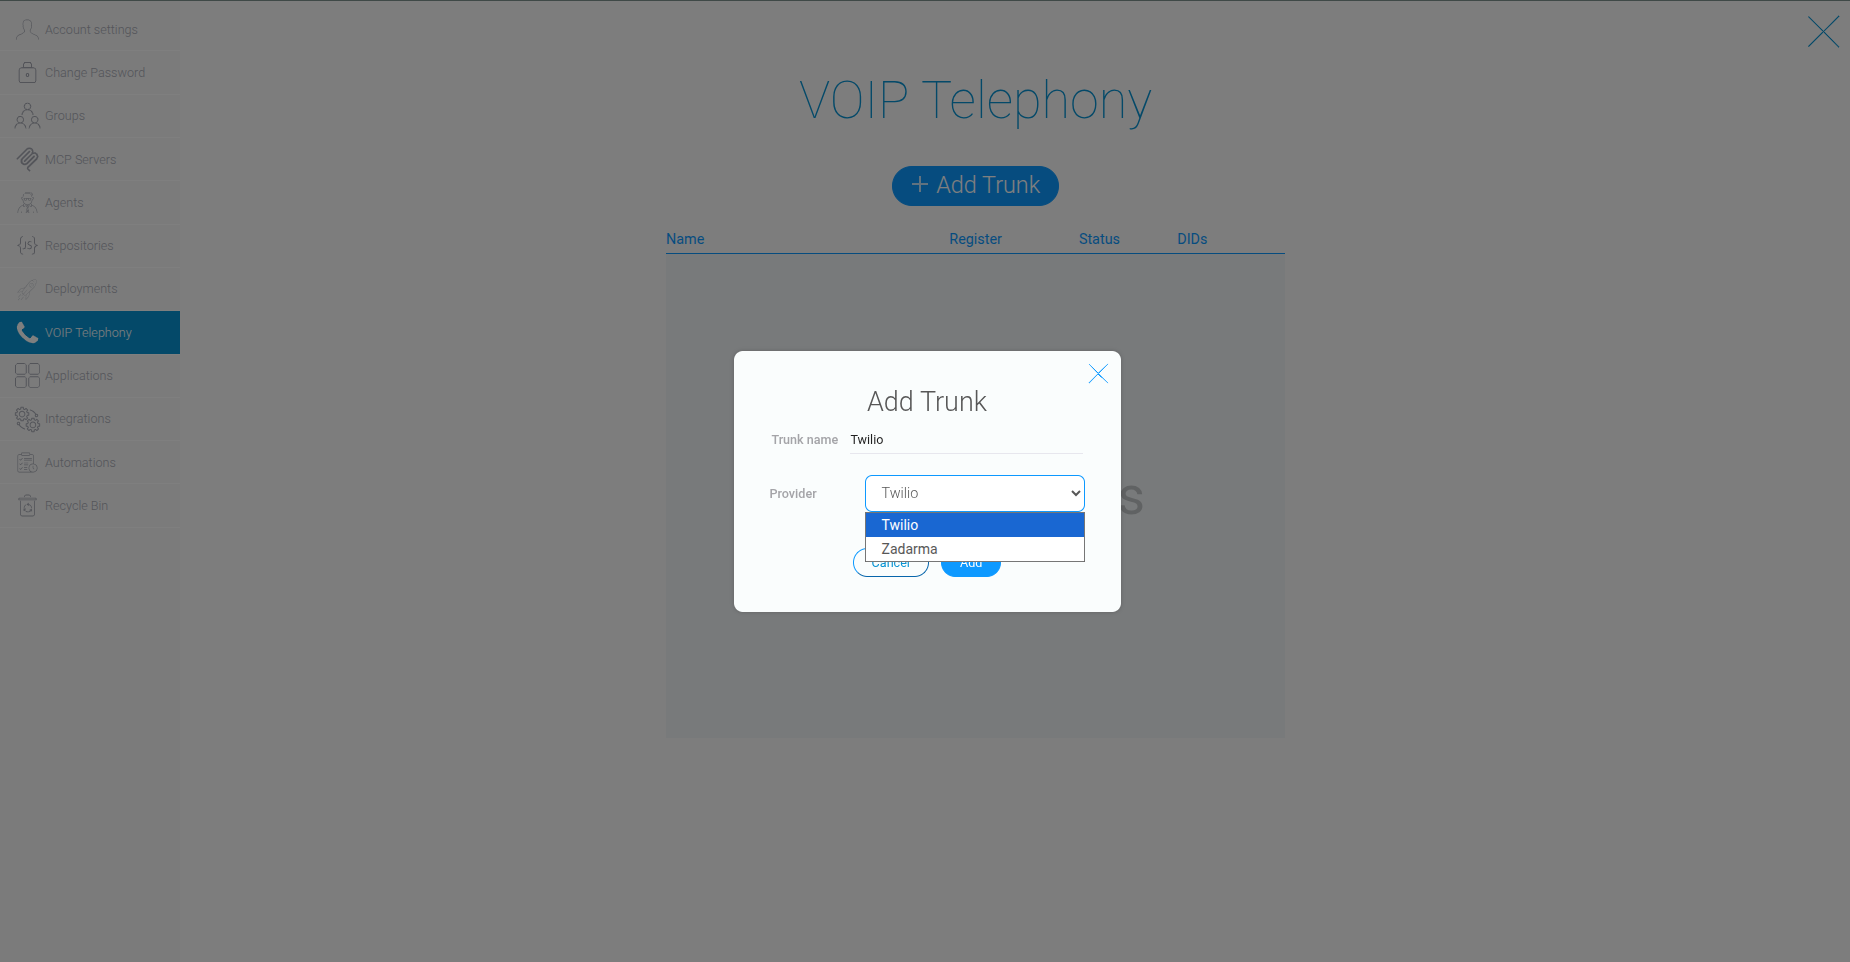
At this point, switch to your CRM and open Settings.
Setting Up Outgoing Calls #
Now configure the settings for outgoing calls.
In Twilio, go to the Termination tab.
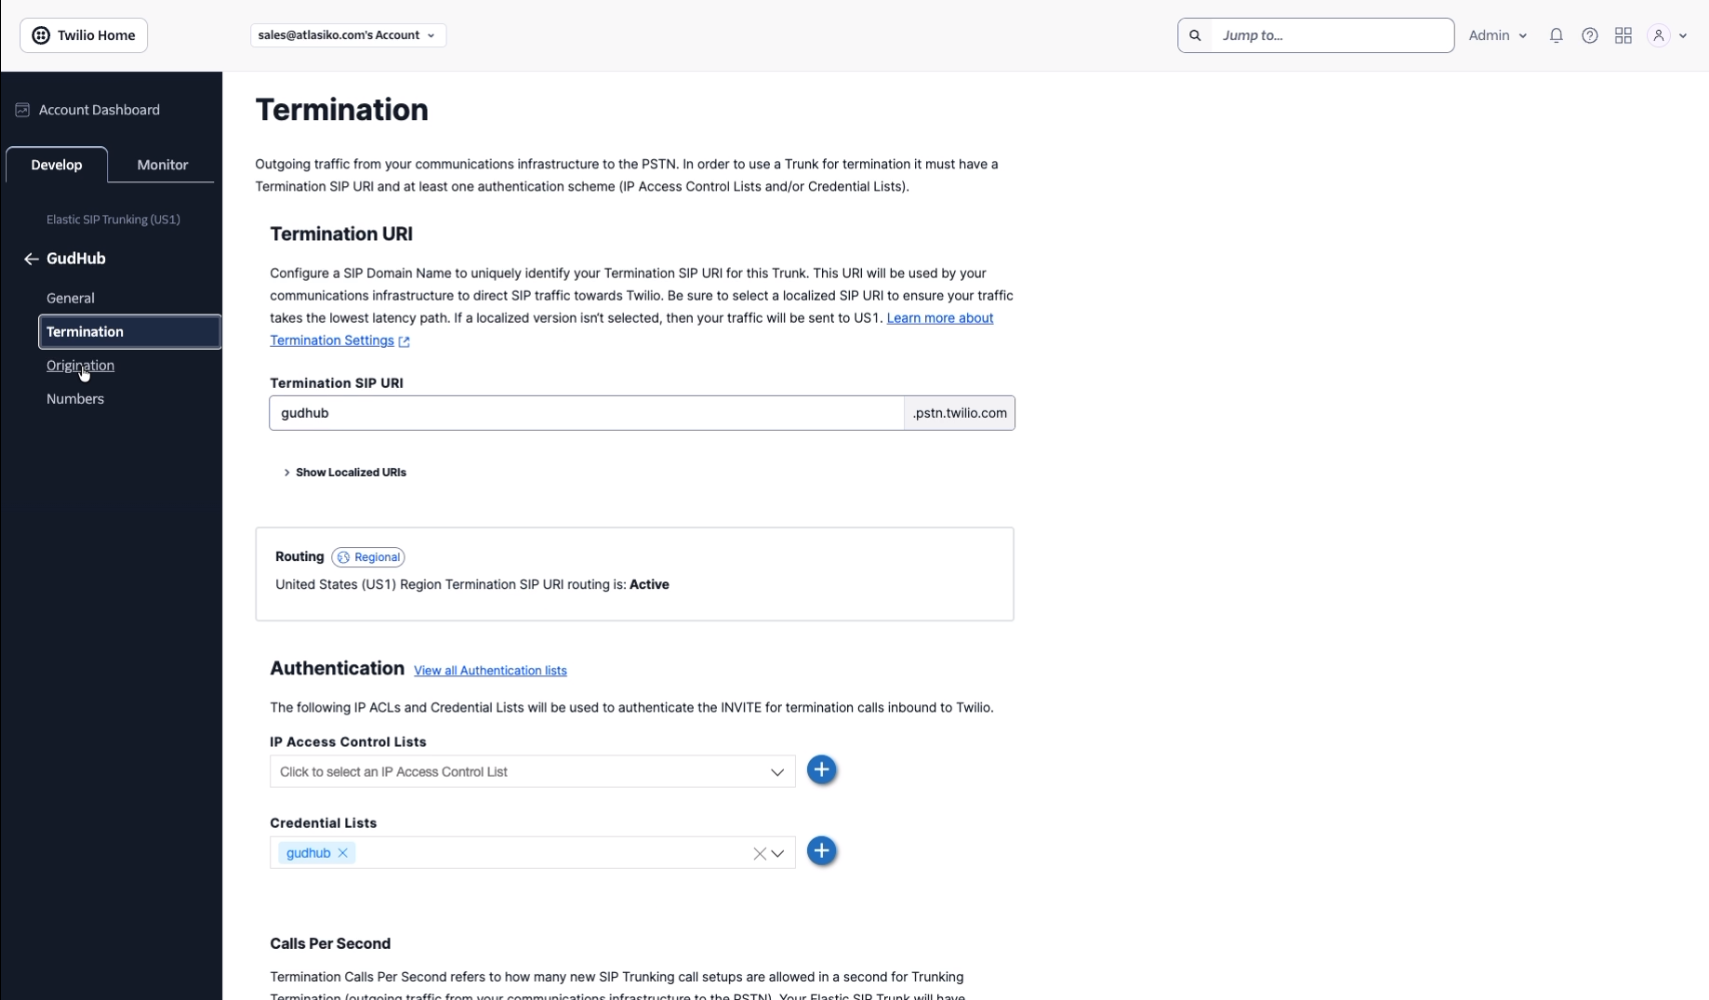
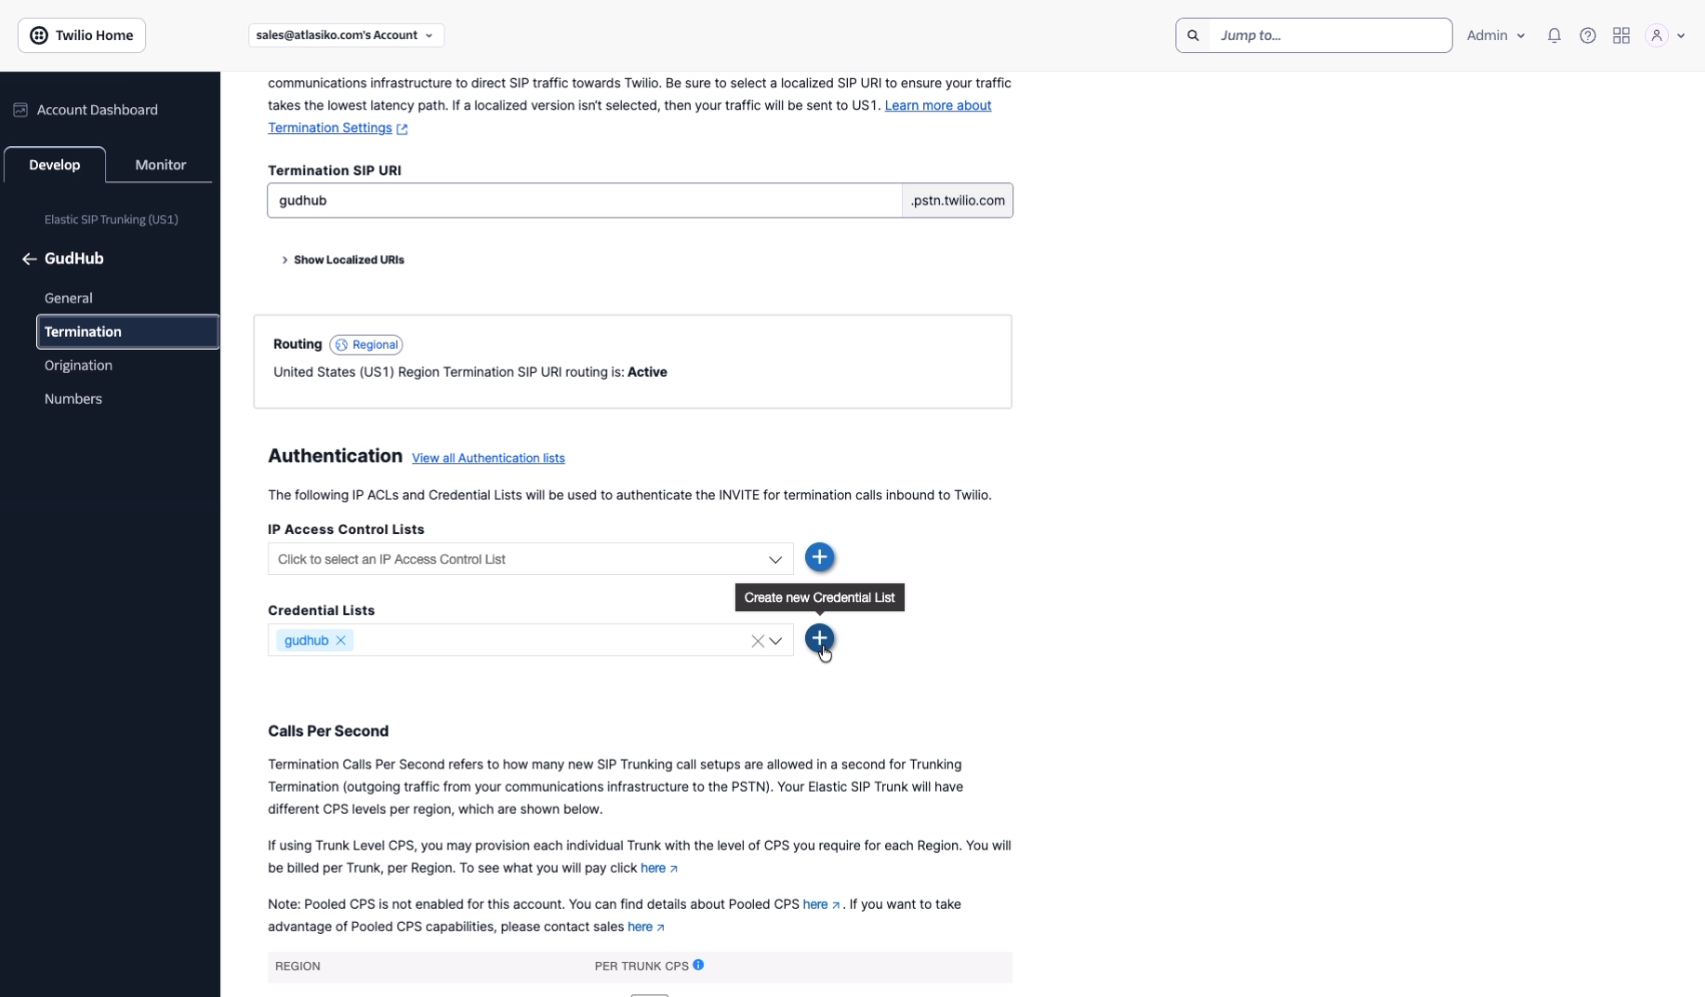
Click “+” to create a Credential List.
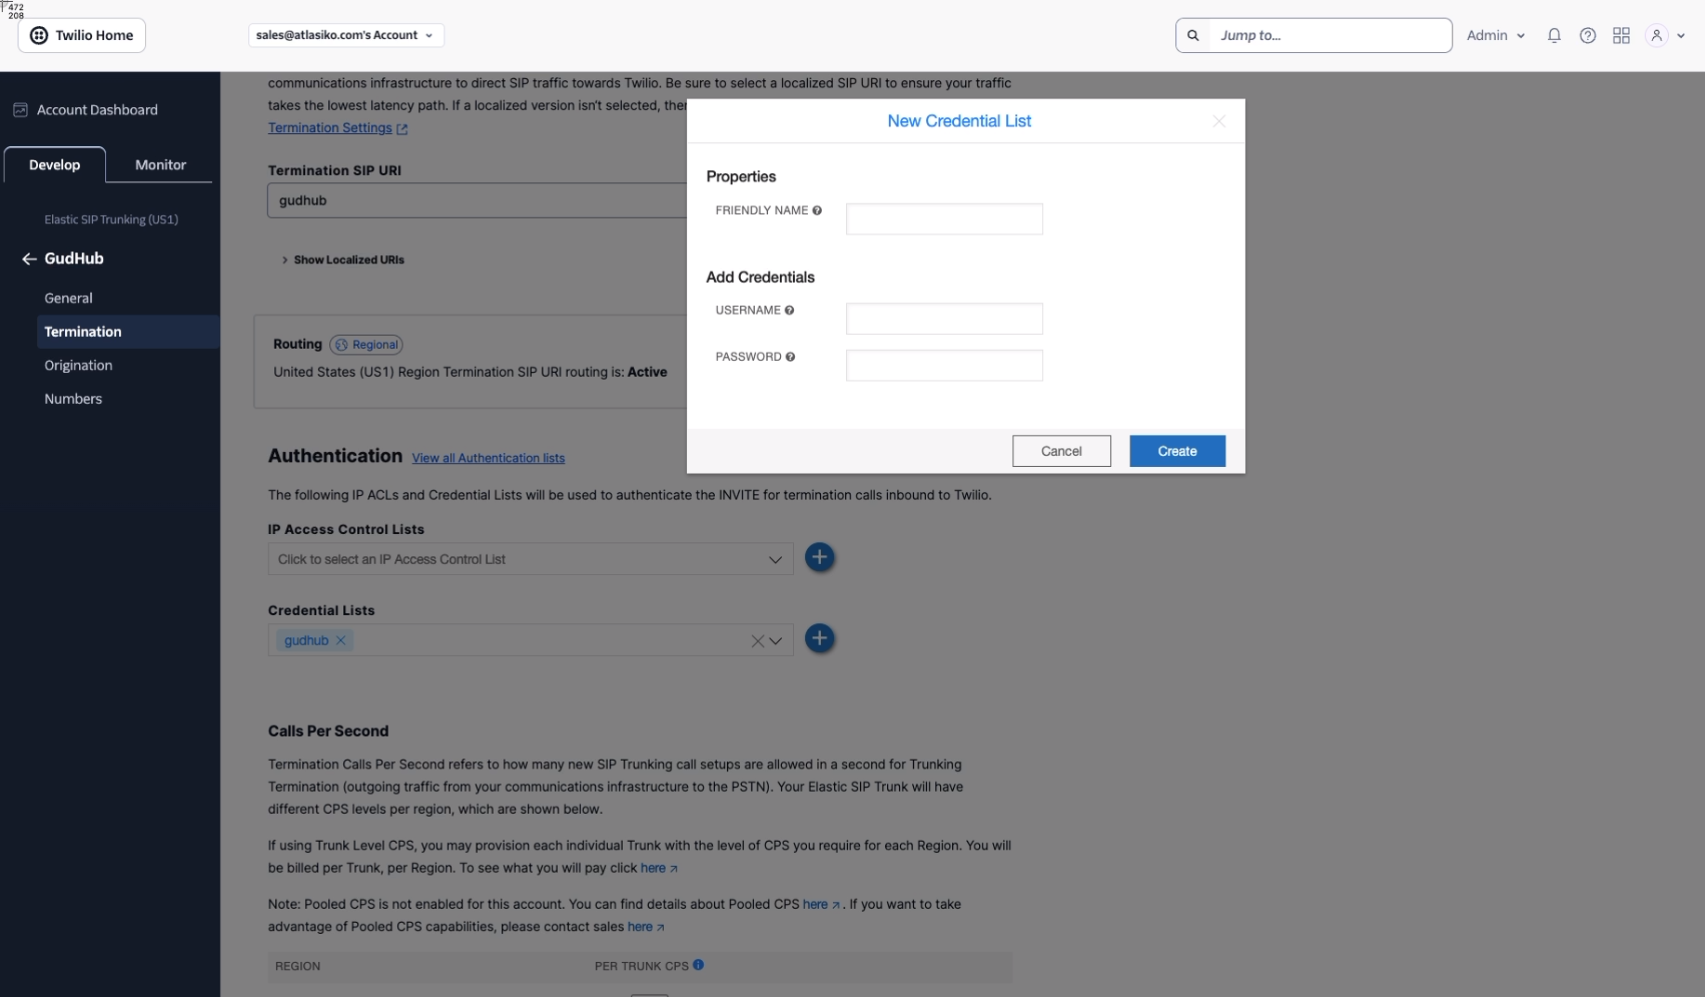
In the window that opens, enter a name for the Credential List, Username, and Password.
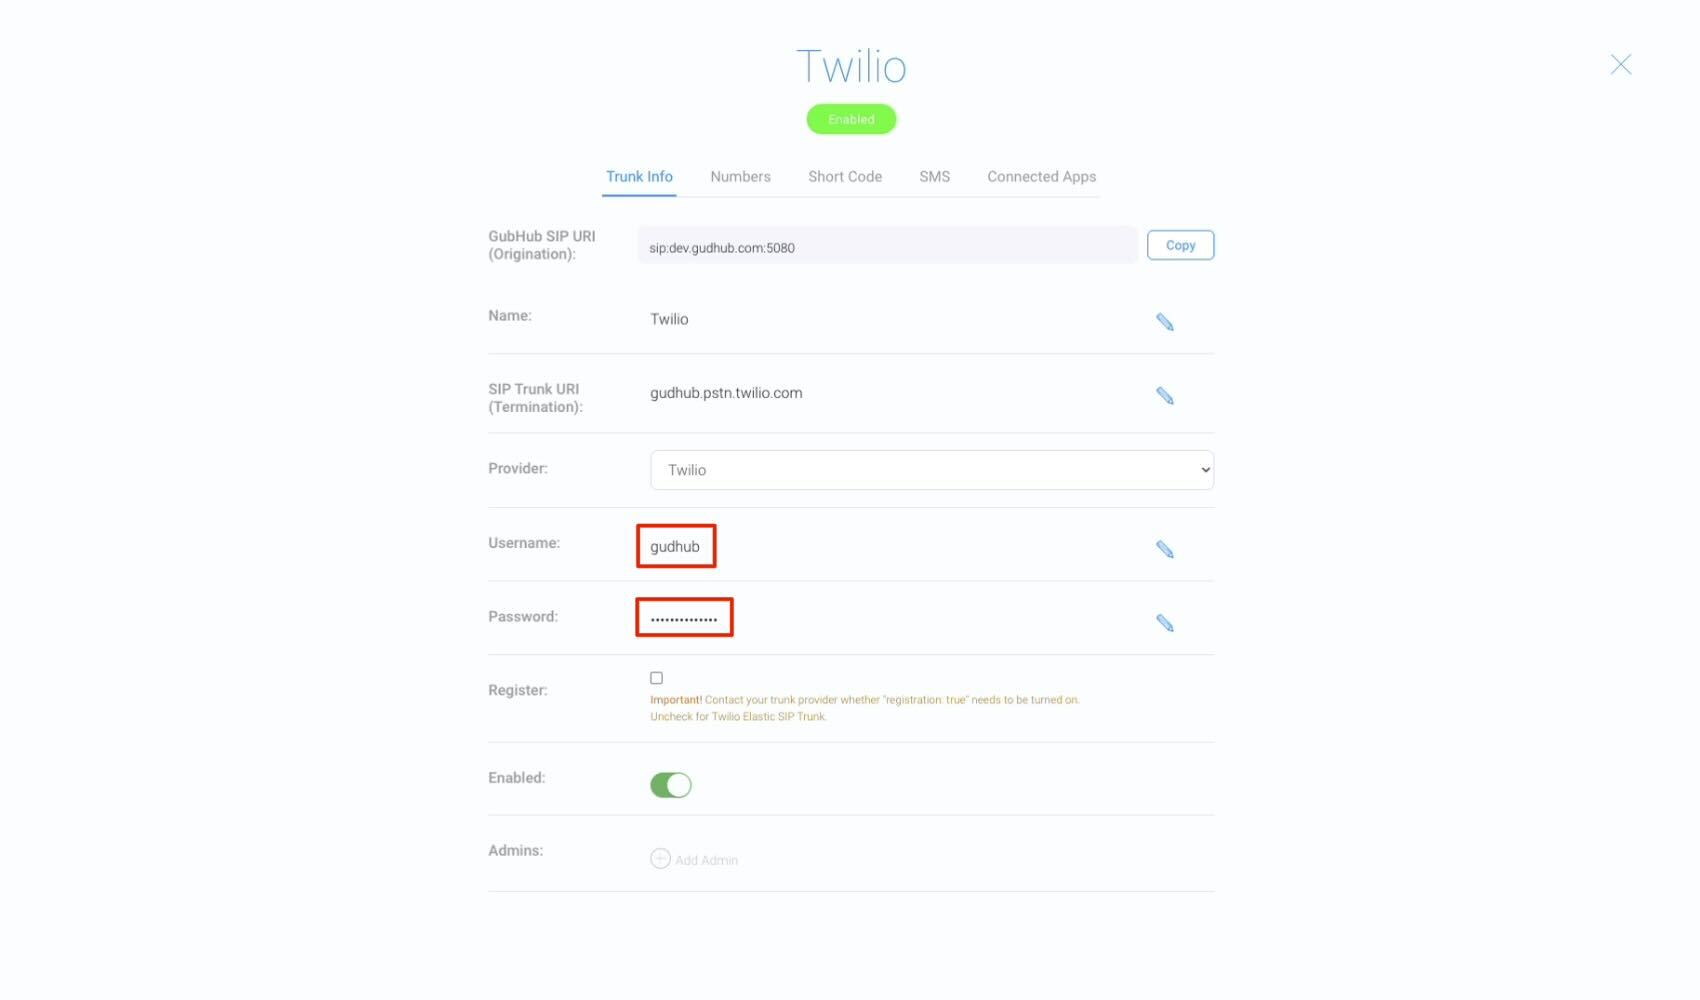
In the Trunk Info tab, enter them in the corresponding fields.
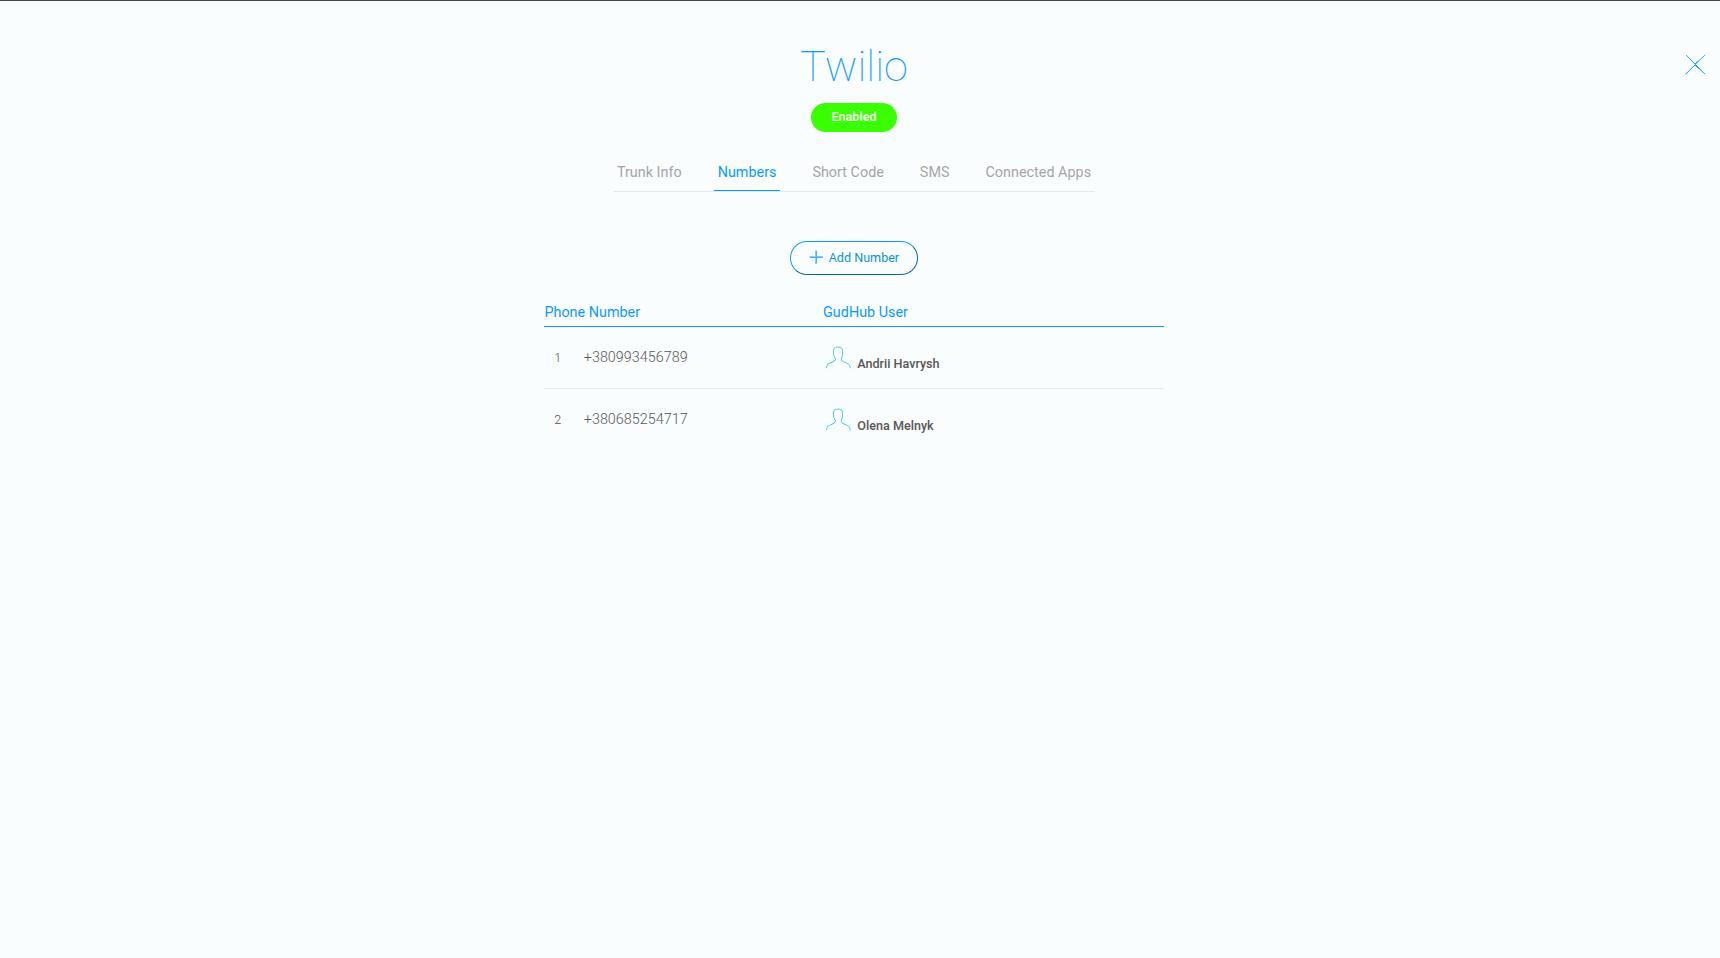
Adding a Phone Number #
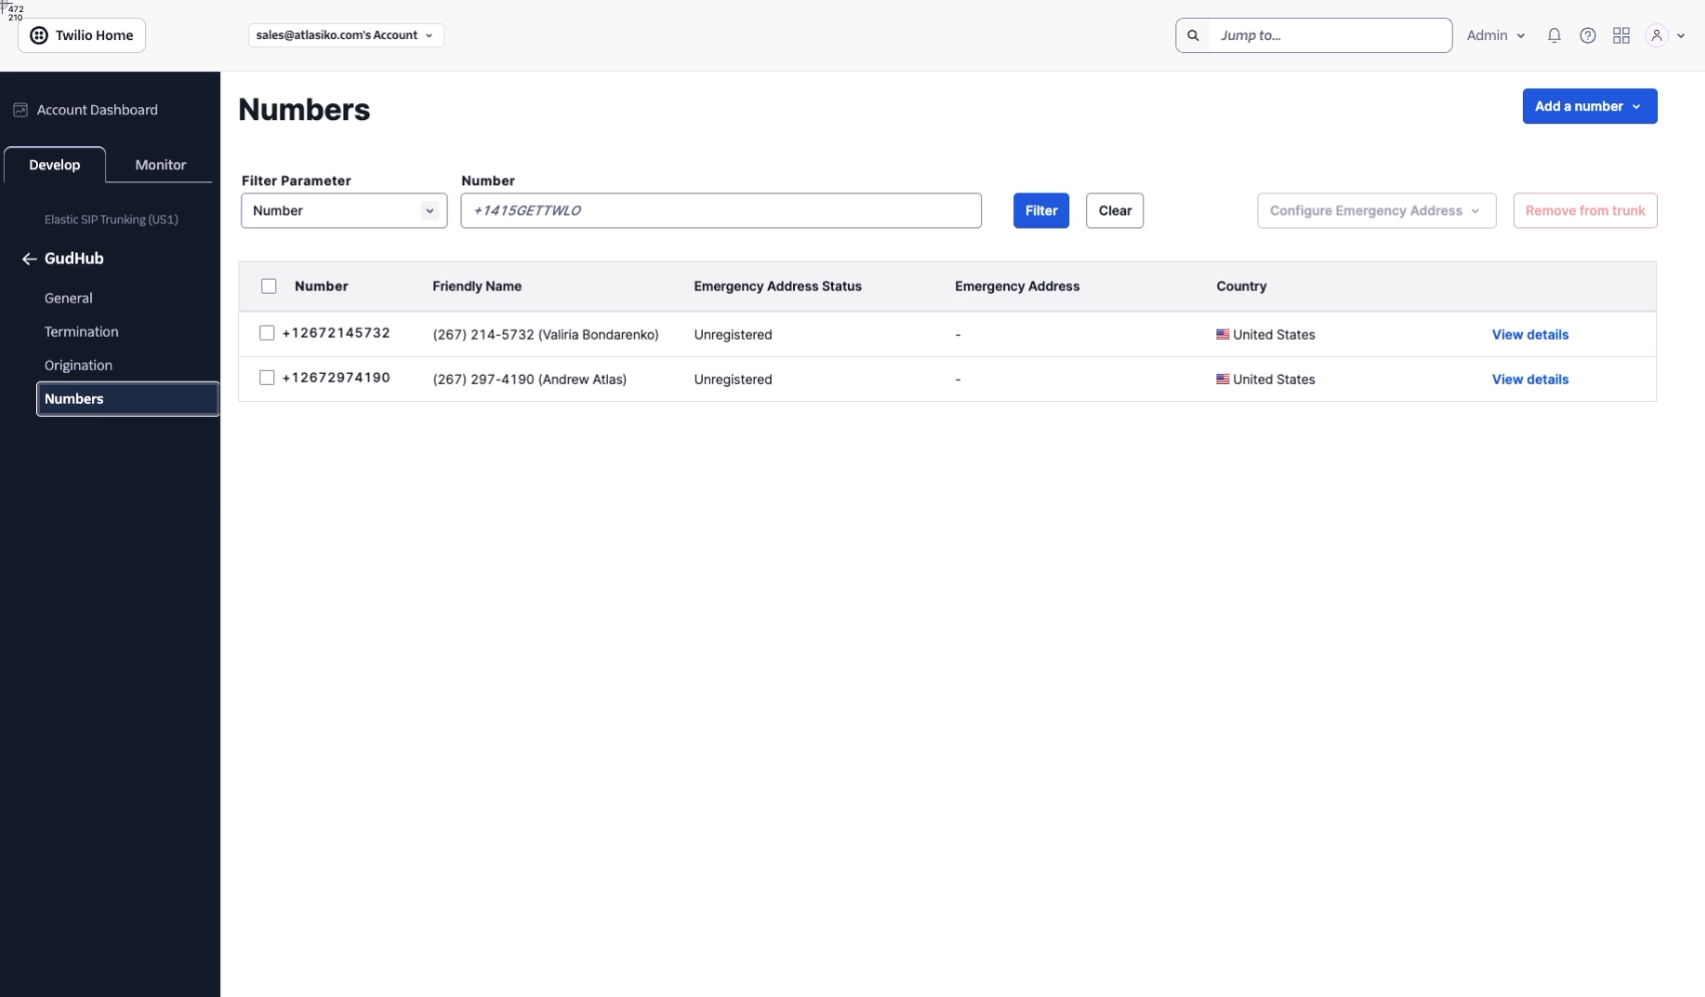
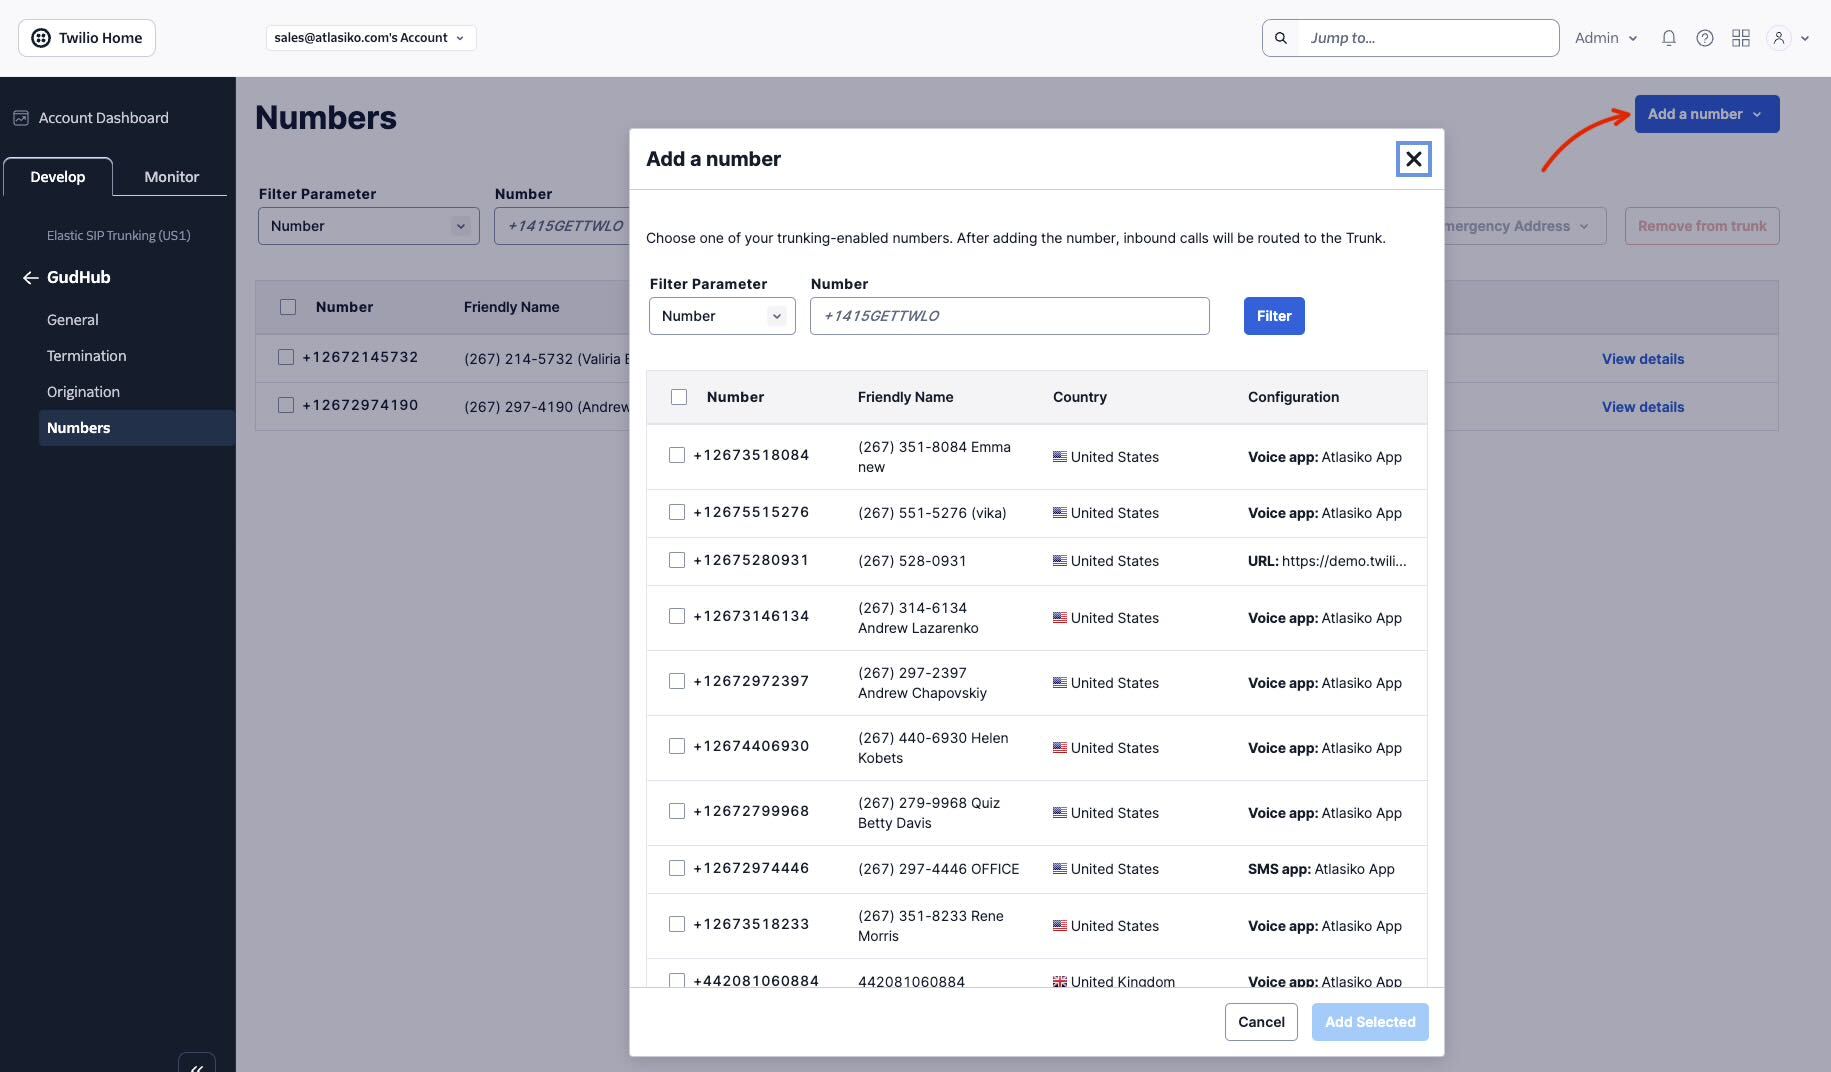
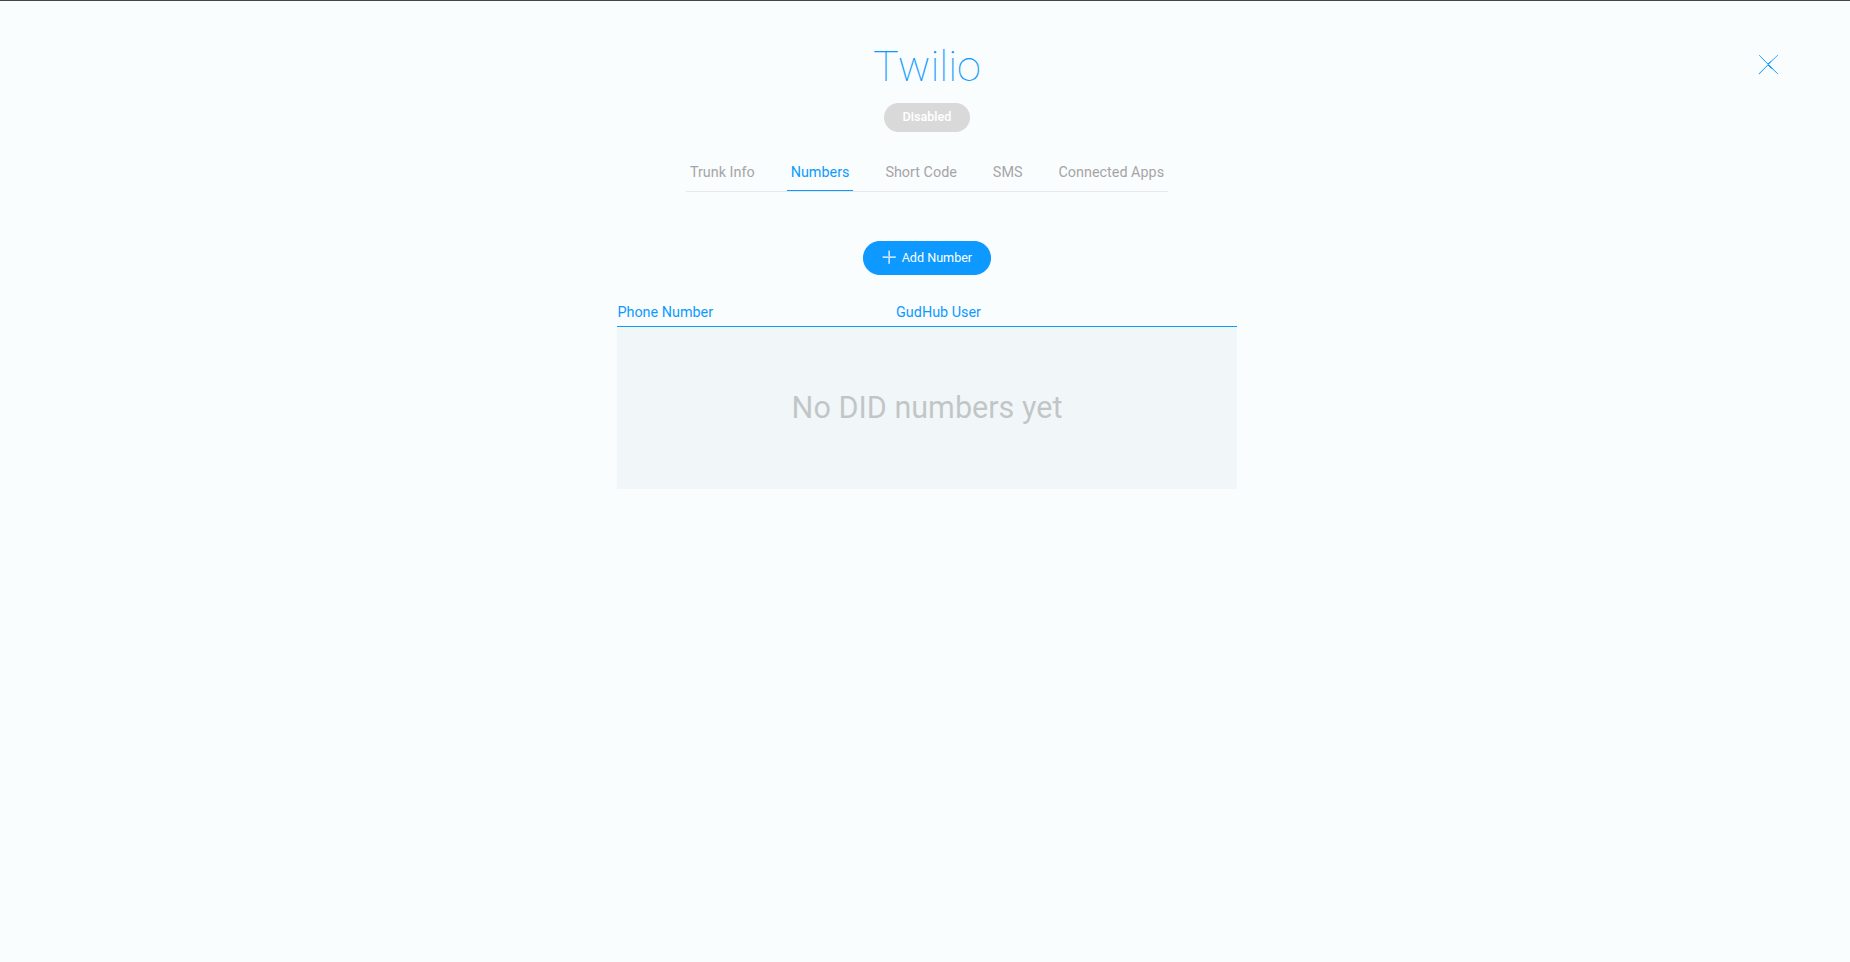
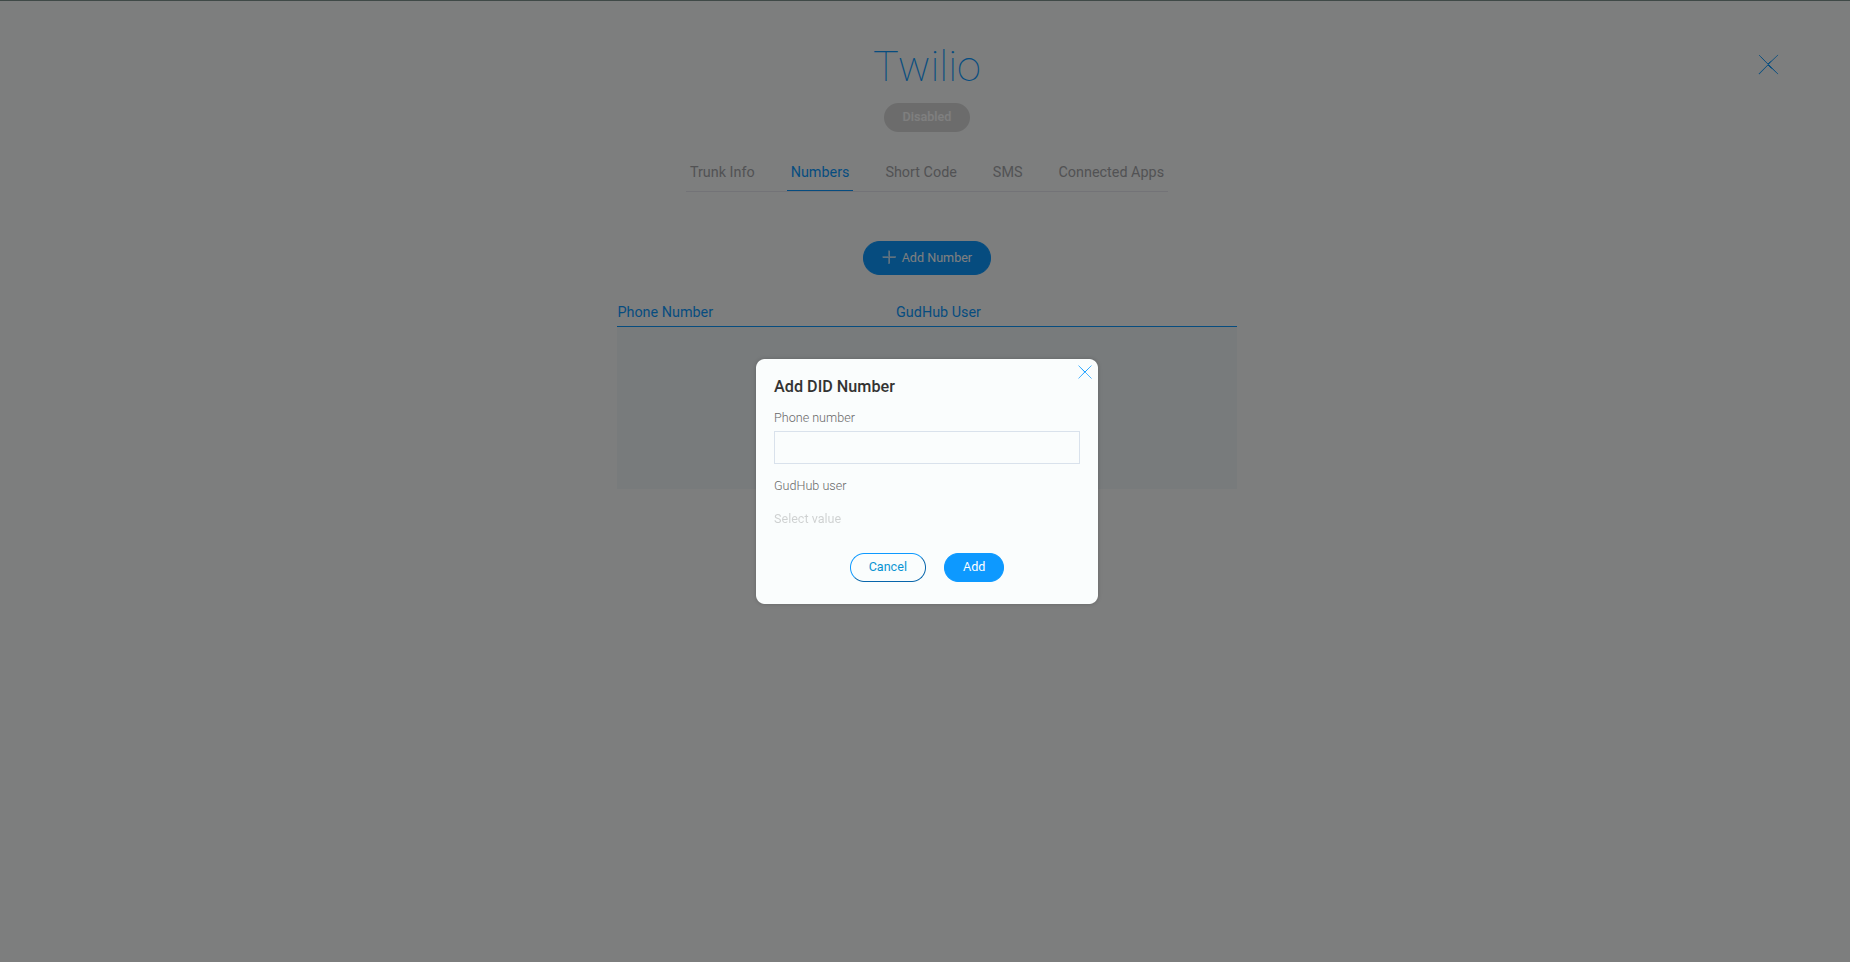
In Twilio, go to the Numbers tab.
Managing a SIP Trunk #
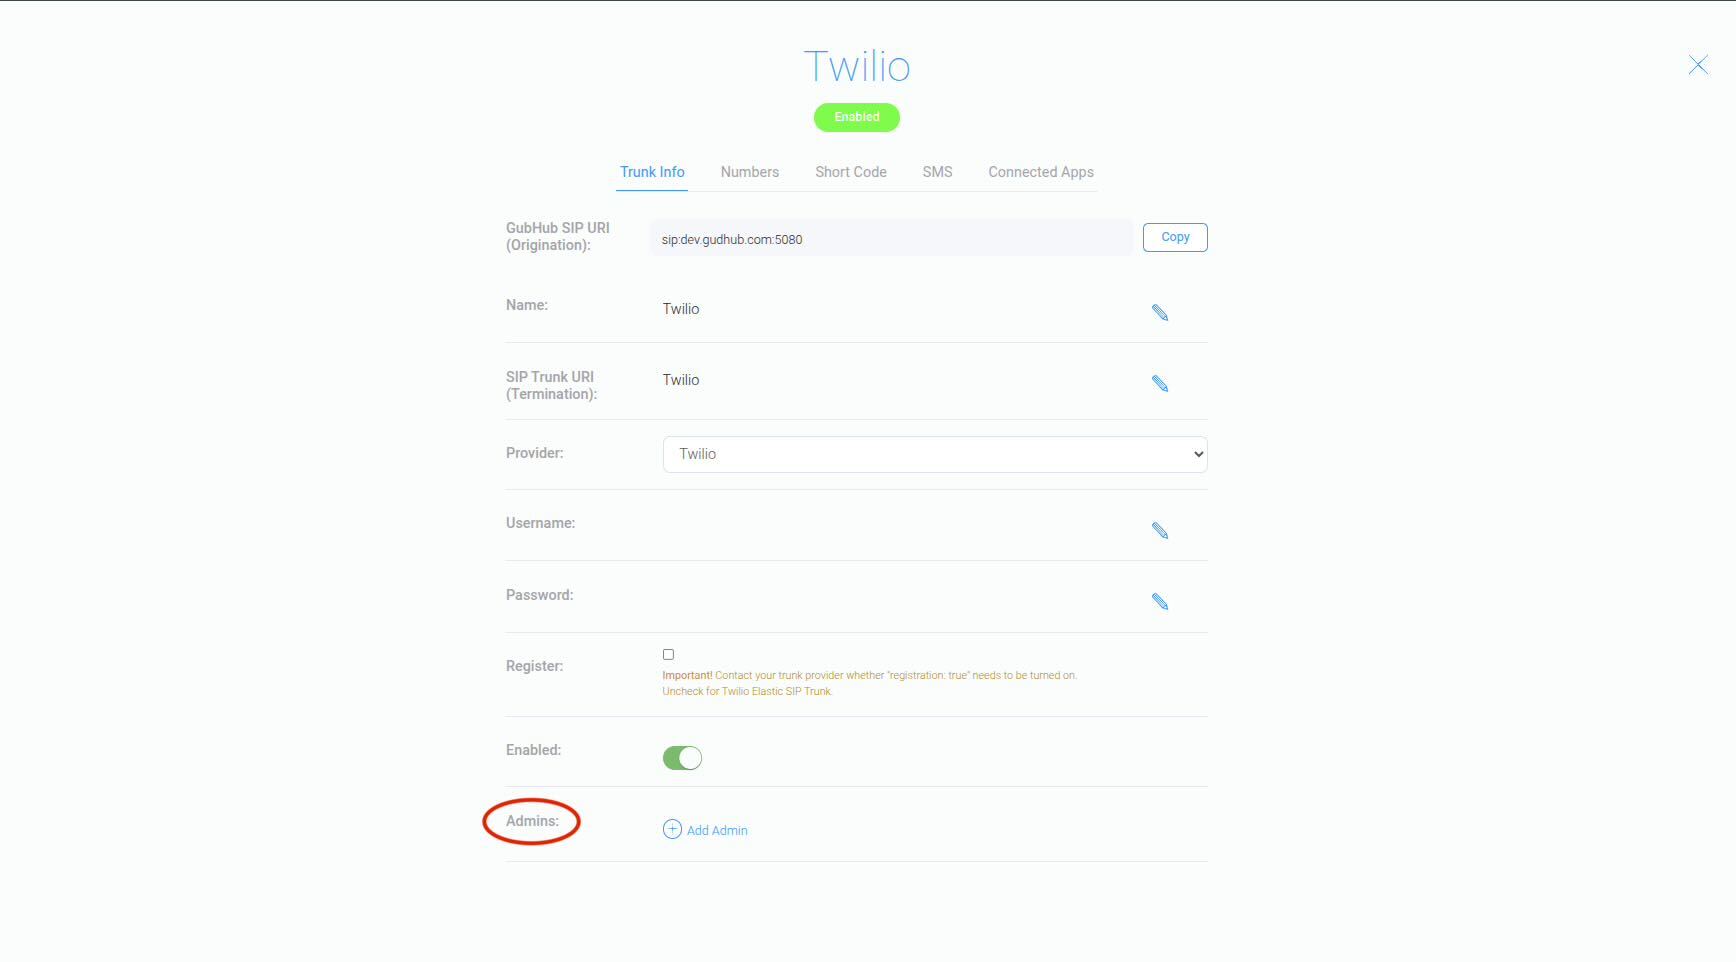
On the GudHub platform, you can configure access permissions for SIP Trunk administration.
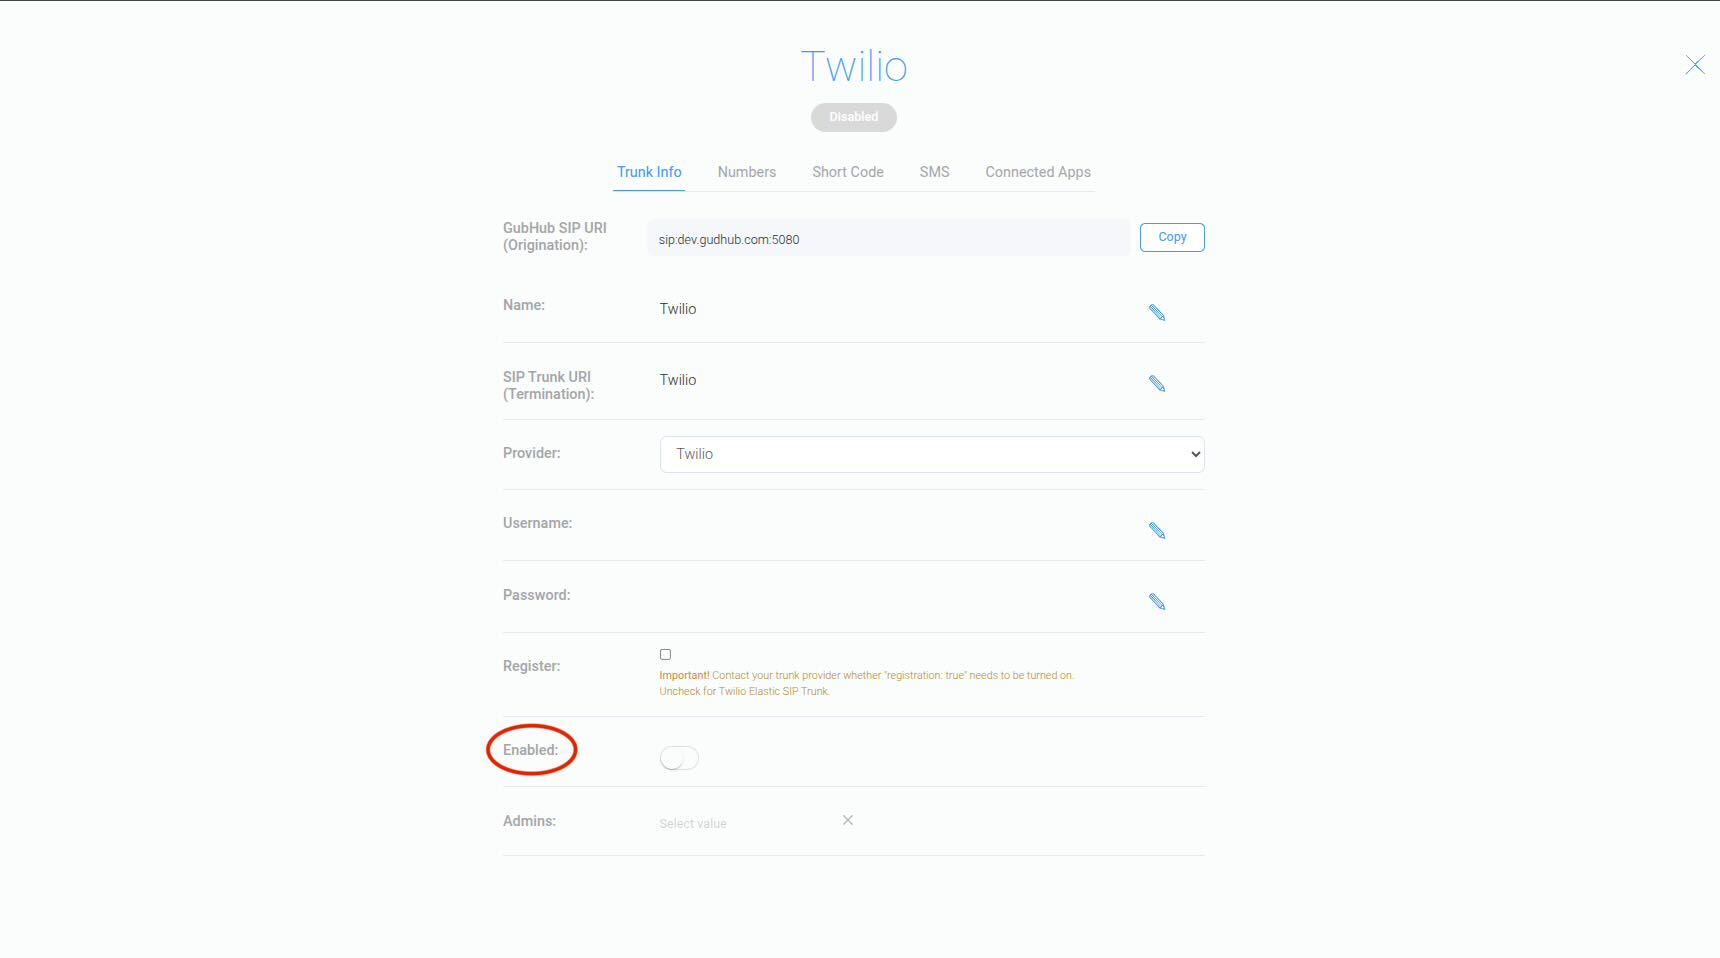
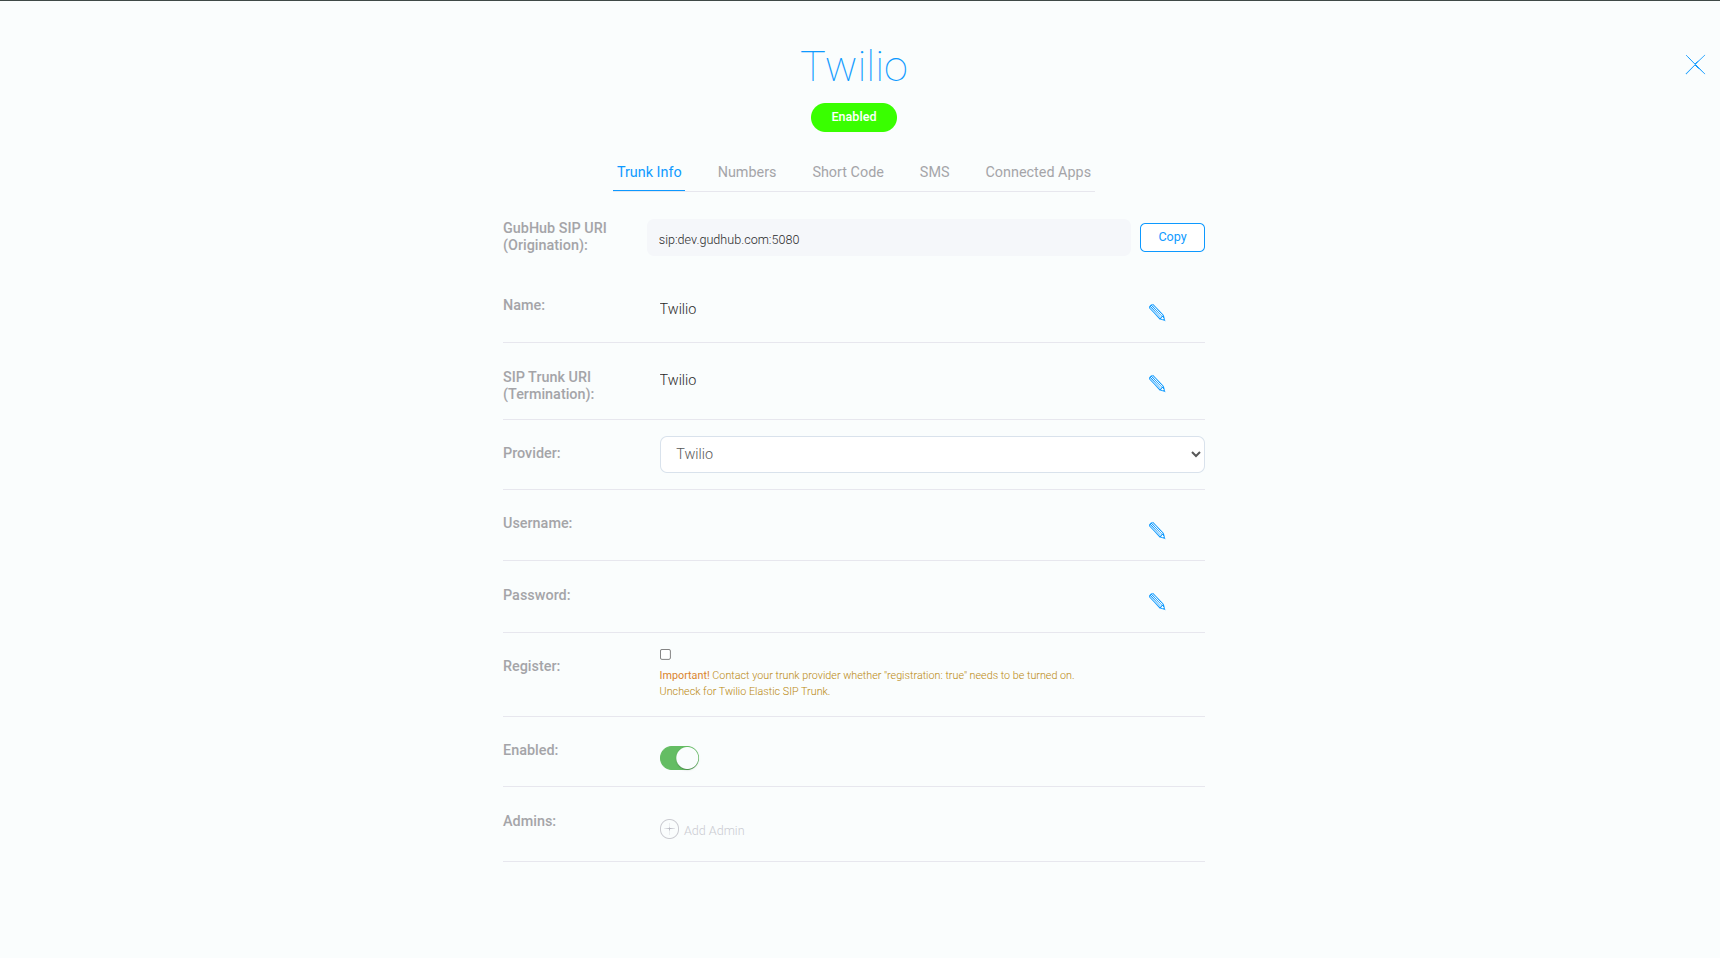
After completing the previous setup steps, open the Trunk Info tab and enable telephony by clicking “Enabled”.
Connecting Apps to a SIP Trunk #
You can connect CRM apps that contain customer or lead data to the telephony service.
To do this, go to the Connected Apps tab.
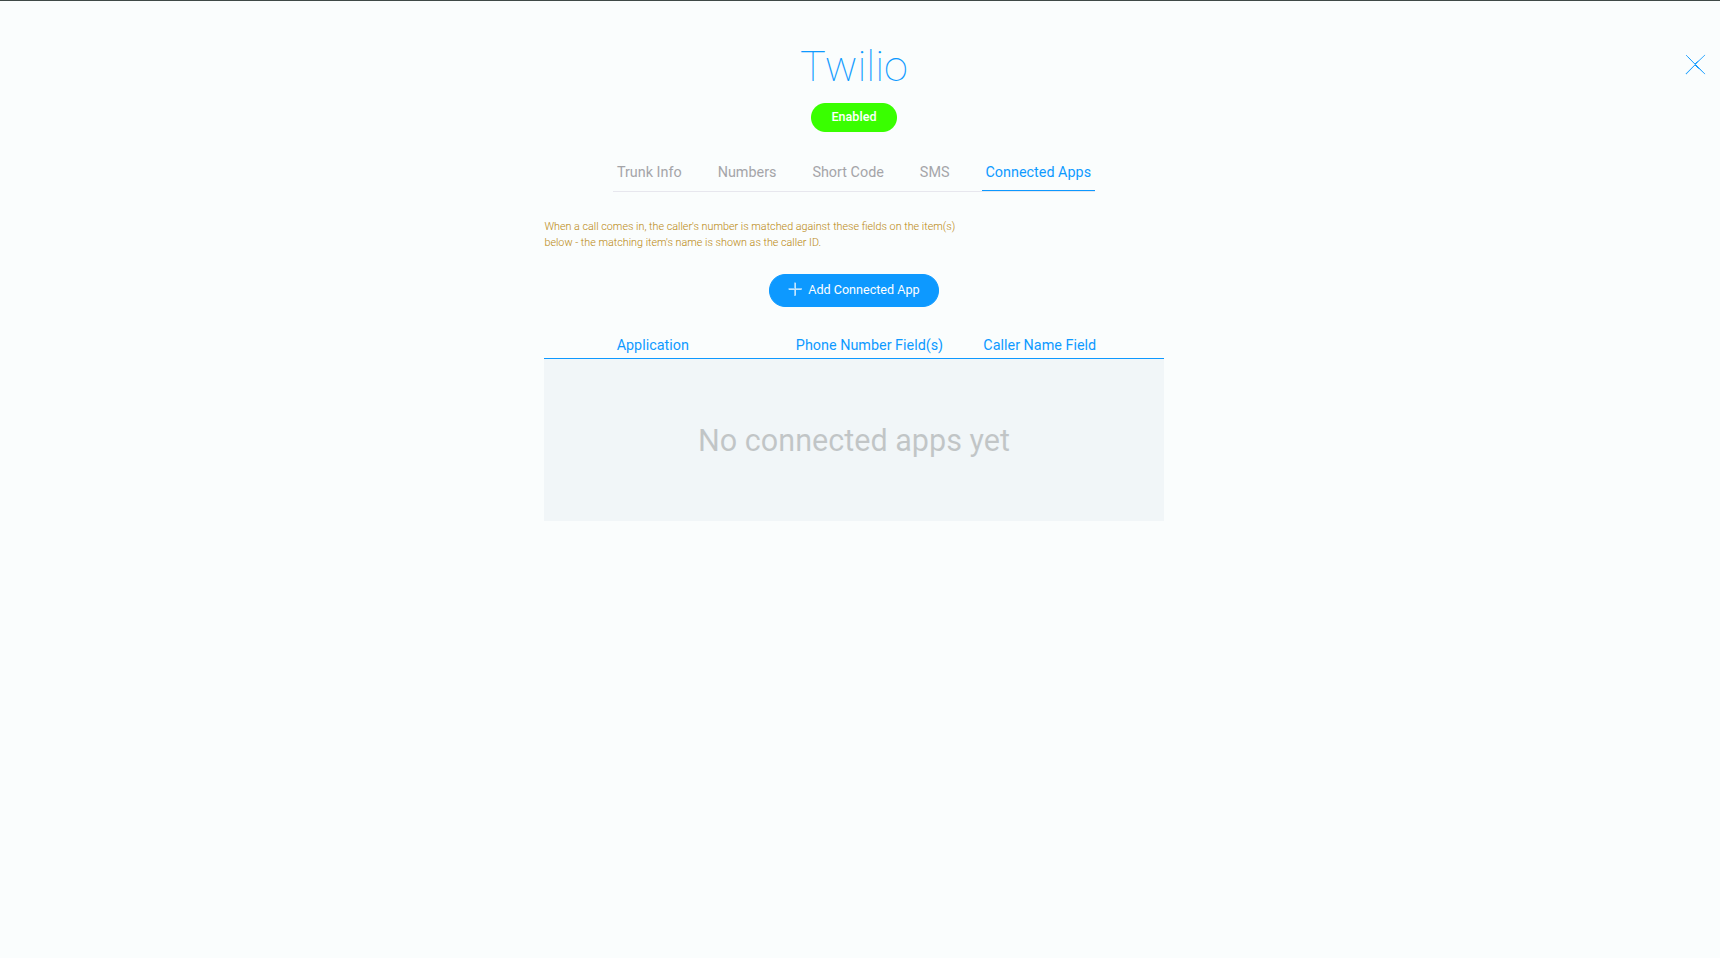
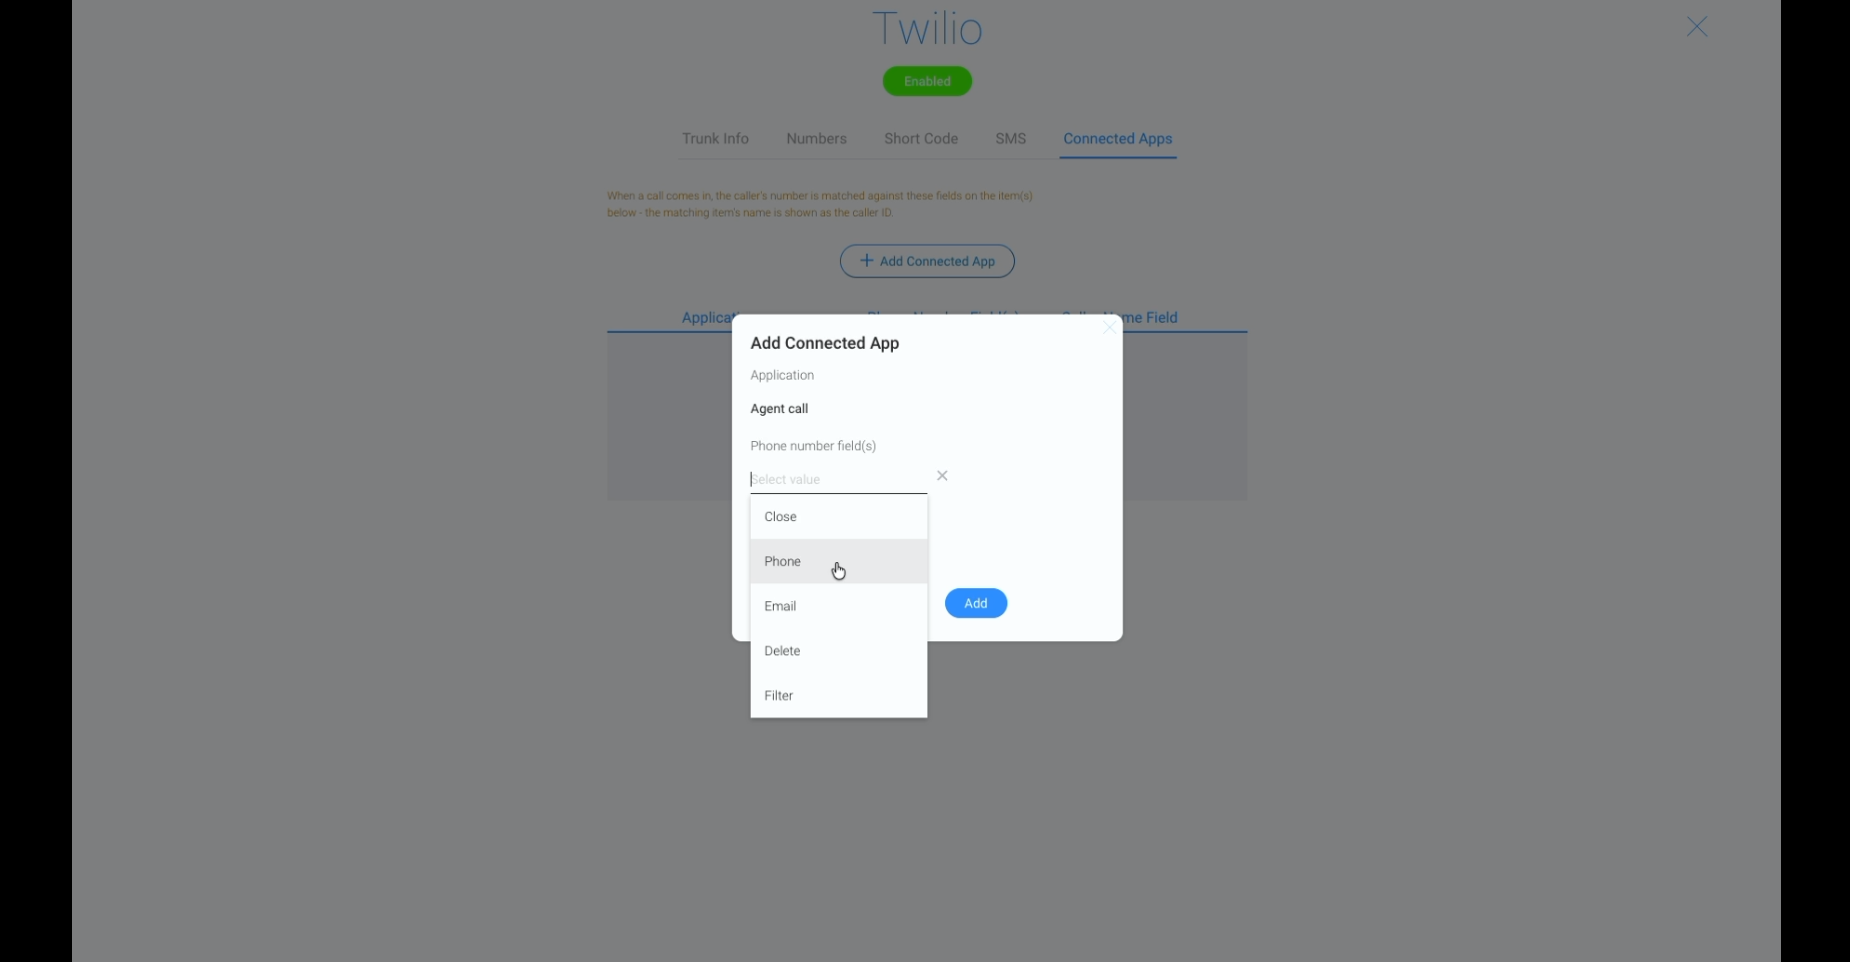
In the window that opens, select the app you want to connect to the telephony service.
In the Phone number field(s) field, select “Phone”.
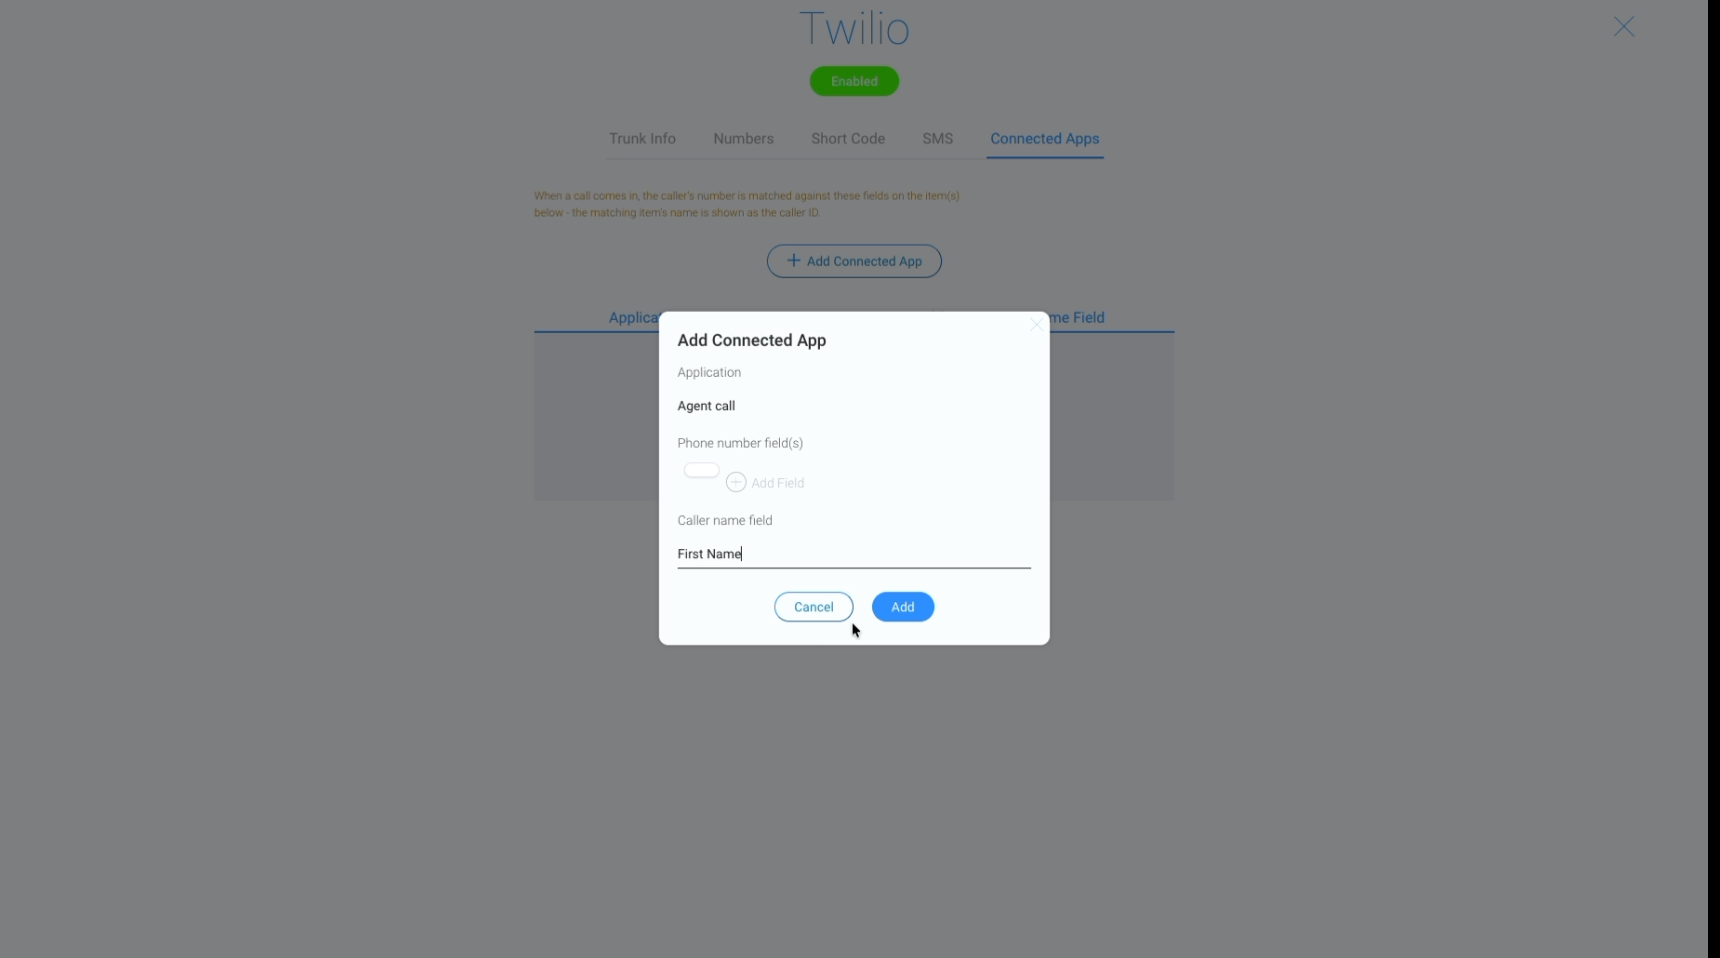
- For outgoing calls, you can select the customer or lead you want to call, and their phone number will automatically be added to the ІР telephony interface.
- For incoming calls, if the caller’s phone number is saved in the CRM, the system will display both their phone number and name.
Connected business telephony allows you to manage calls and customer contacts centrally within your CRM. Your SIP Trunk setup is now complete. The telephony service is ready to use: you can make and receive calls through GudHub, work with customers directly from your CRM, and keep track of your call history.