
Sharing Apps #
App sharing allows you, as the owner of a CRM system, to grant other users access to your apps.
In GudHub, there are two ways to share apps: using the “Sharing” feature directly within an app or by creating groups in your profile settings.
The First Way to Share Apps #
By default, whenever you create an app, a “Sharing” button appears in the top toolbar. This button allows you to grant users access to that specific app.
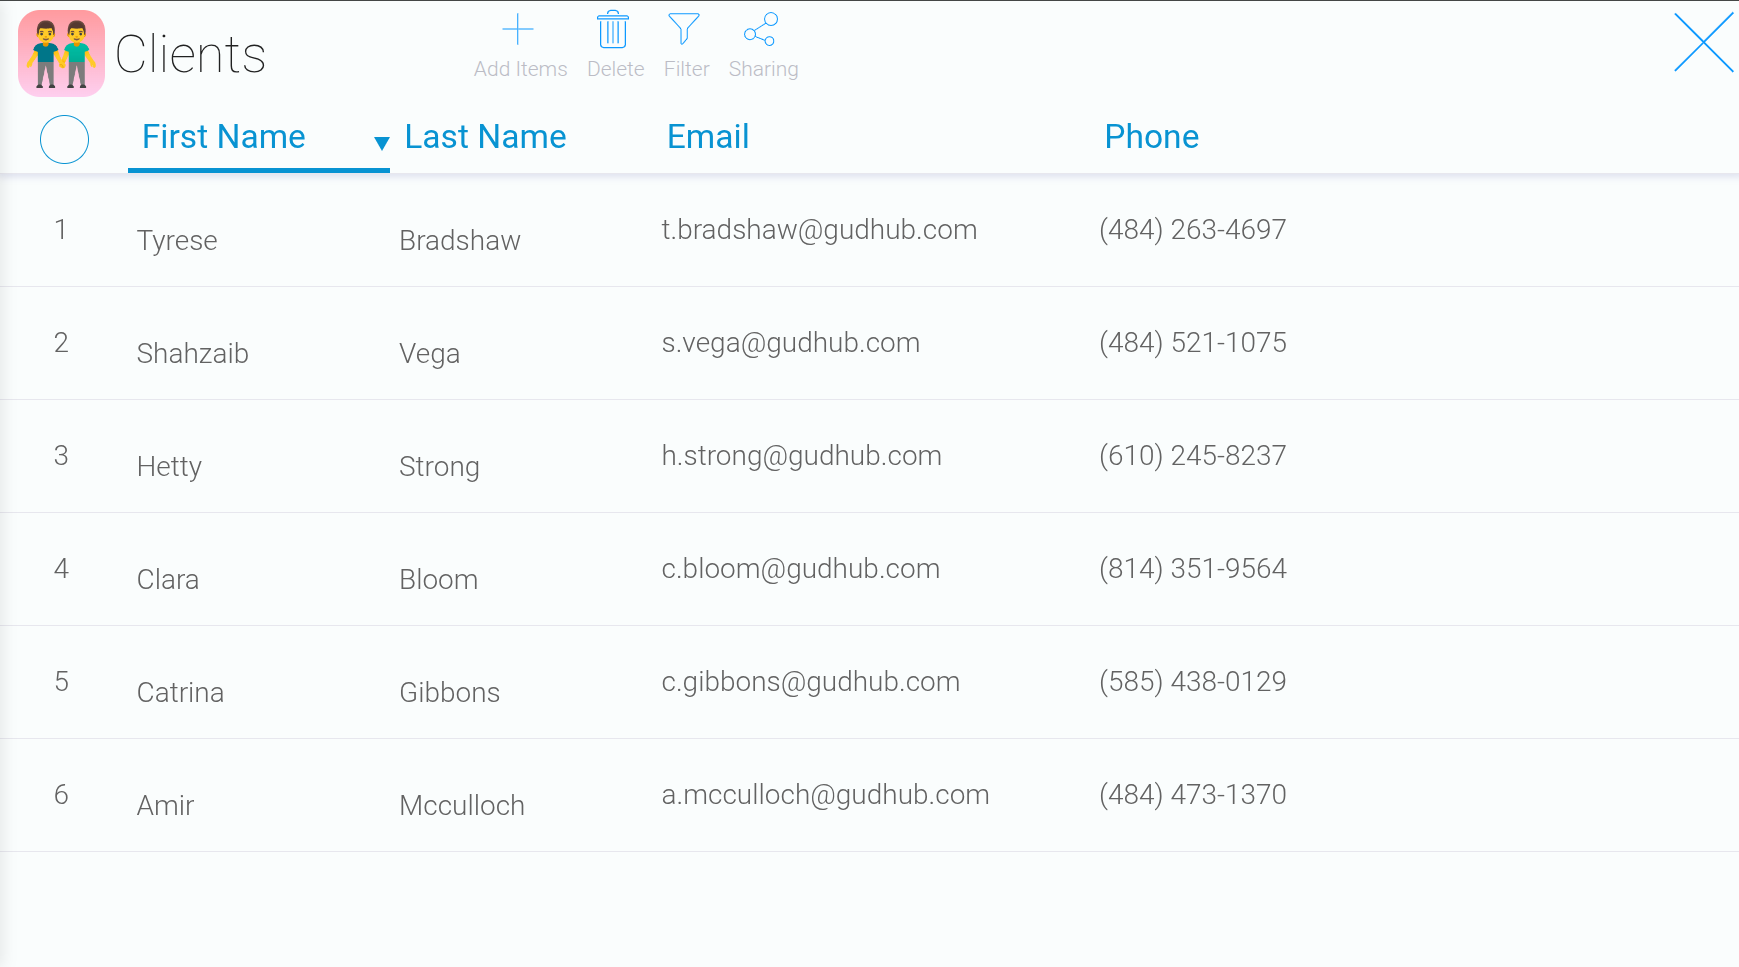
To share an app, click “Sharing”.
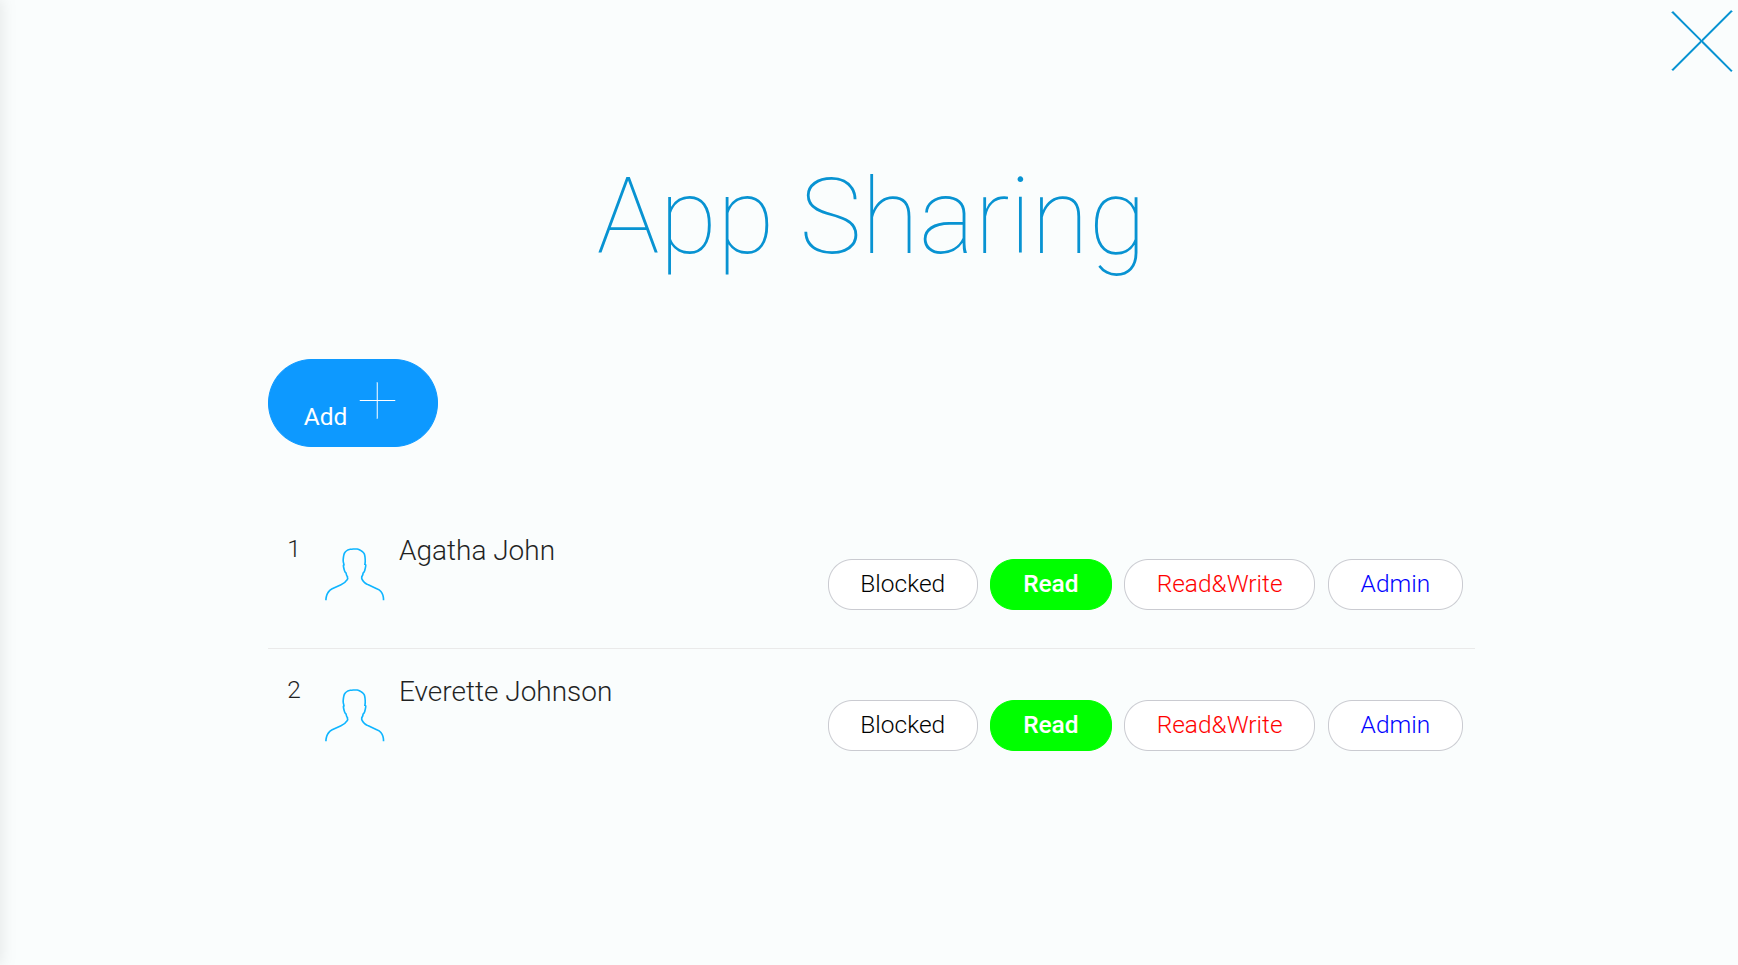
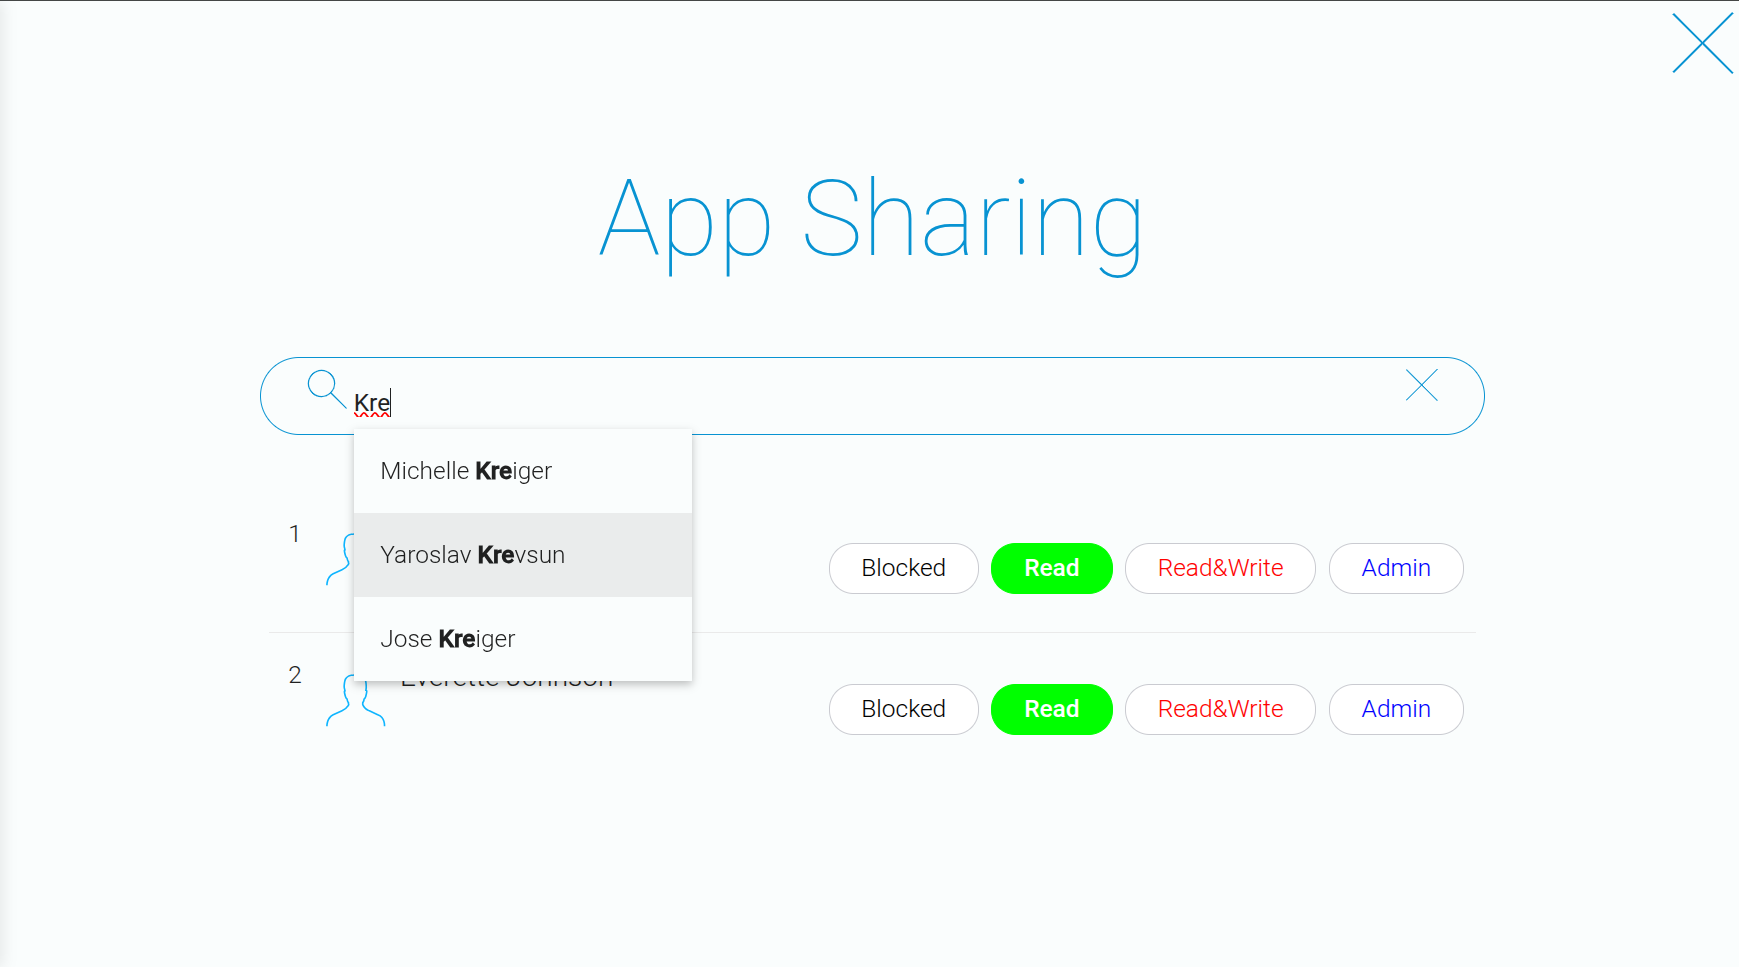
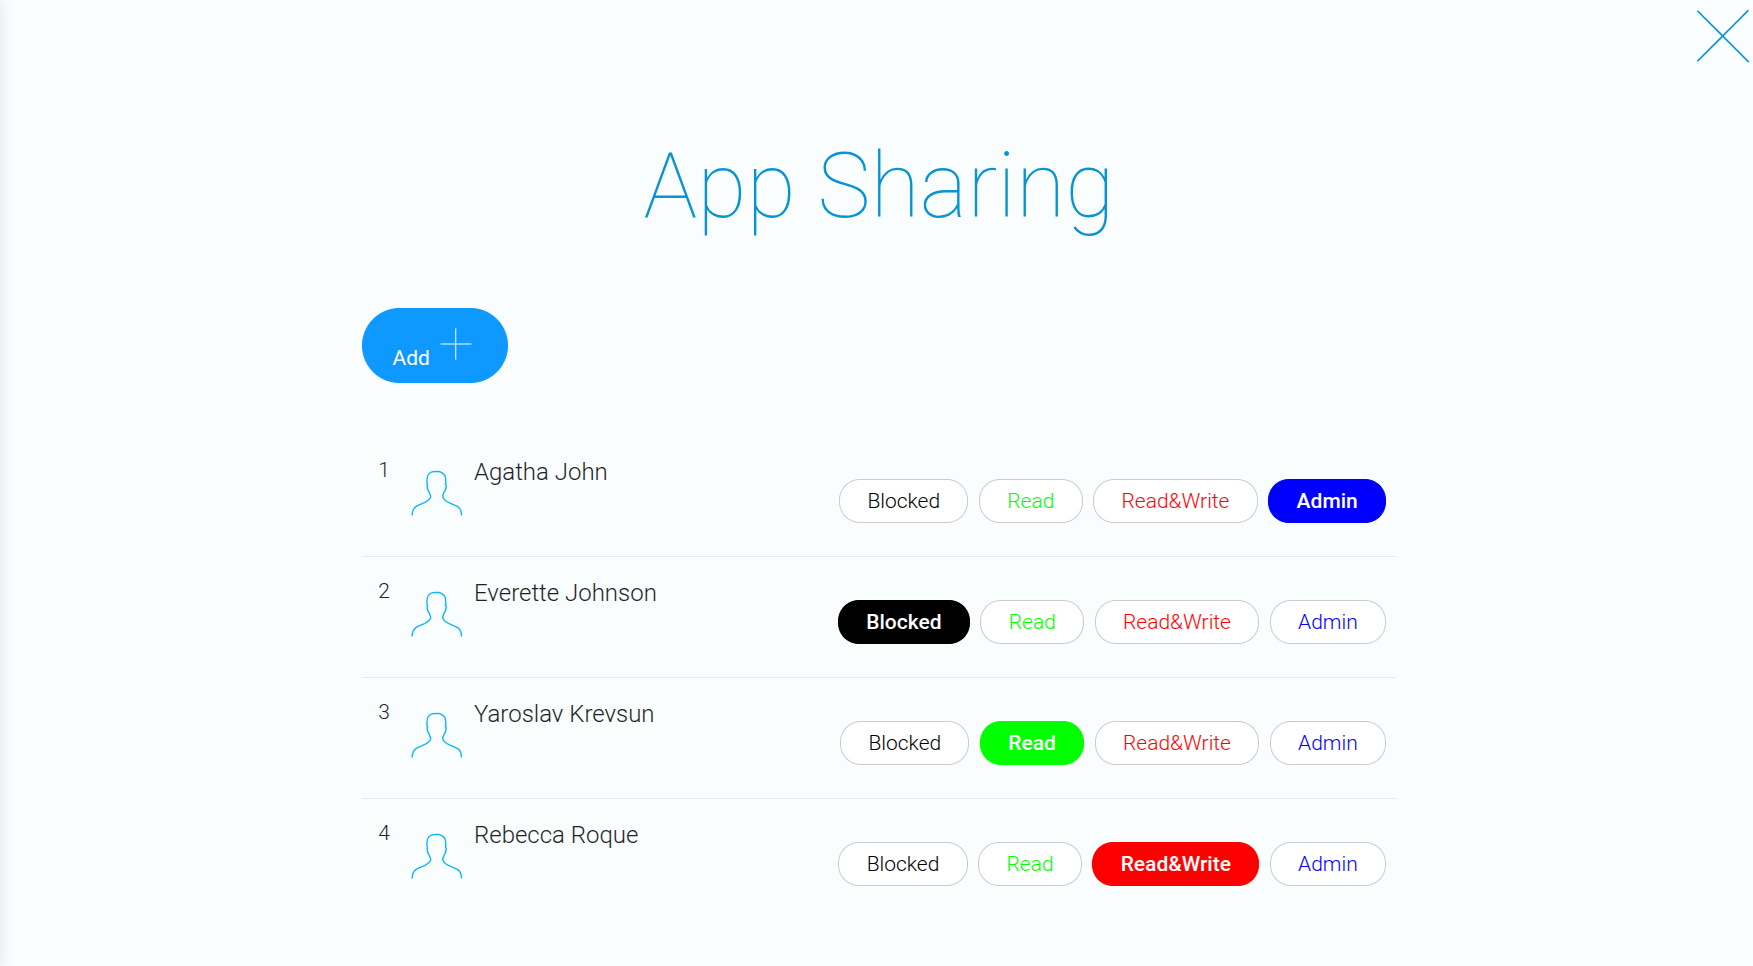
Then click “Add” and select the users you want to grant access to.
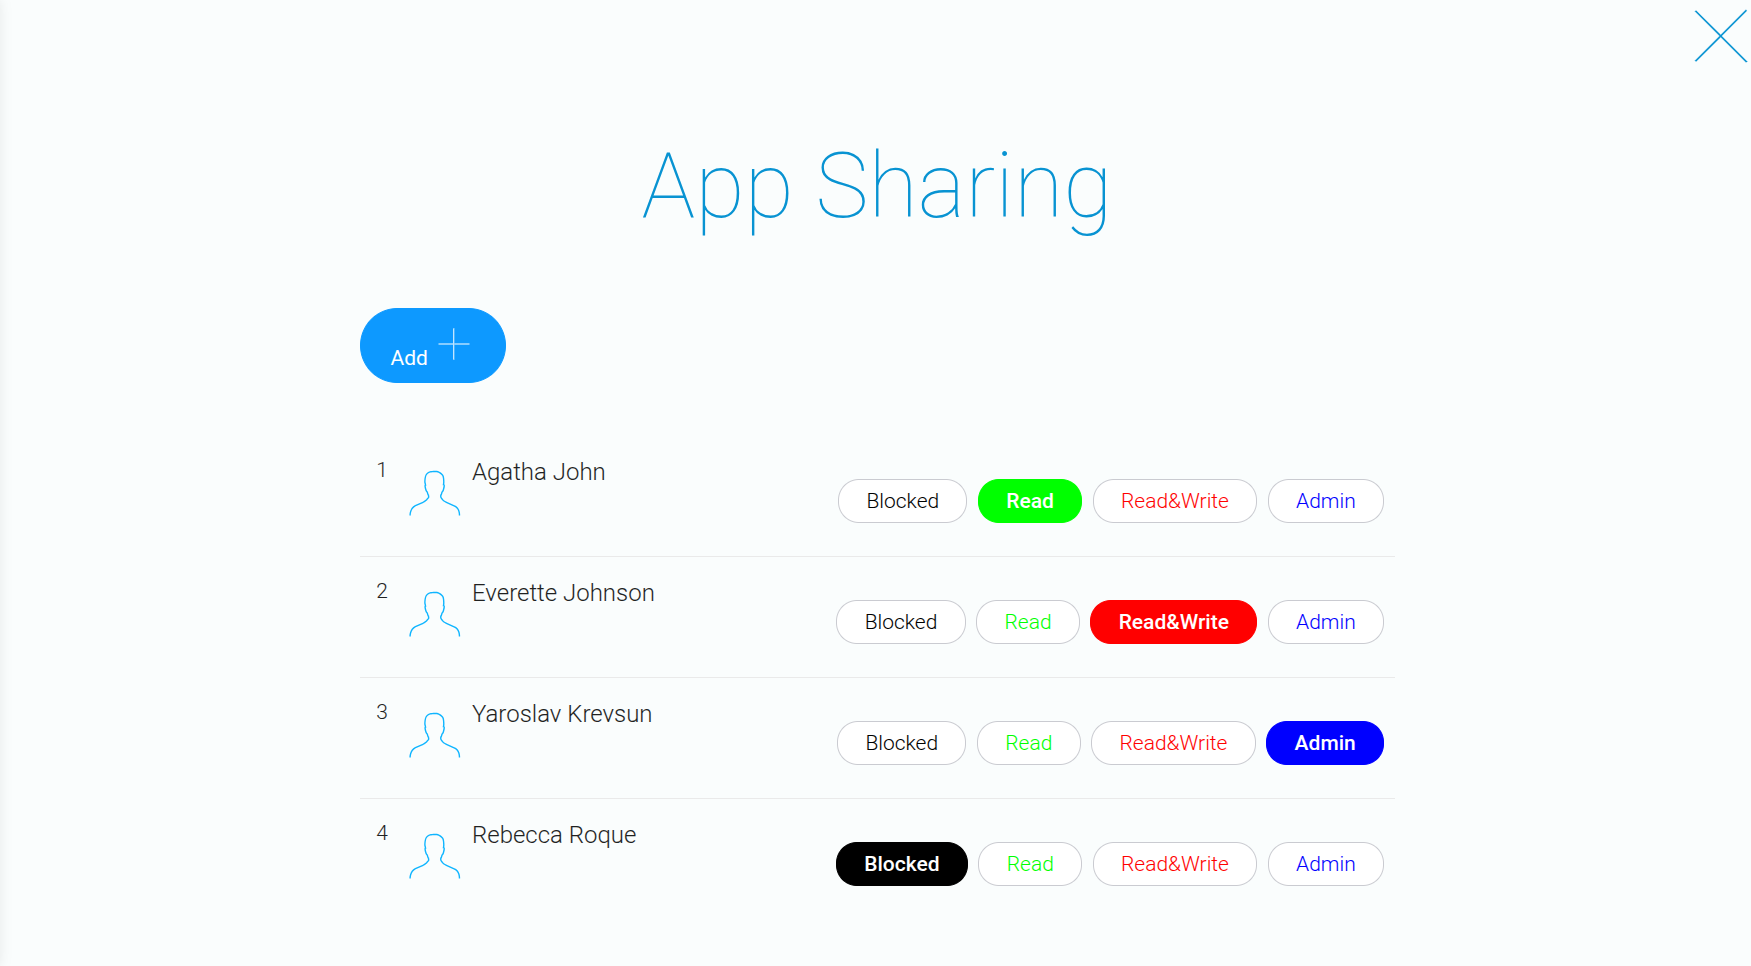
Read&Write – allows the user to edit data within the app.
Admin – allows the user to fully edit the app but does not grant permission to delete it.
Blocked – prevents the user from accessing or viewing the app.
To allow a user to grant access to the app to other users, you must assign them the "Admin" status. Users with any other status cannot share the app with others.
Setting an App’s Status to “Public” #
Before moving on to the second way of sharing apps, it is worth mentioning that GudHub allows you to set an app’s status to “Public”.
To do this, open the app’s settings.
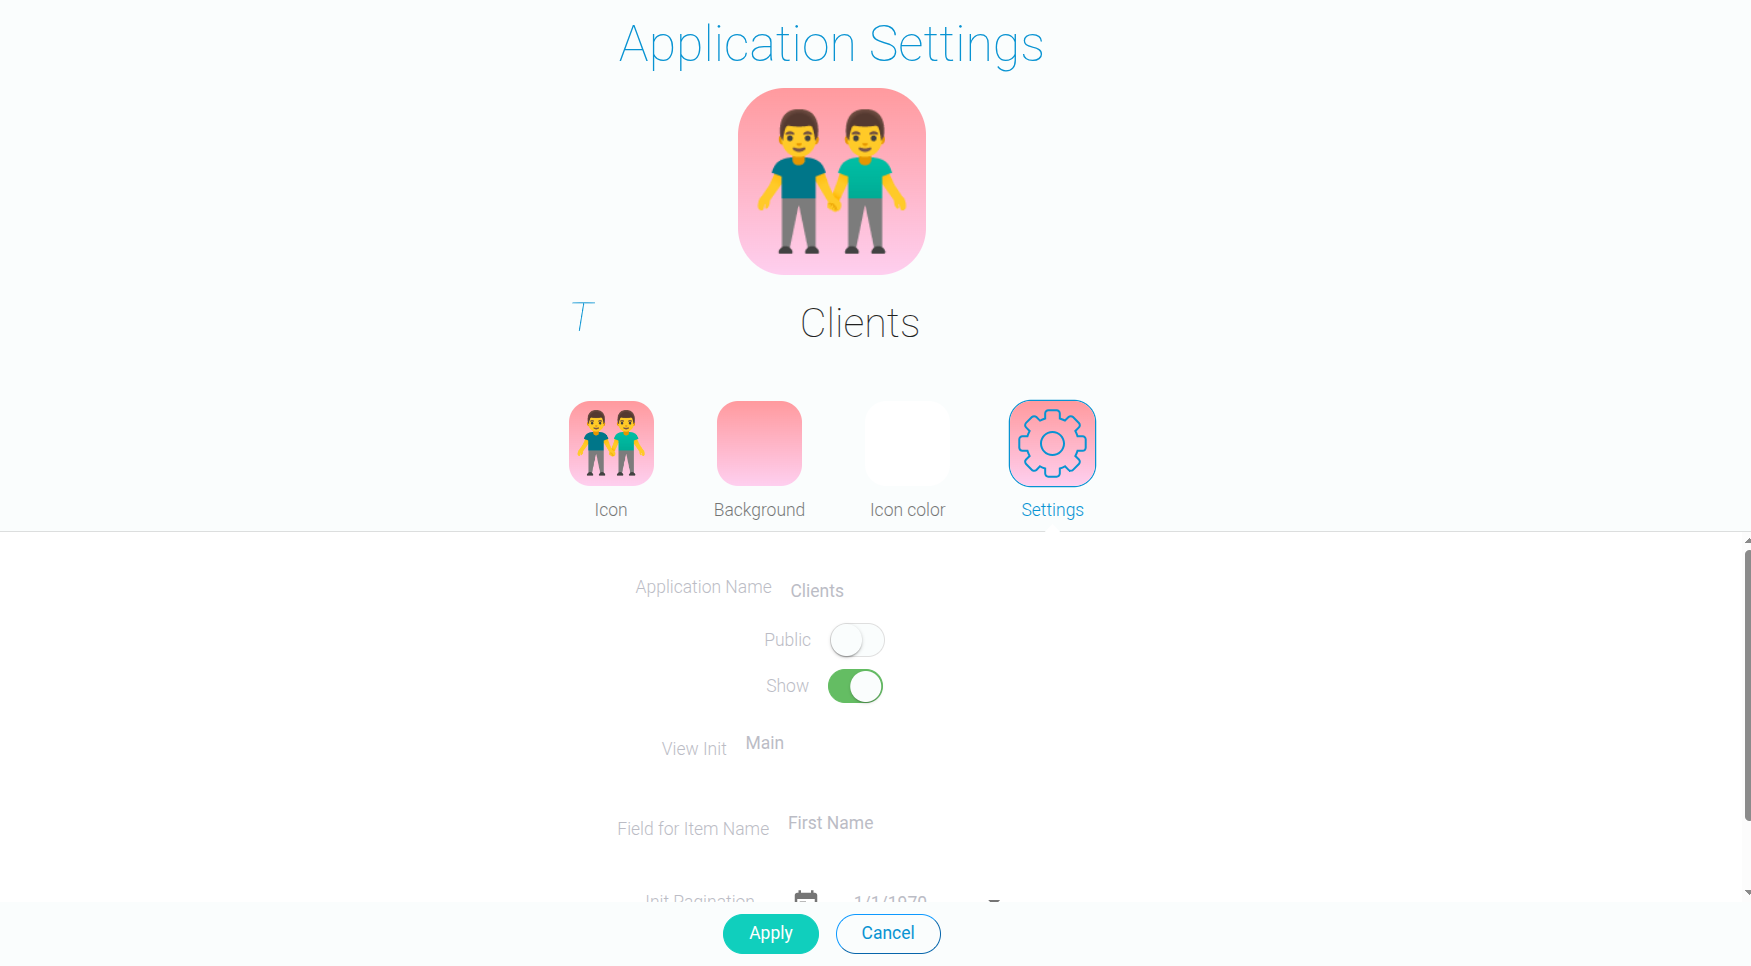
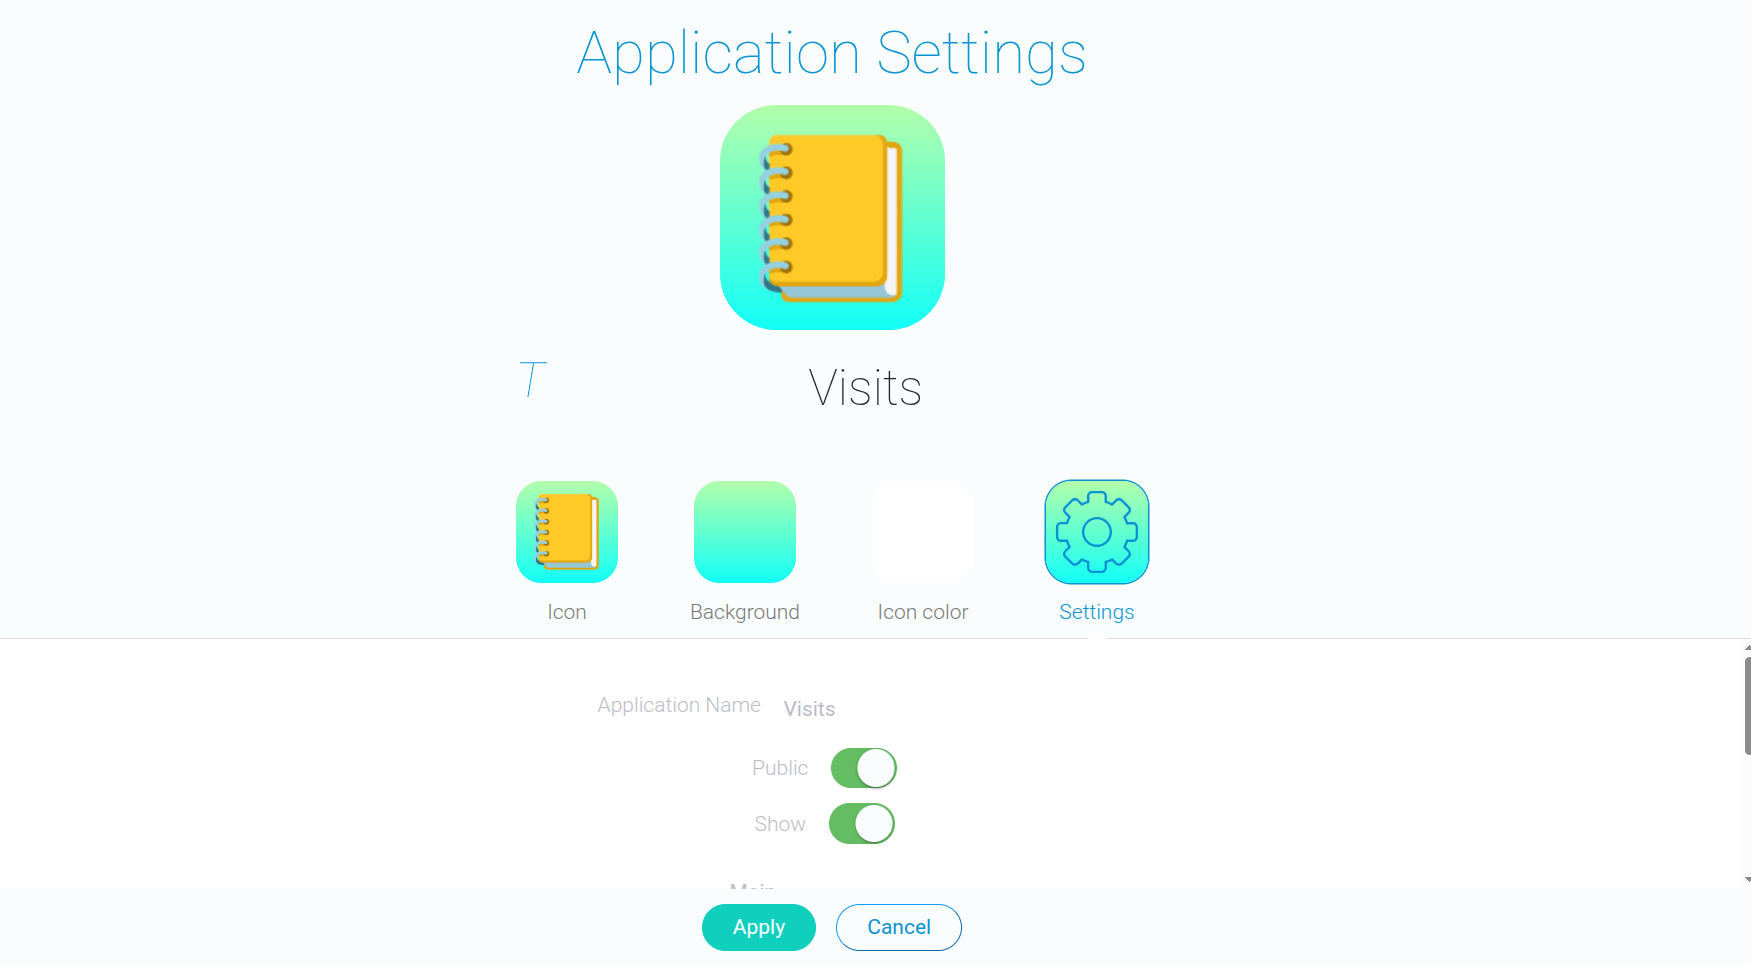
Enabling the “Public” status allows users to access the app’s data without having access to the app itself.
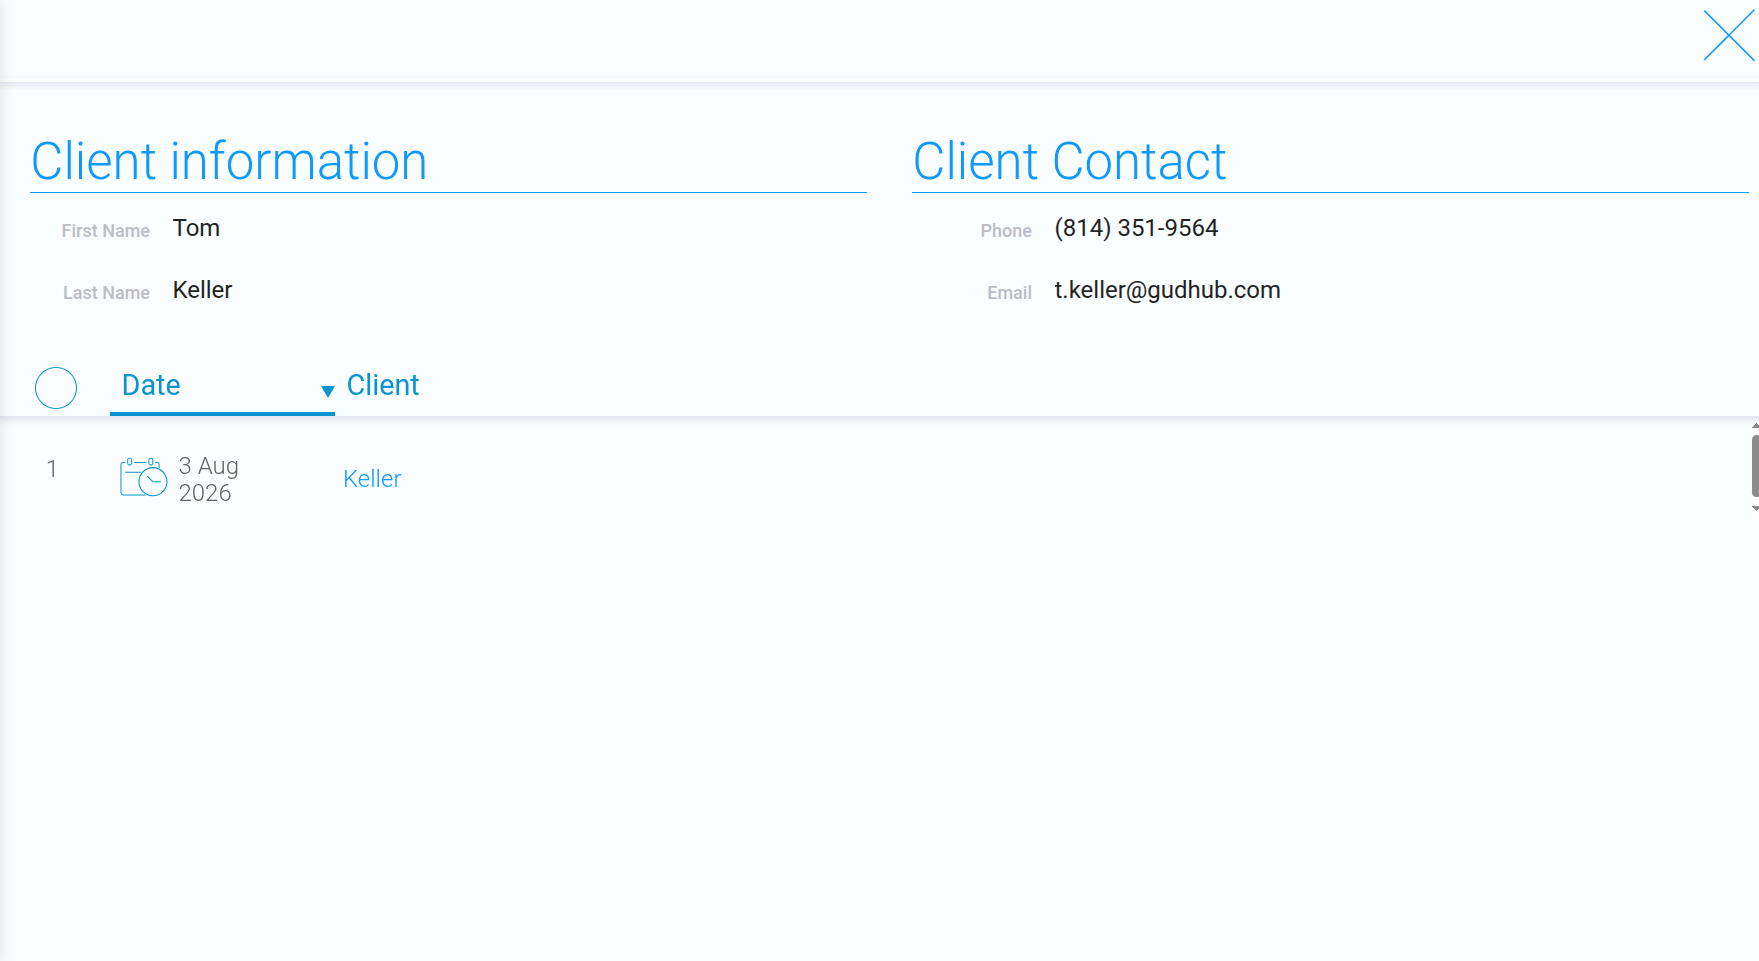
For example, suppose two apps in your system are connected, but only one of them has “Public” status enabled. In that case, users will only be able to access data from the public app. Data from the other, non-public app will not be available to them.
Let’s look at an example.
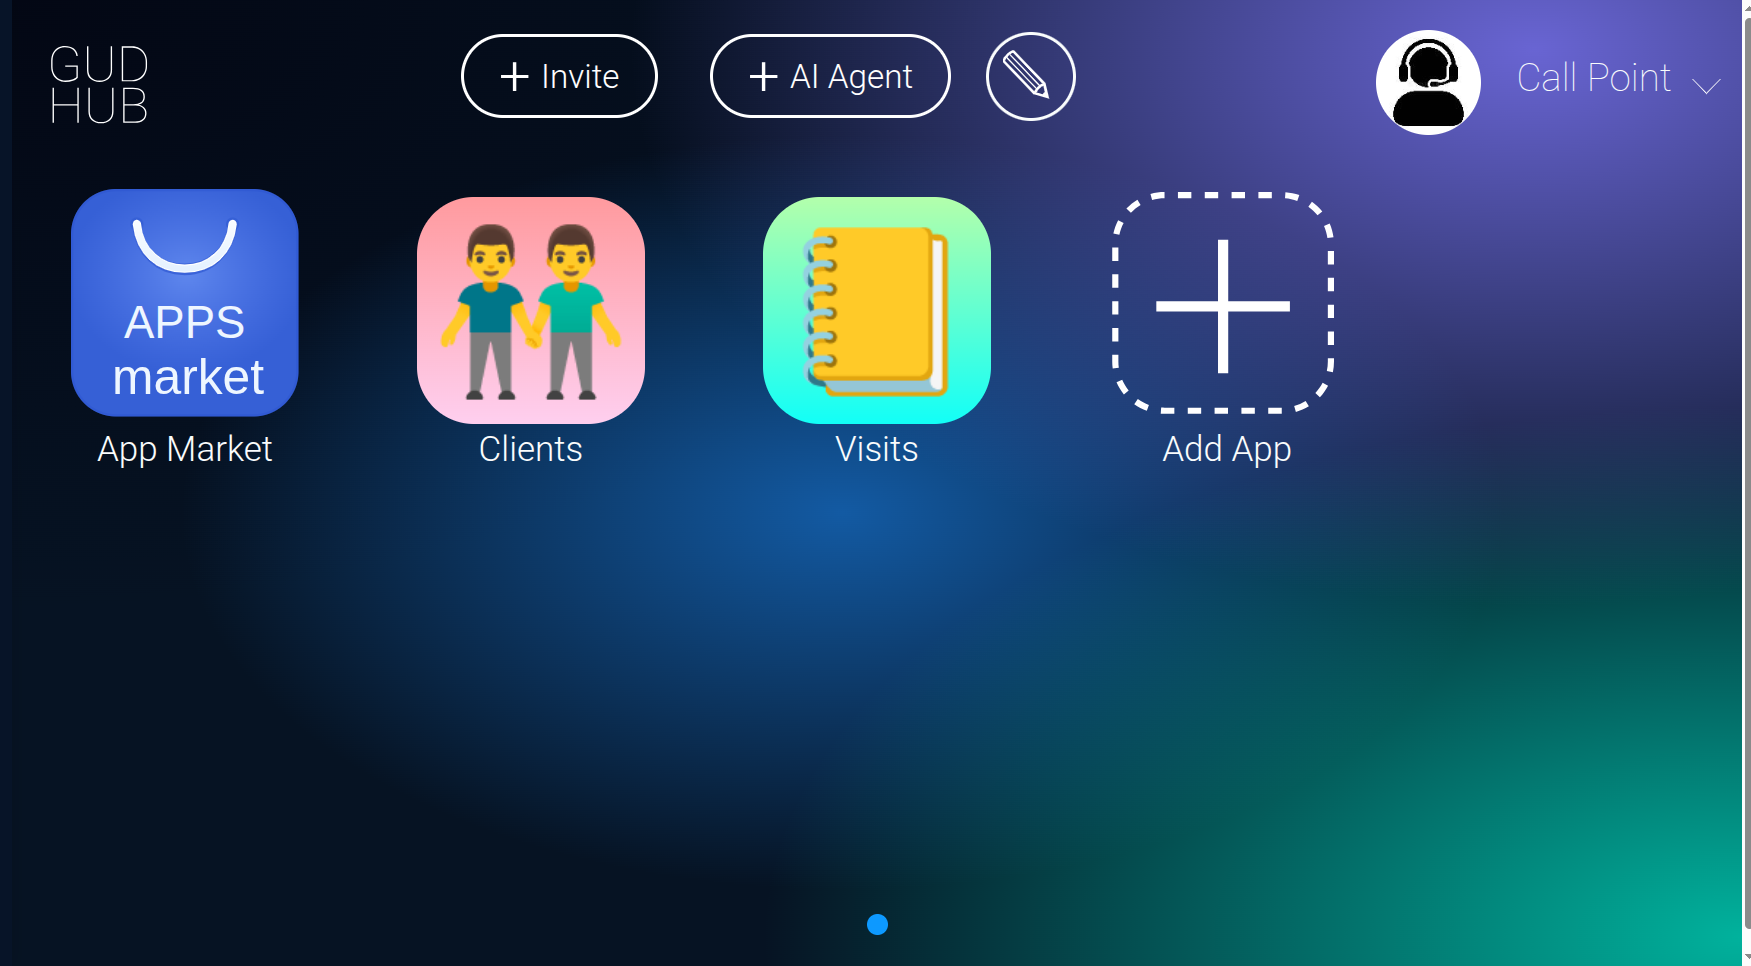
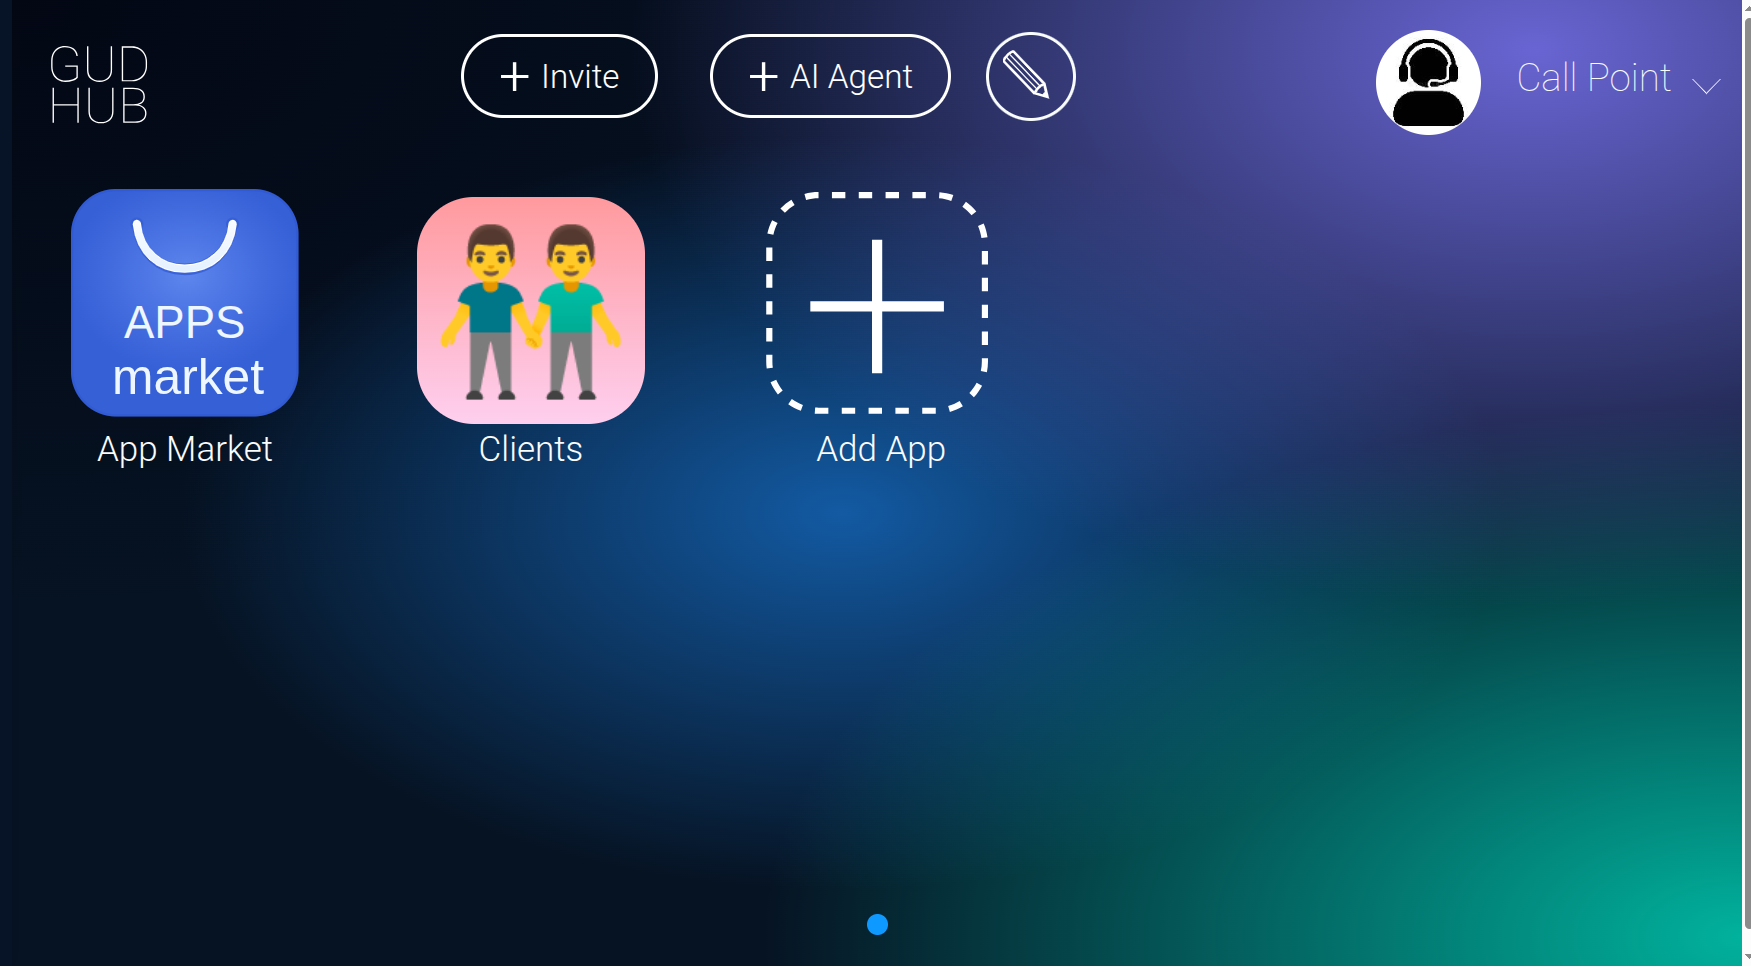
Suppose your system contains two apps: “Clients” and “Visits”.
The Second Way to Share Apps #
You can also share apps and grant users access to them by creating groups in your profile settings.
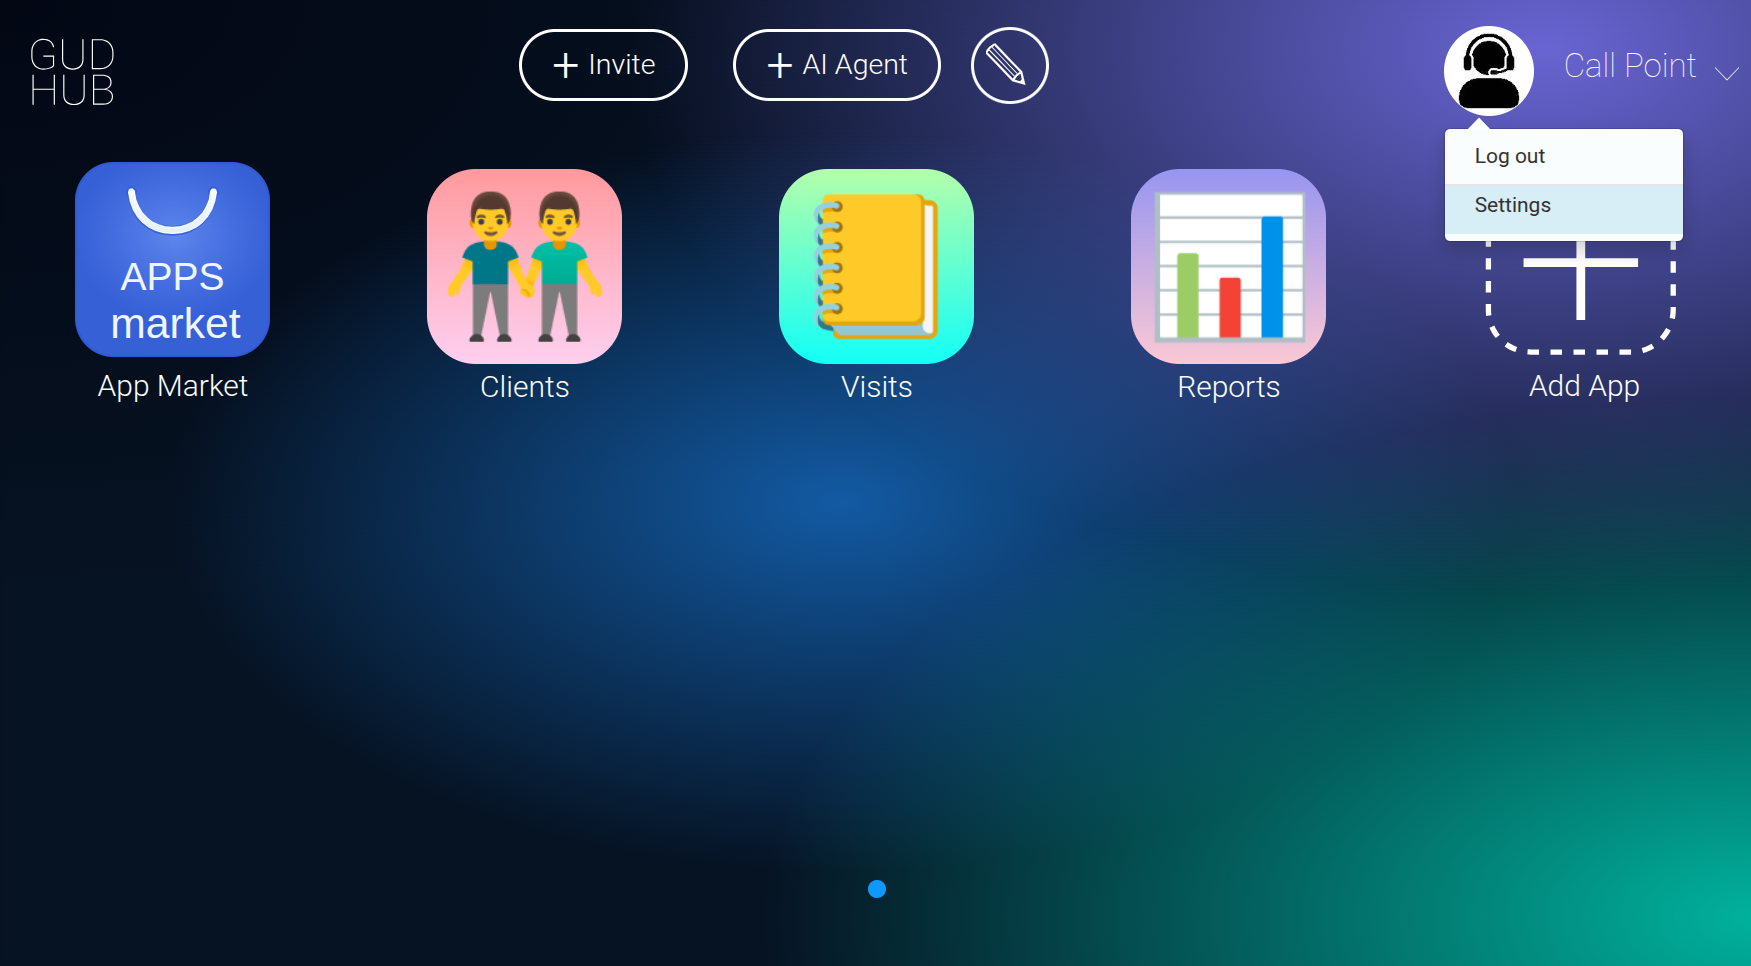
To do this, click “Settings”.
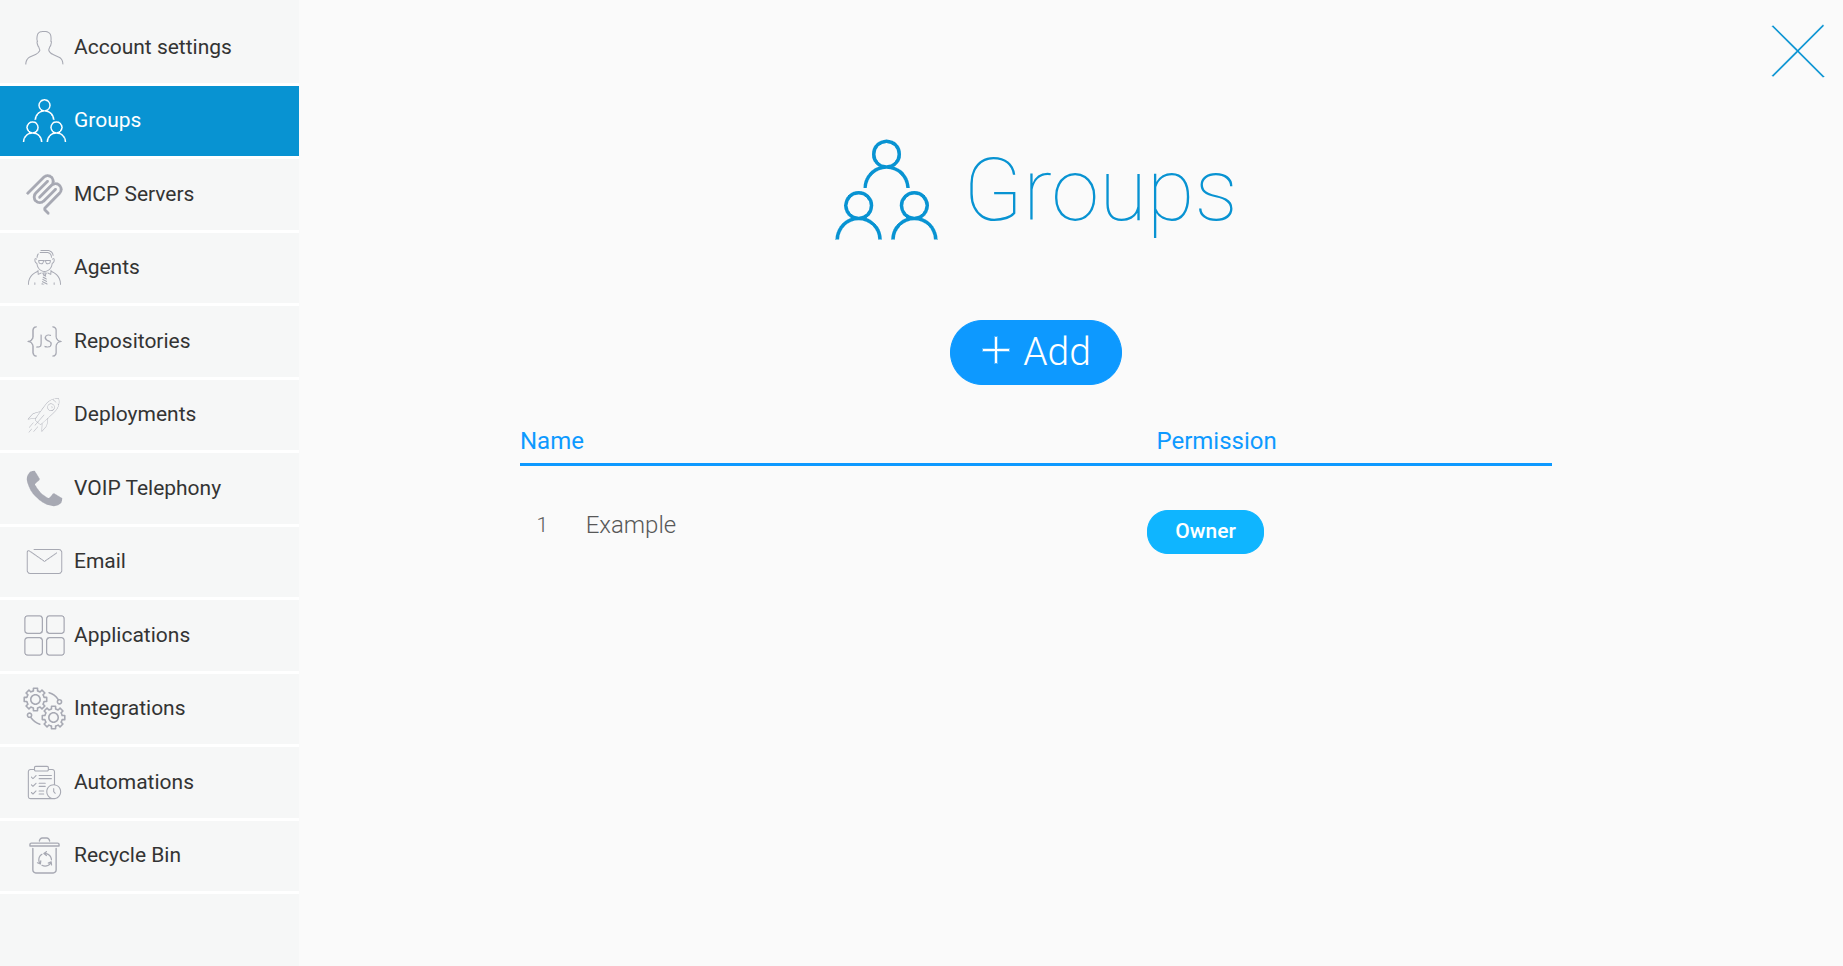
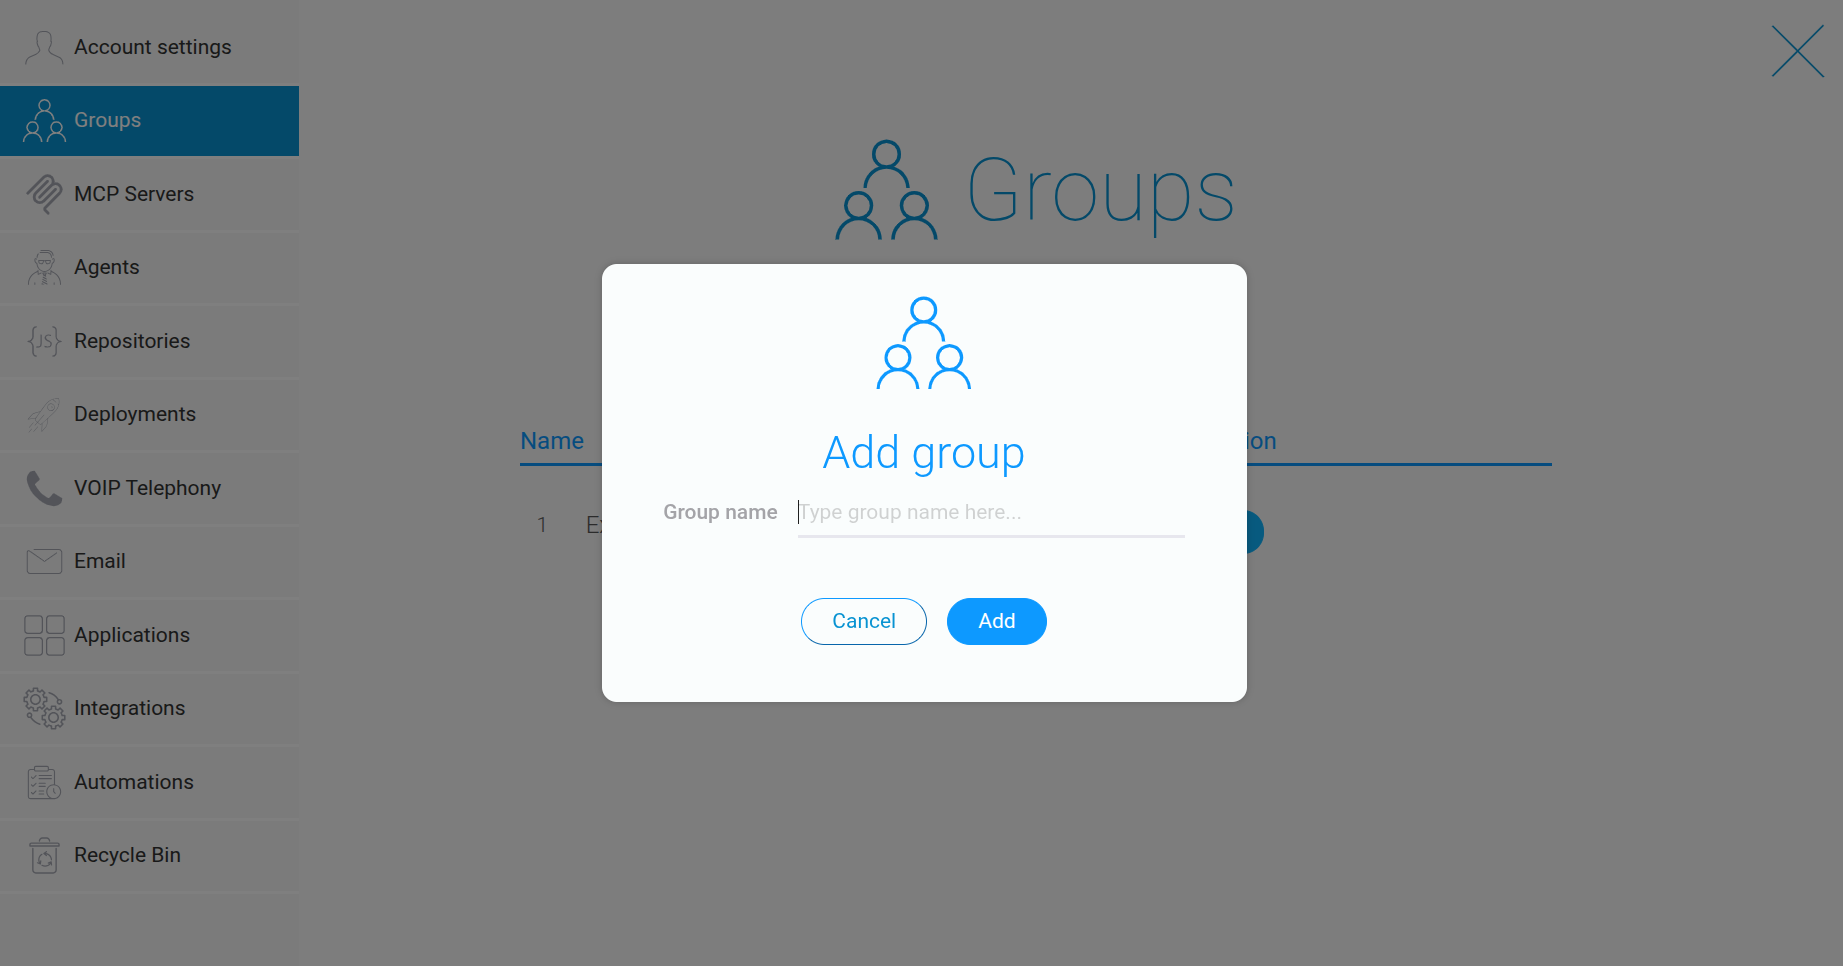
Enter a name for the group and click “Add” to confirm.
Here, you can manage the access statuses mentioned earlier.
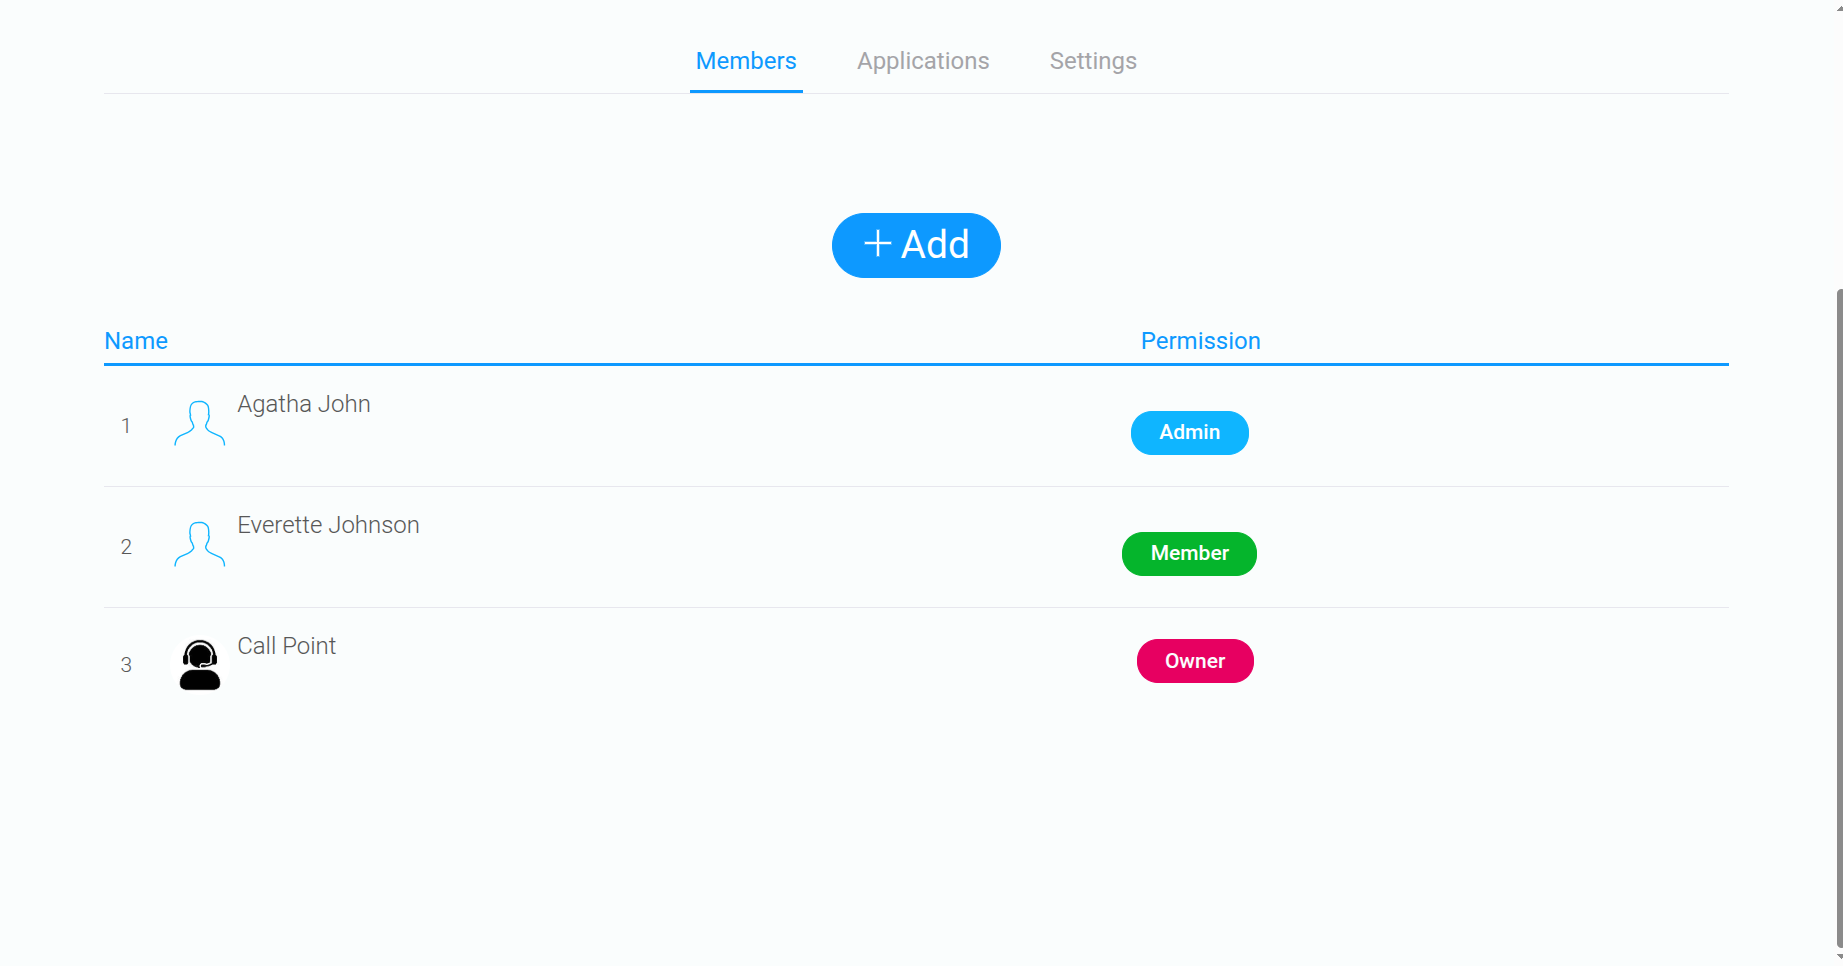
Users with "Admin" status can add apps to the group themselves.
Users with "Member" status cannot do this.
Access Status Priority #
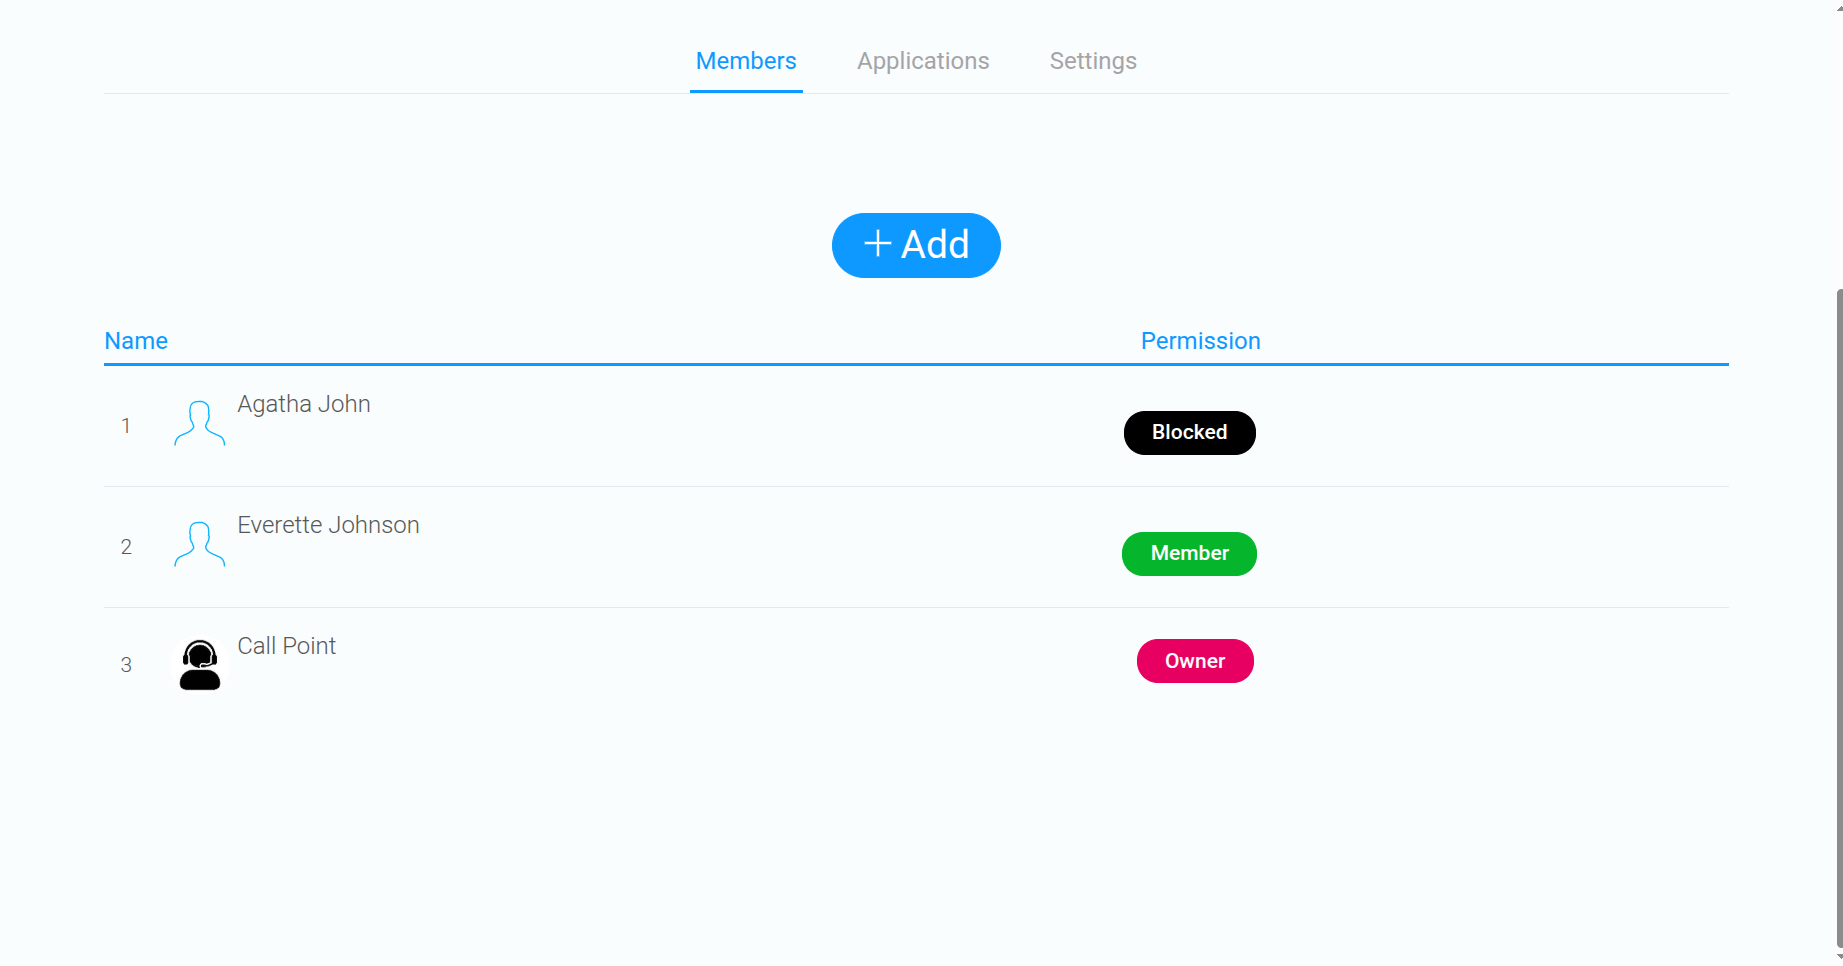
Access statuses assigned through the “Sharing” feature take precedence over those assigned through “Groups”.
Let’s look at an example. In “Groups”, a user’s access to an app is set to “Blocked”.
When sharing apps in GudHub, it is important to consider not only how access is granted but also the permission levels assigned to each user. Use Sharing to manage access to individual apps and Groups to configure access to multiple apps centrally. This makes it easier to organize collaboration and manage user permissions across your CRM system.