
How to Create a New Application in a CRM System #
GudHub CRM allows you to create custom applications for a wide range of business needs, from managing customer records to organizing internal company operations.
Using the App Constructor, you can configure the structure of a new application, choose the most suitable template, and start using it right away – without involving developers.
Below, we’ll walk you through the step-by-step process of creating a new application in your CRM.
Step-by-Step Guide to Creating an Application in GudHub CRM #
After signing in to GudHub CRM, you’ll be taken to the main dashboard, where you can access the tools needed to create new applications.
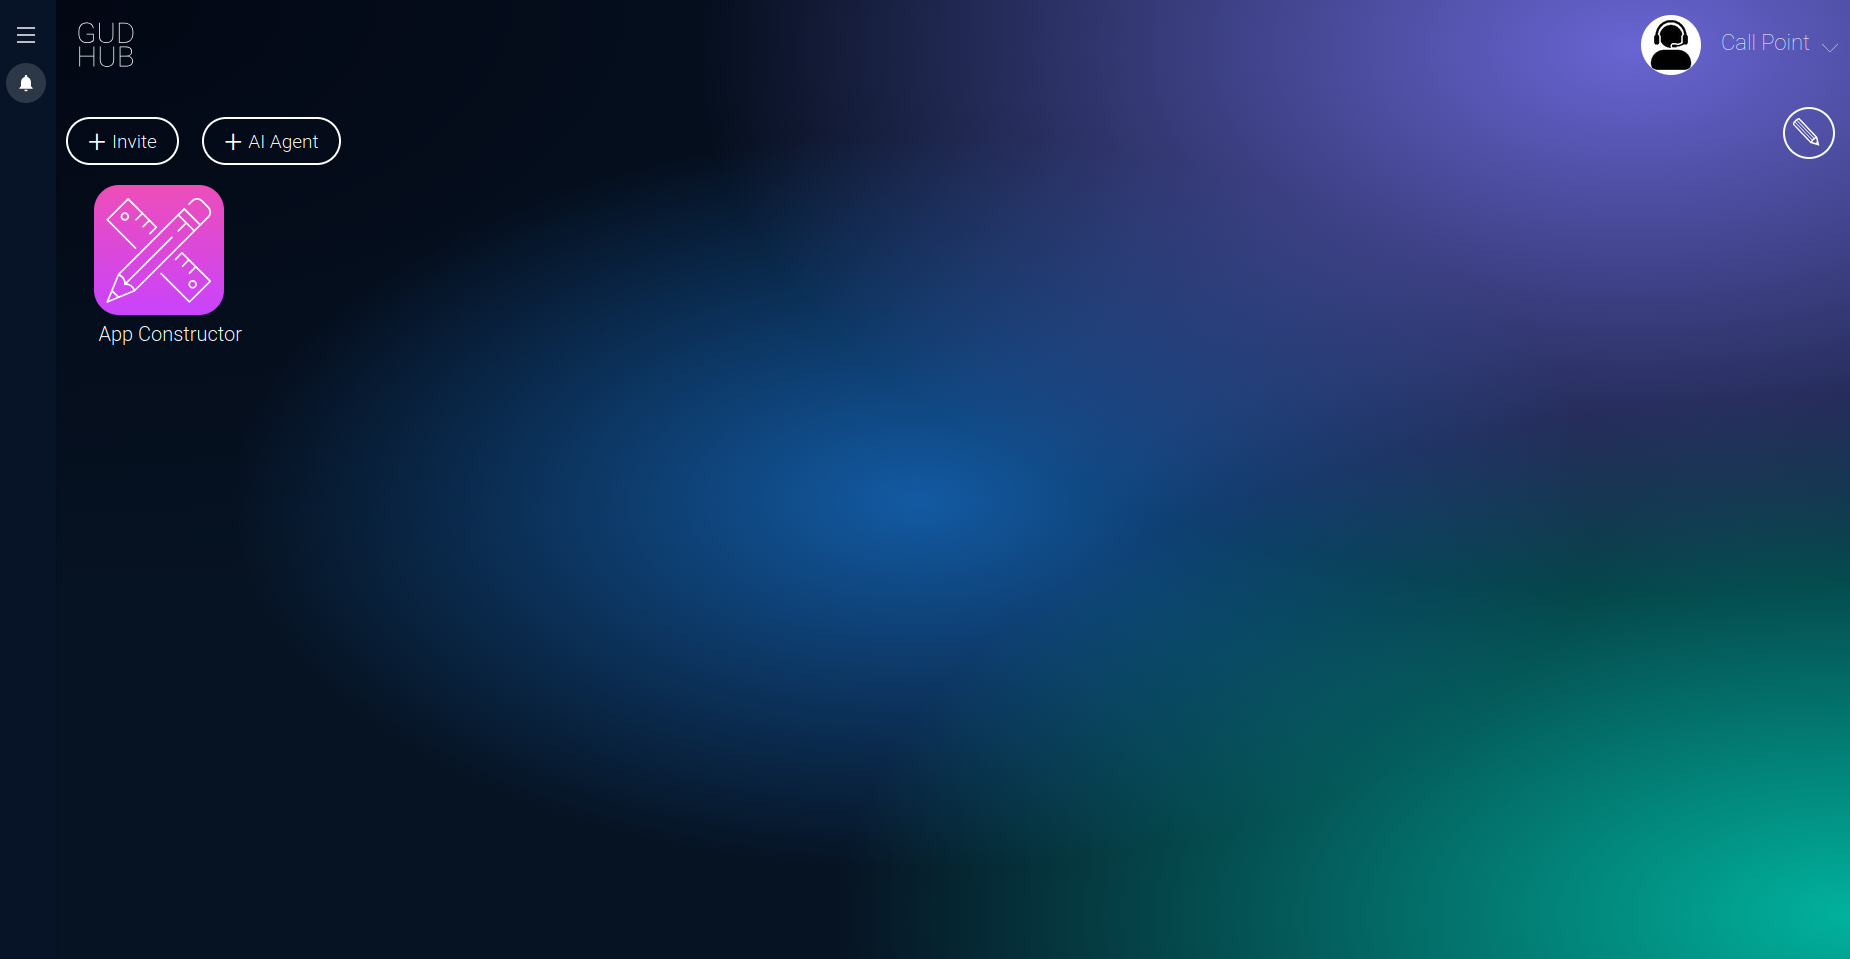
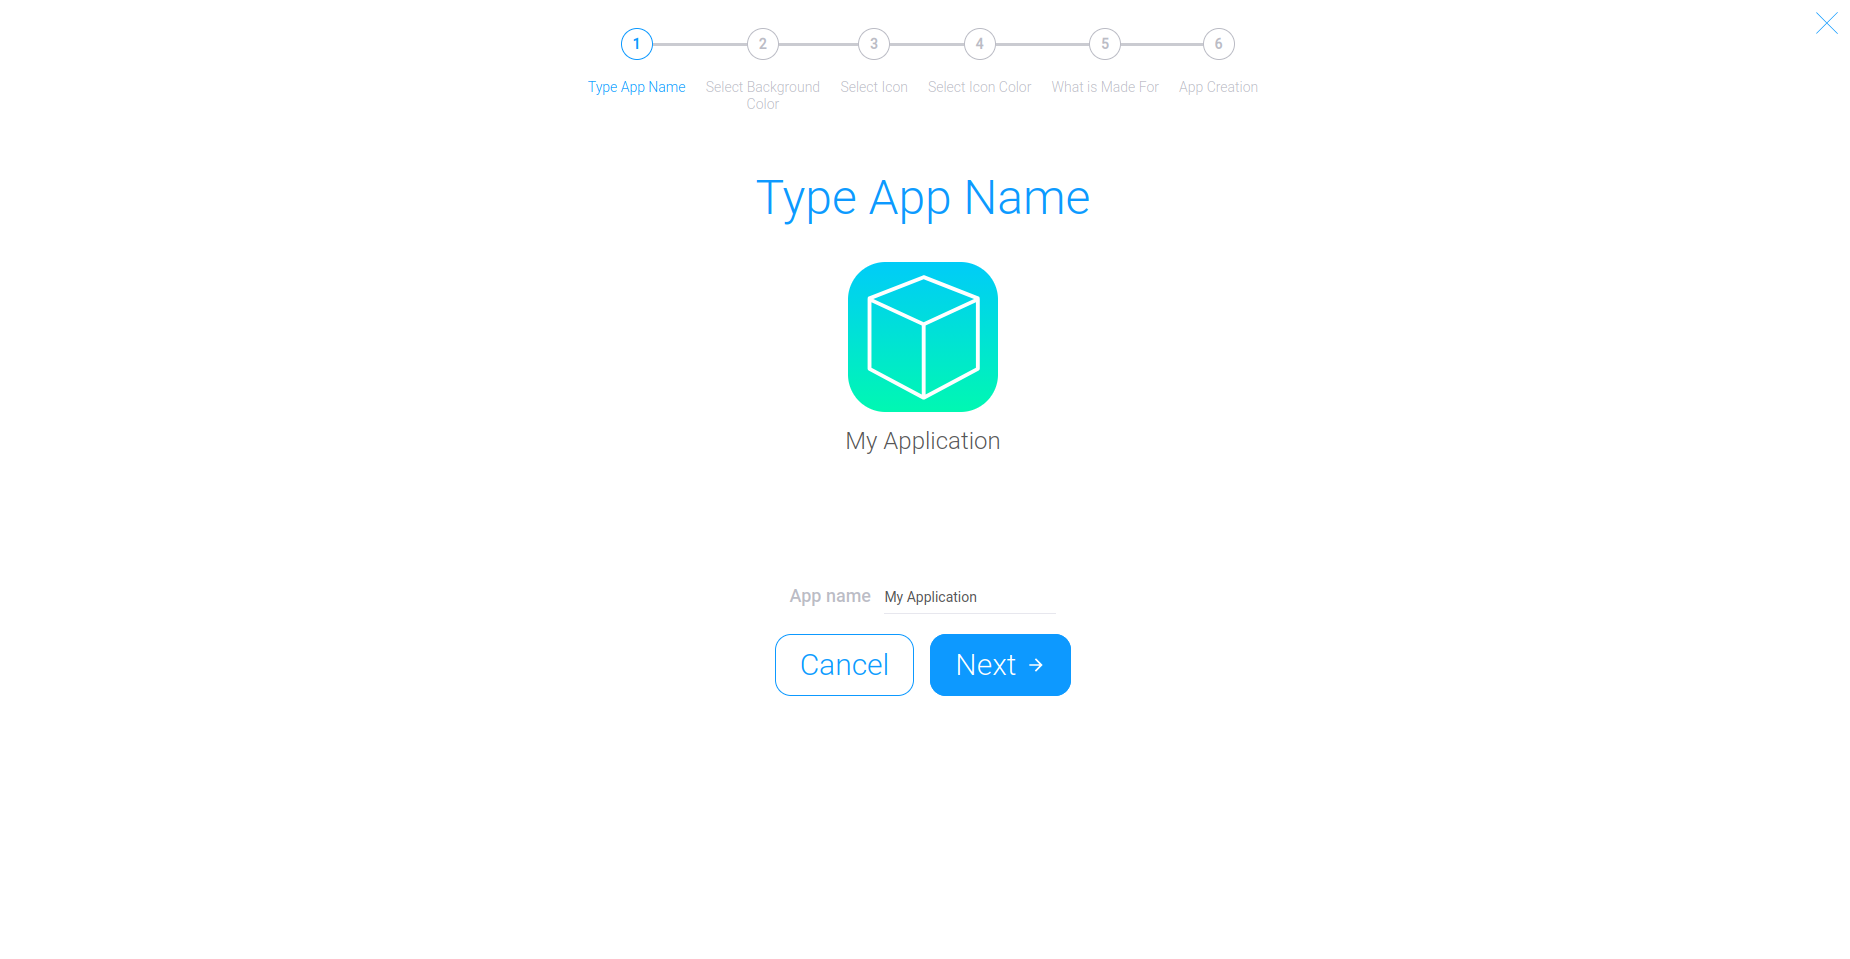
Step 1. Enter an Application Name #
Start by entering a name for your new application.
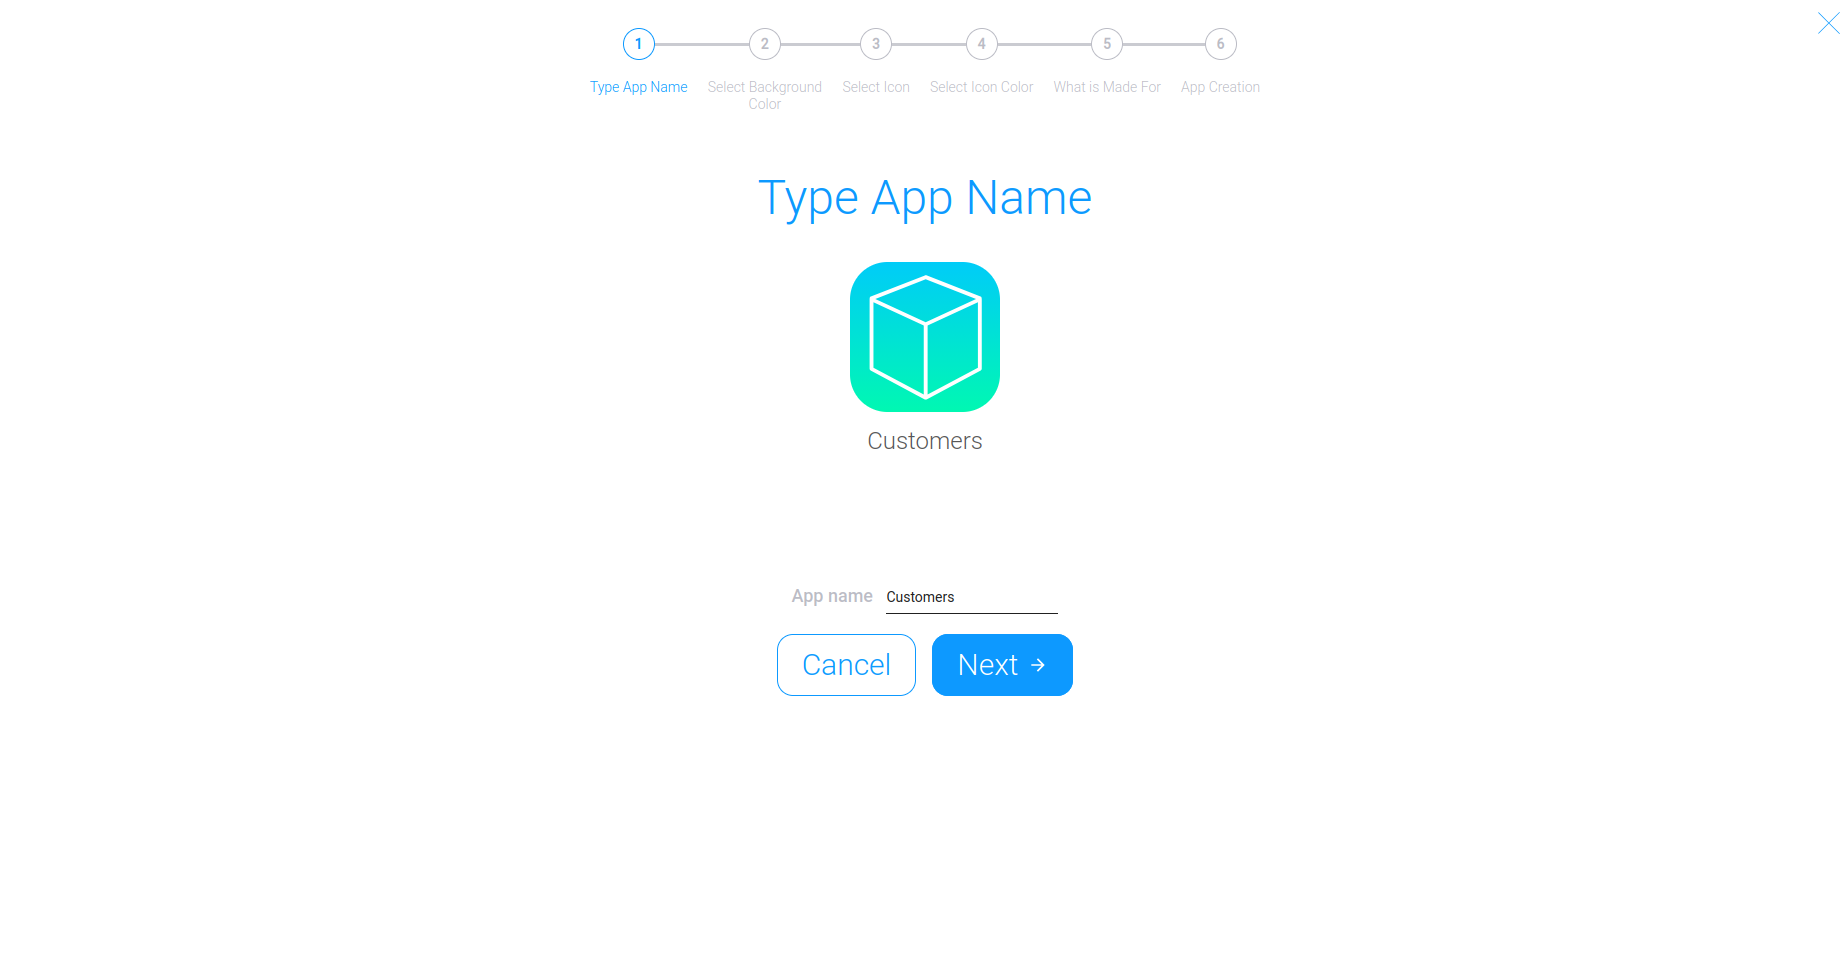
Step 2. Choose an Icon Color #
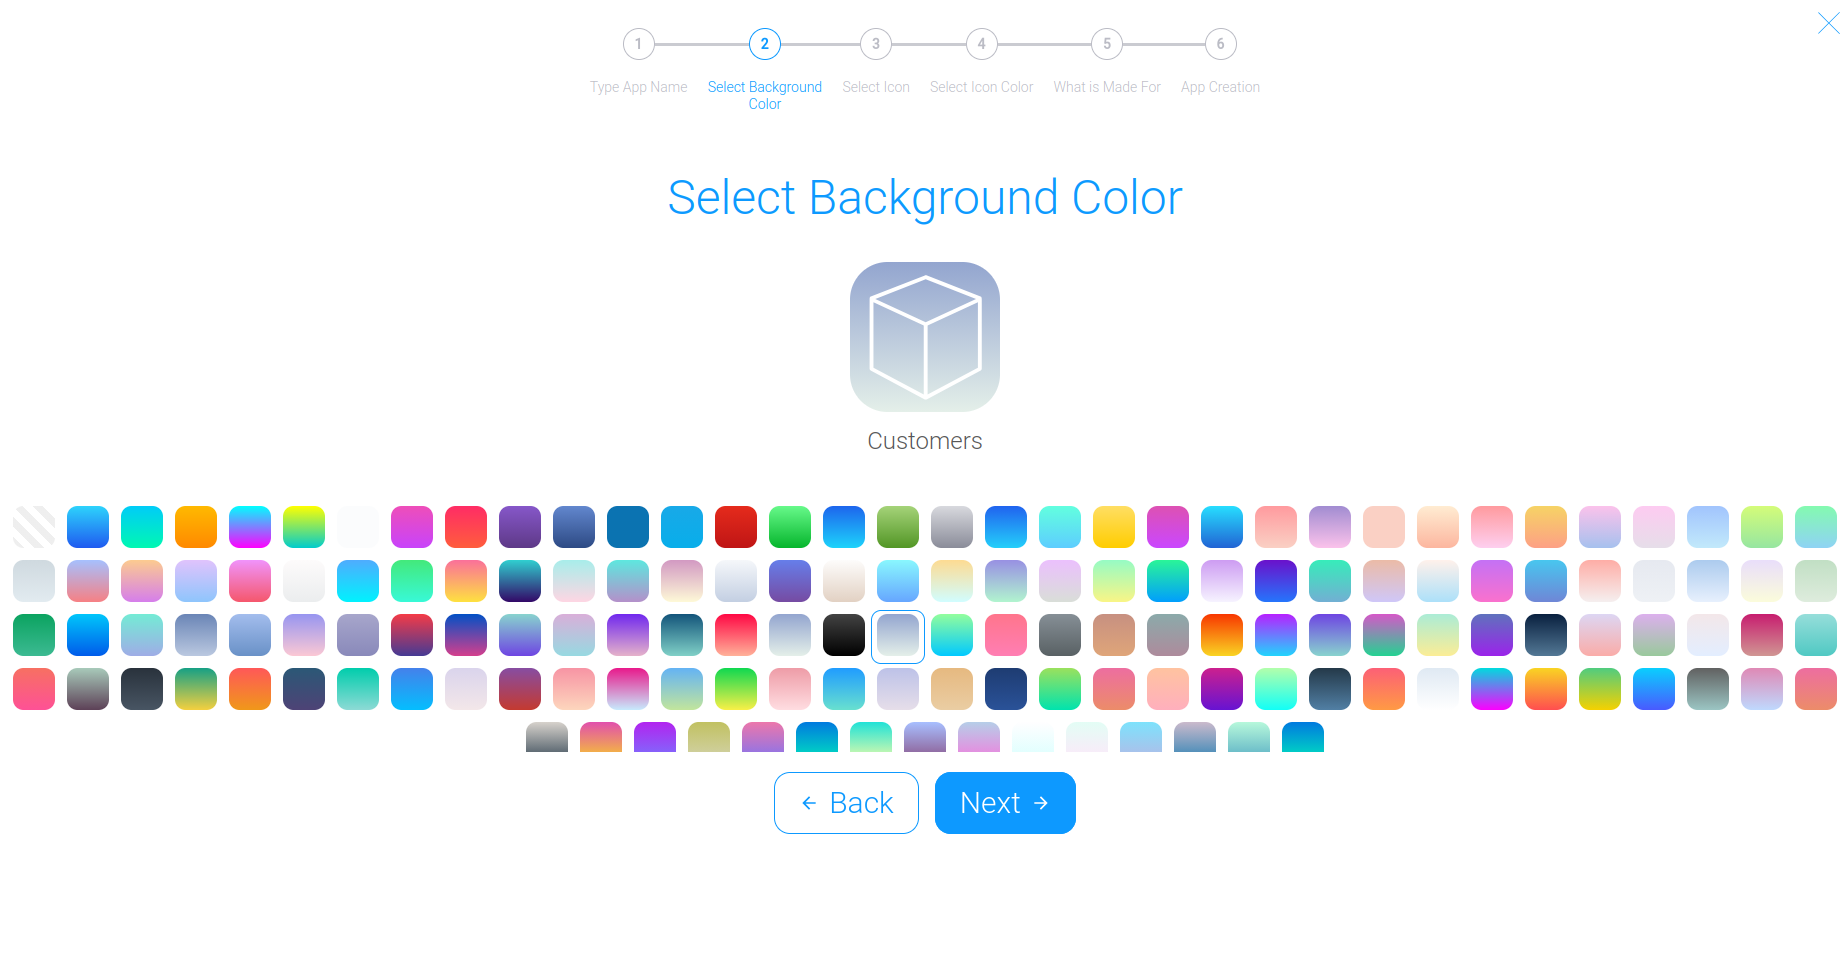
The next step is customizing the appearance of your application. First, select the background color for the application icon.
Once you’ve made your choice, click “Next”.
Step 3. Choose an Icon #
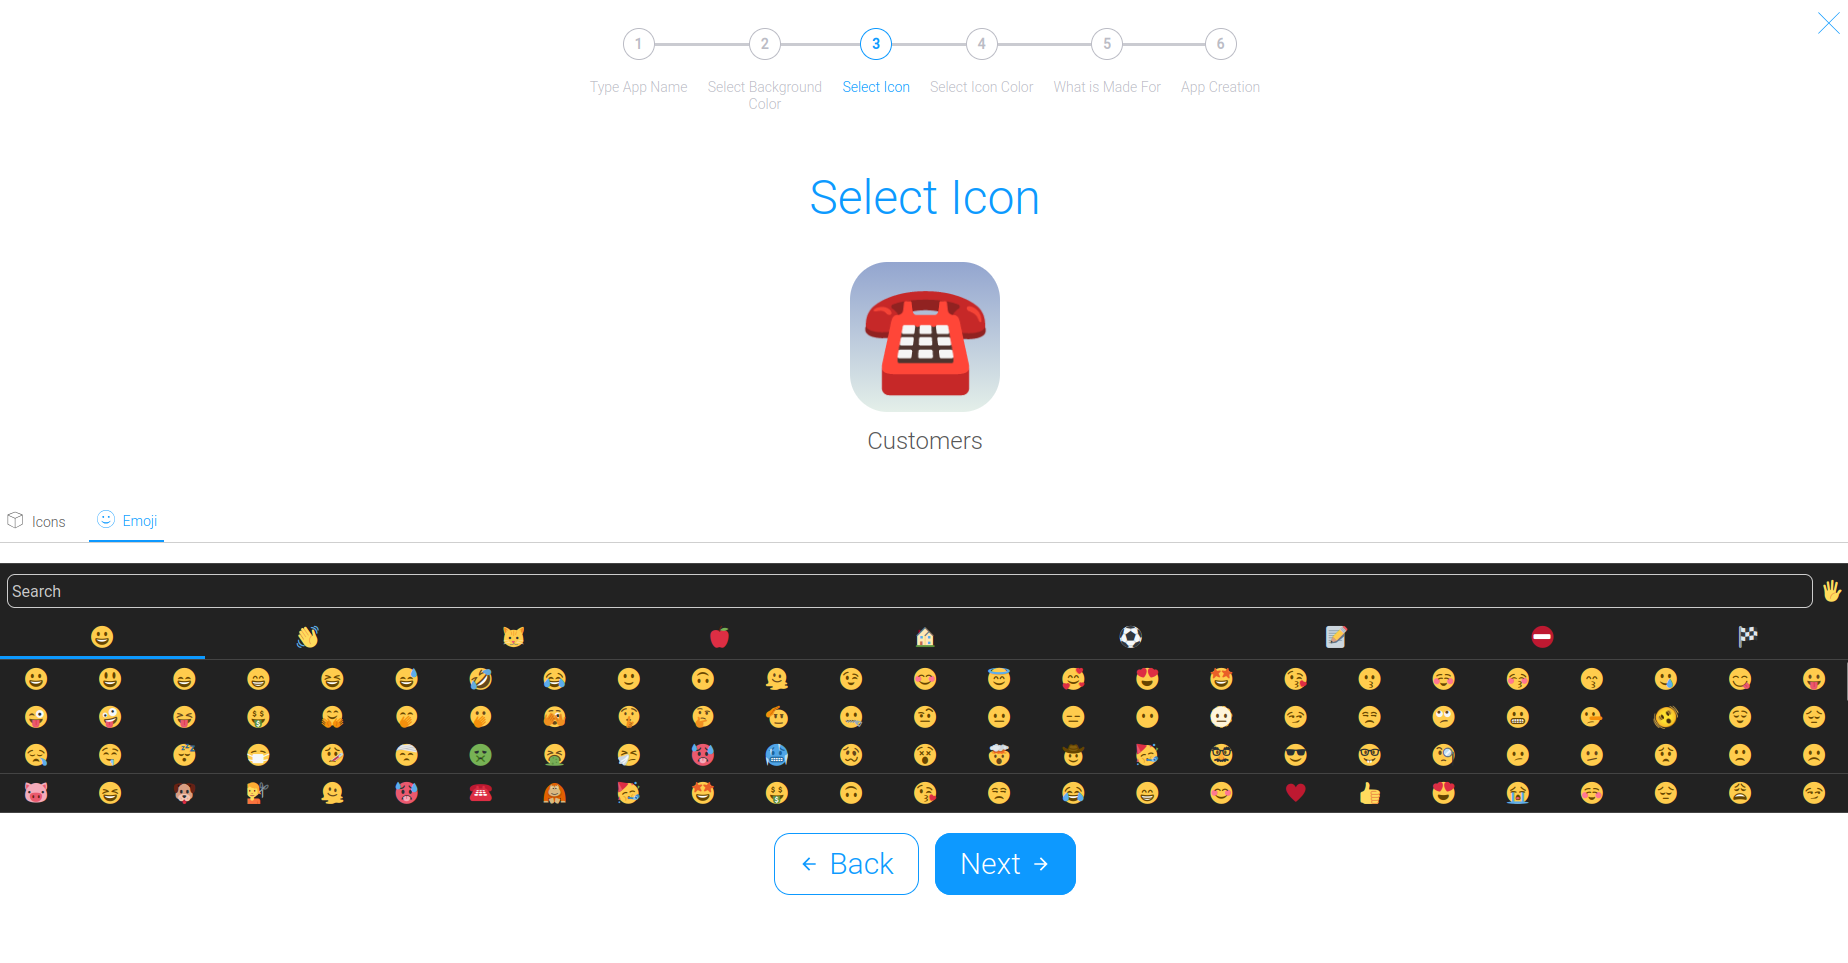
Select the icon that will represent the application on the CRM dashboard.
As your CRM grows, you may have many applications within the system. Choosing a clear and recognizable icon can make navigation easier and help users quickly locate the information they need. Since we’re creating an application for managing a call center customer database, we’ll choose a suitable emoji.
After selecting the icon, click “Next”.
Step 4. Select an Application Template #
The final setup step is choosing a template that will define the application's structure and core functionality.
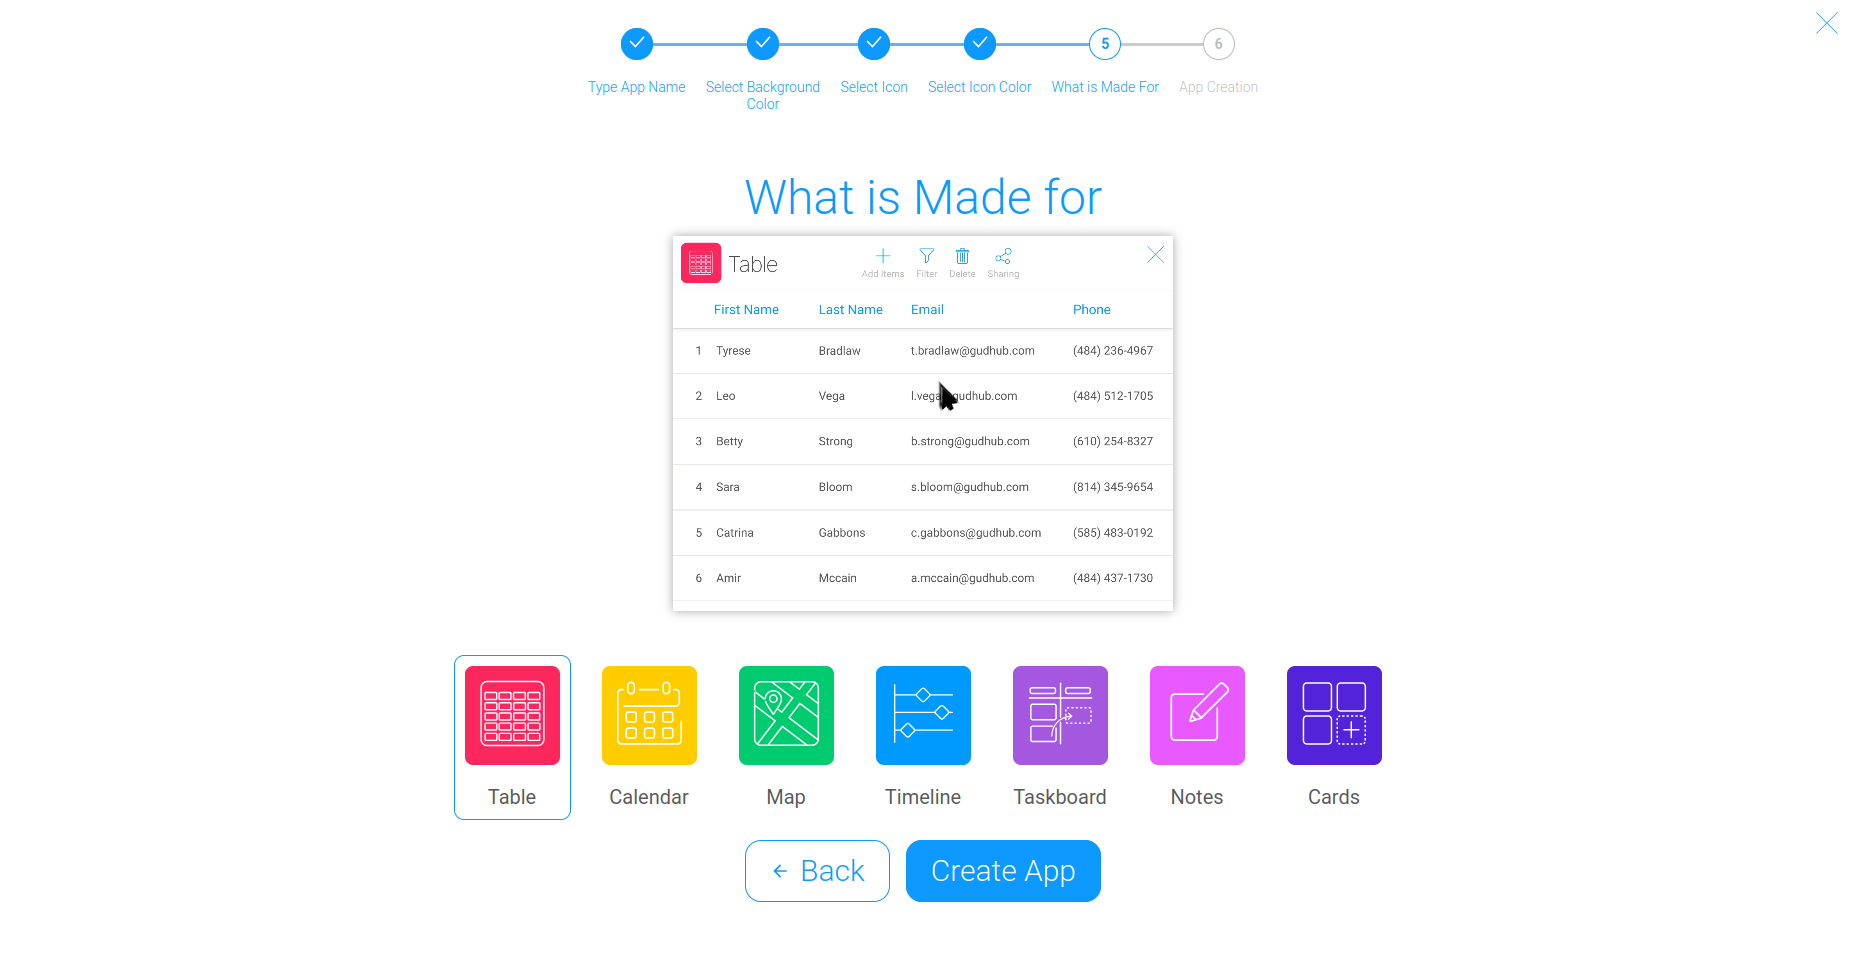
The following templates are available in the system: Table, Calendar, Map, Timeline, Taskboard, Notes, and Cards.
To make selection easier, each template includes a video preview demonstrating its purpose and functionality.
You can learn more about the features and use cases of each template in our dedicated articles:
For managing customer records, the Table template is the most suitable option. Select it and click “Create App”.
Step 5. Complete the Setup #
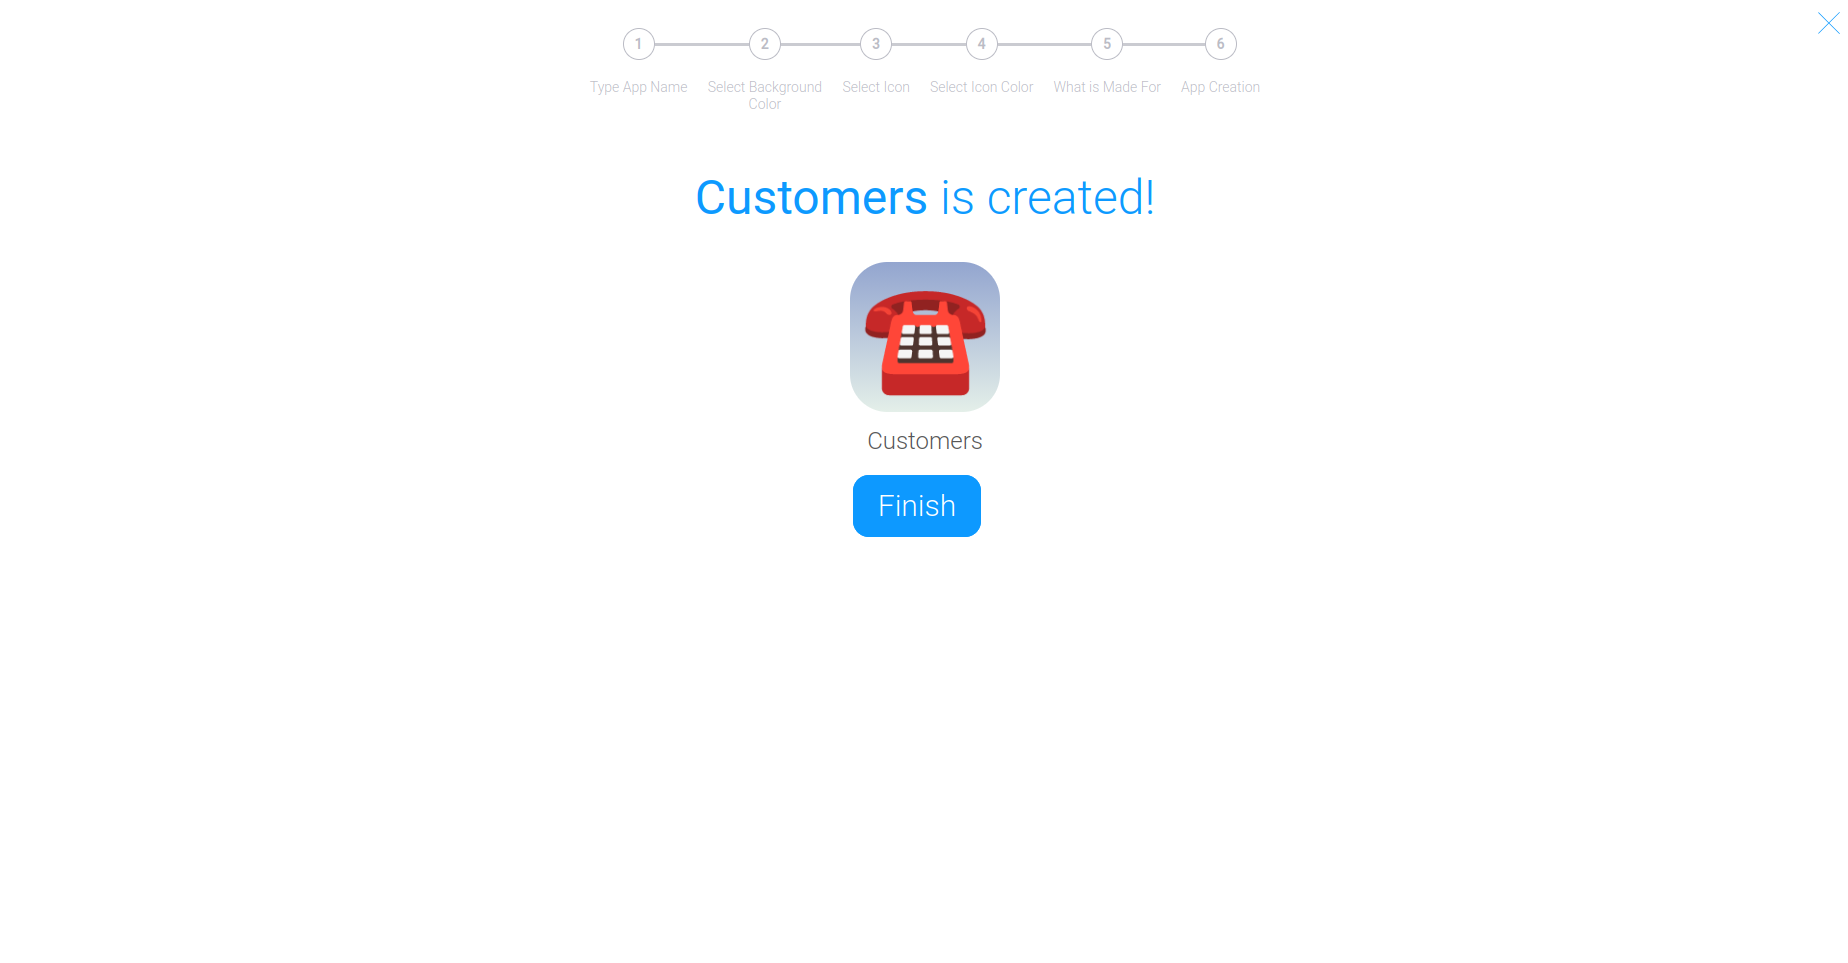
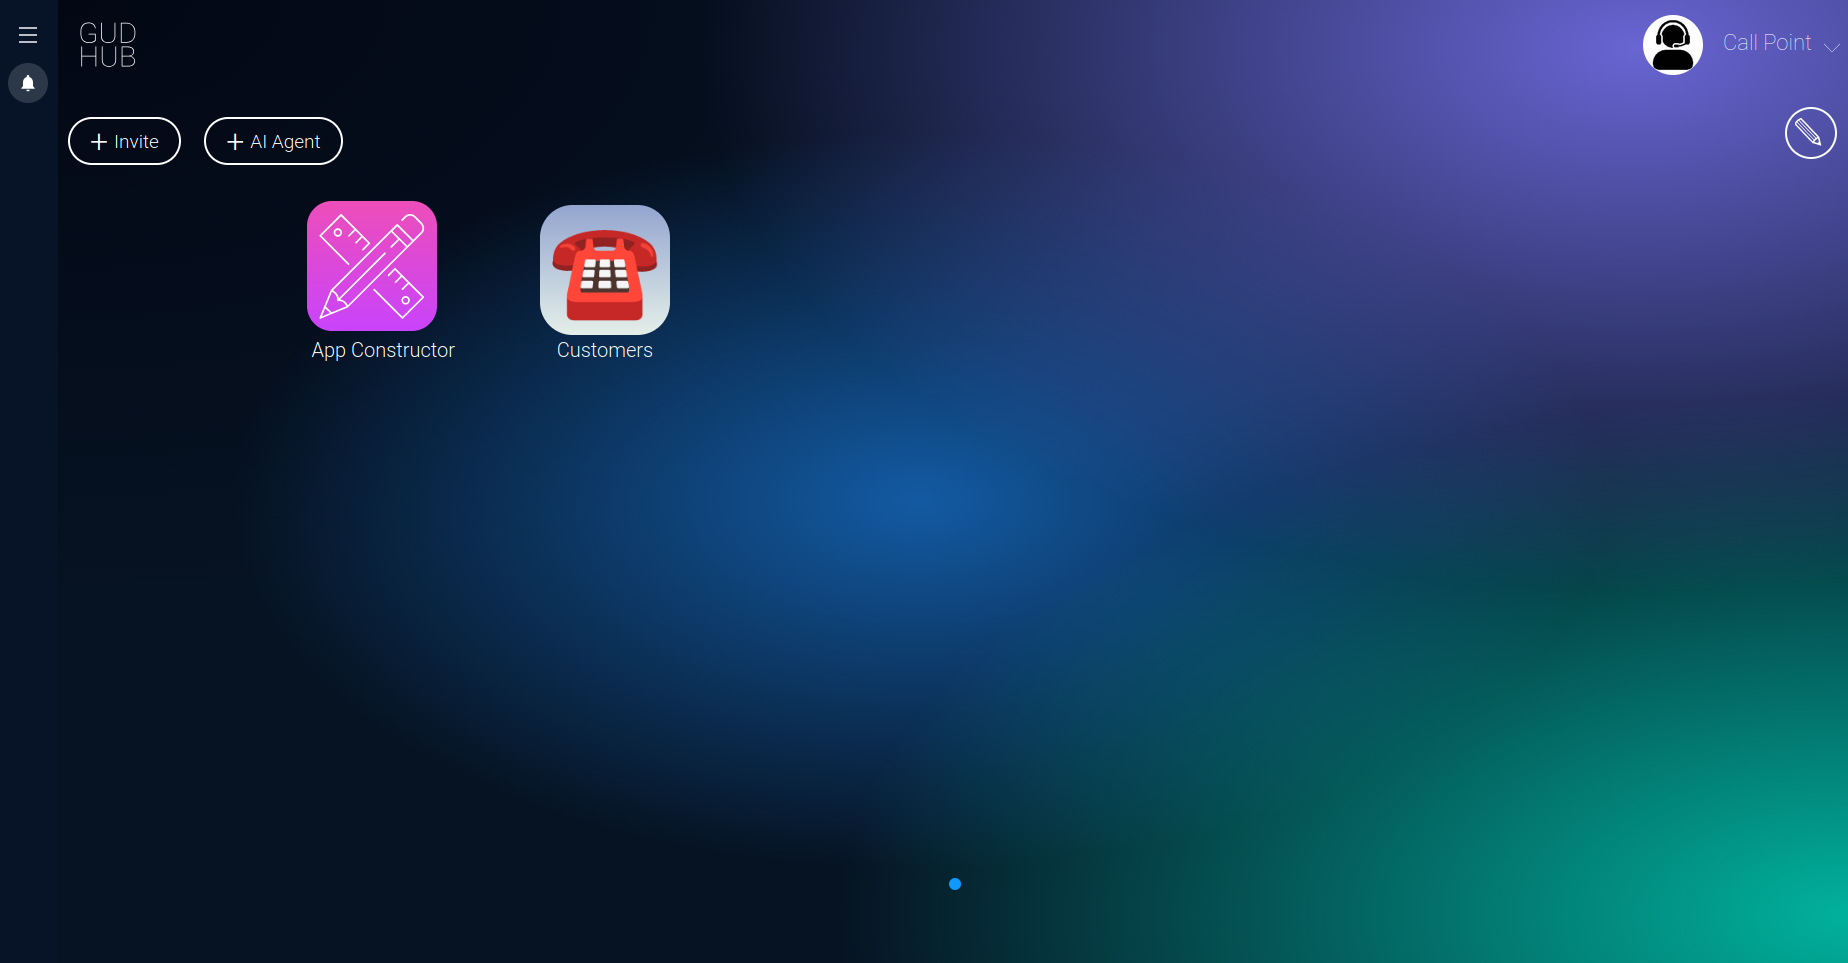
Once the application has been created, click “Finish” to return to the main dashboard.
This flexibility allows you to expand and refine the application over time without having to recreate it from scratch.