
How to Link Apps in a CRM: A Step-by-Step Guide Series #
In GudHub, apps can work together, share data, and perform tasks across the system. For example, one app can store customer information while another keeps track of customer visits.
In this step-by-step series, we’ll use a practical example to show you how to connect two apps in a CRM. We’ll create a separate “Visits” app, link it to the “Clients” app, and then set it up so each client’s visit history appears in their individual client record.
You can follow the guides in order, as each one builds on the previous guide and takes the setup one step further.
What This Series Covers #
- Creating and setting up an app for tracking customer visits.
- Connecting the apps.
- Exchanging data between apps.
- Displaying related information in a client record in the PRO version.
In this guide, we’ll use the following example: the system already has a customer database, and we need to create a separate app to keep track of customer visits.
This is the first guide in our series on connecting apps in a CRM. View all all guides in the series.
Creating and Setting Up an App for Tracking Customer Visits #
Step 1. Create the “Visits” App #
Our system already includes a “Clients” app that stores customer information.
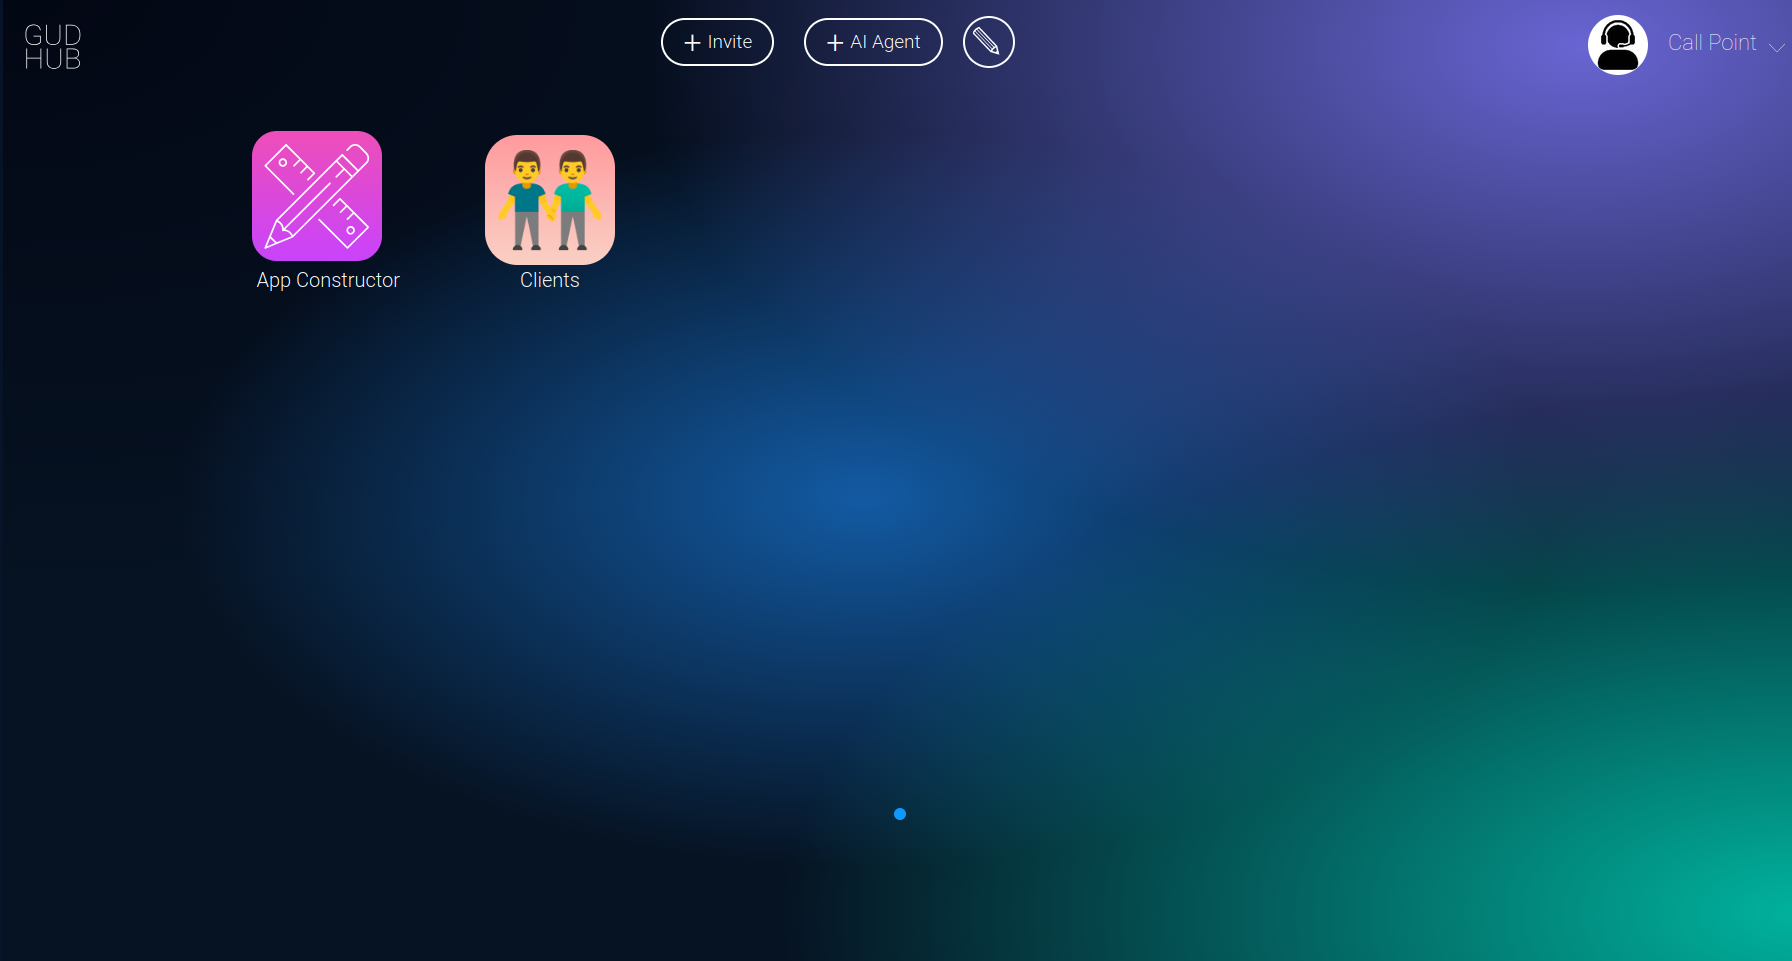
Next, we’ll create a separate “Visits” app. It will pull customer information from the “Clients” app and store the date of each visit.
This will create a link between the two apps: in “Visits”, you’ll be able to select a customer from the existing database and record their visit date.
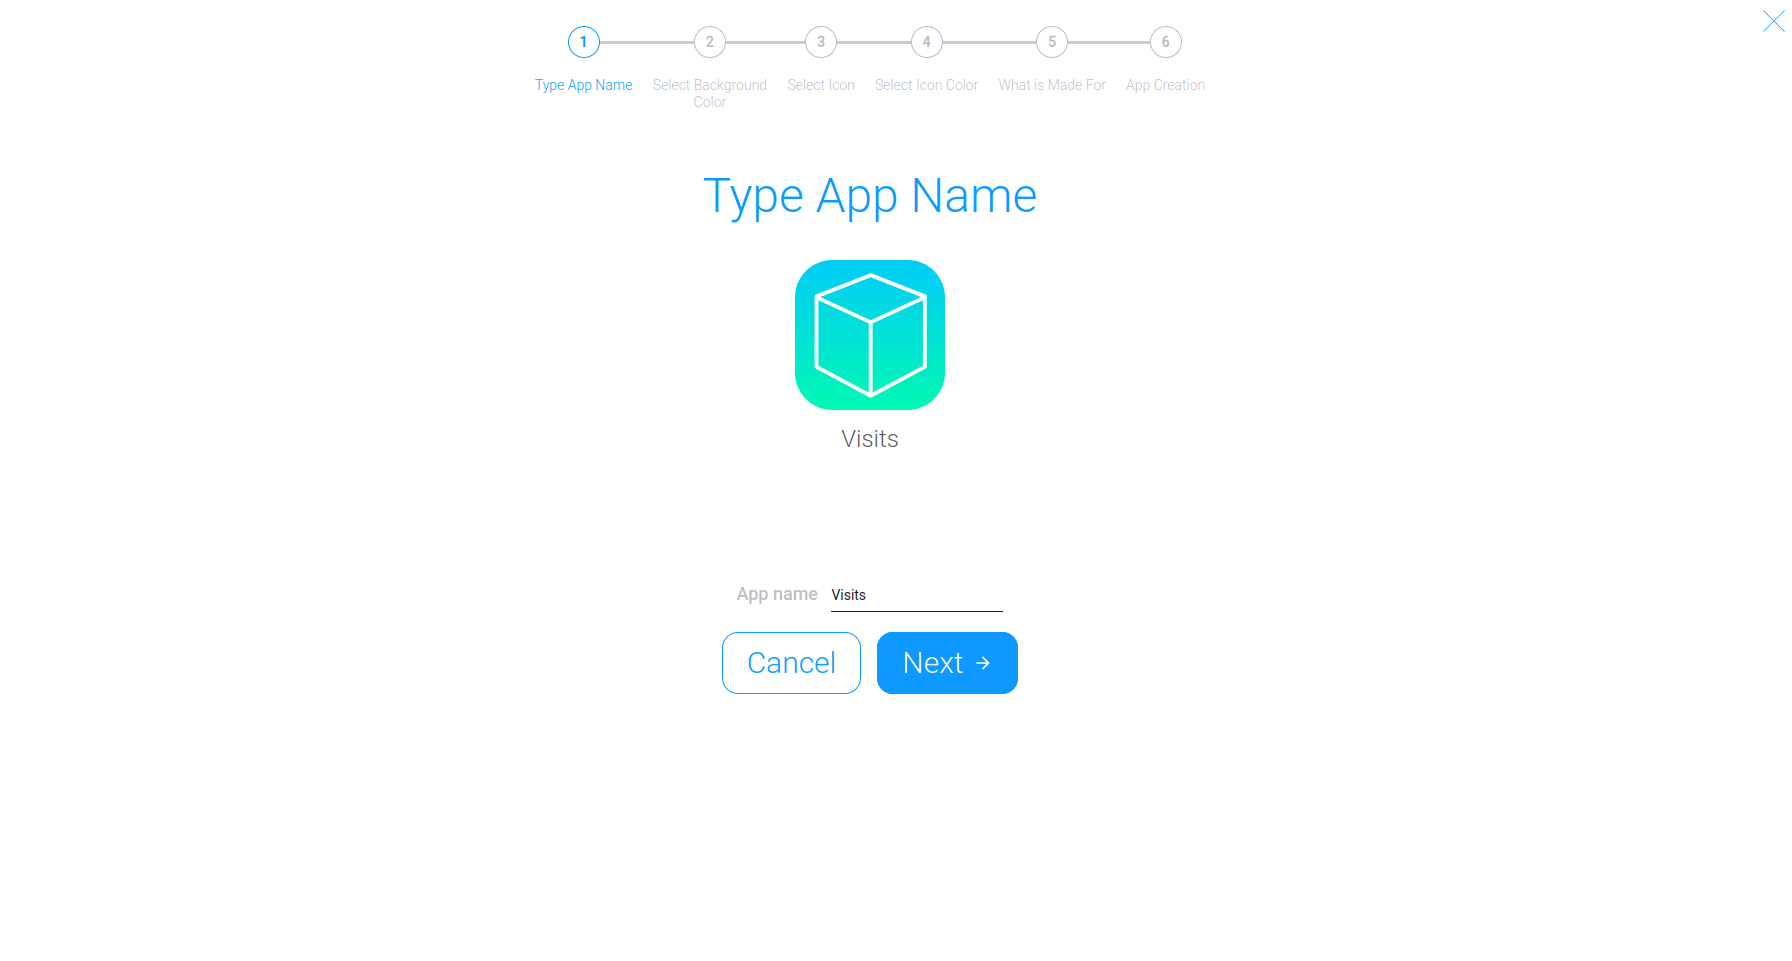
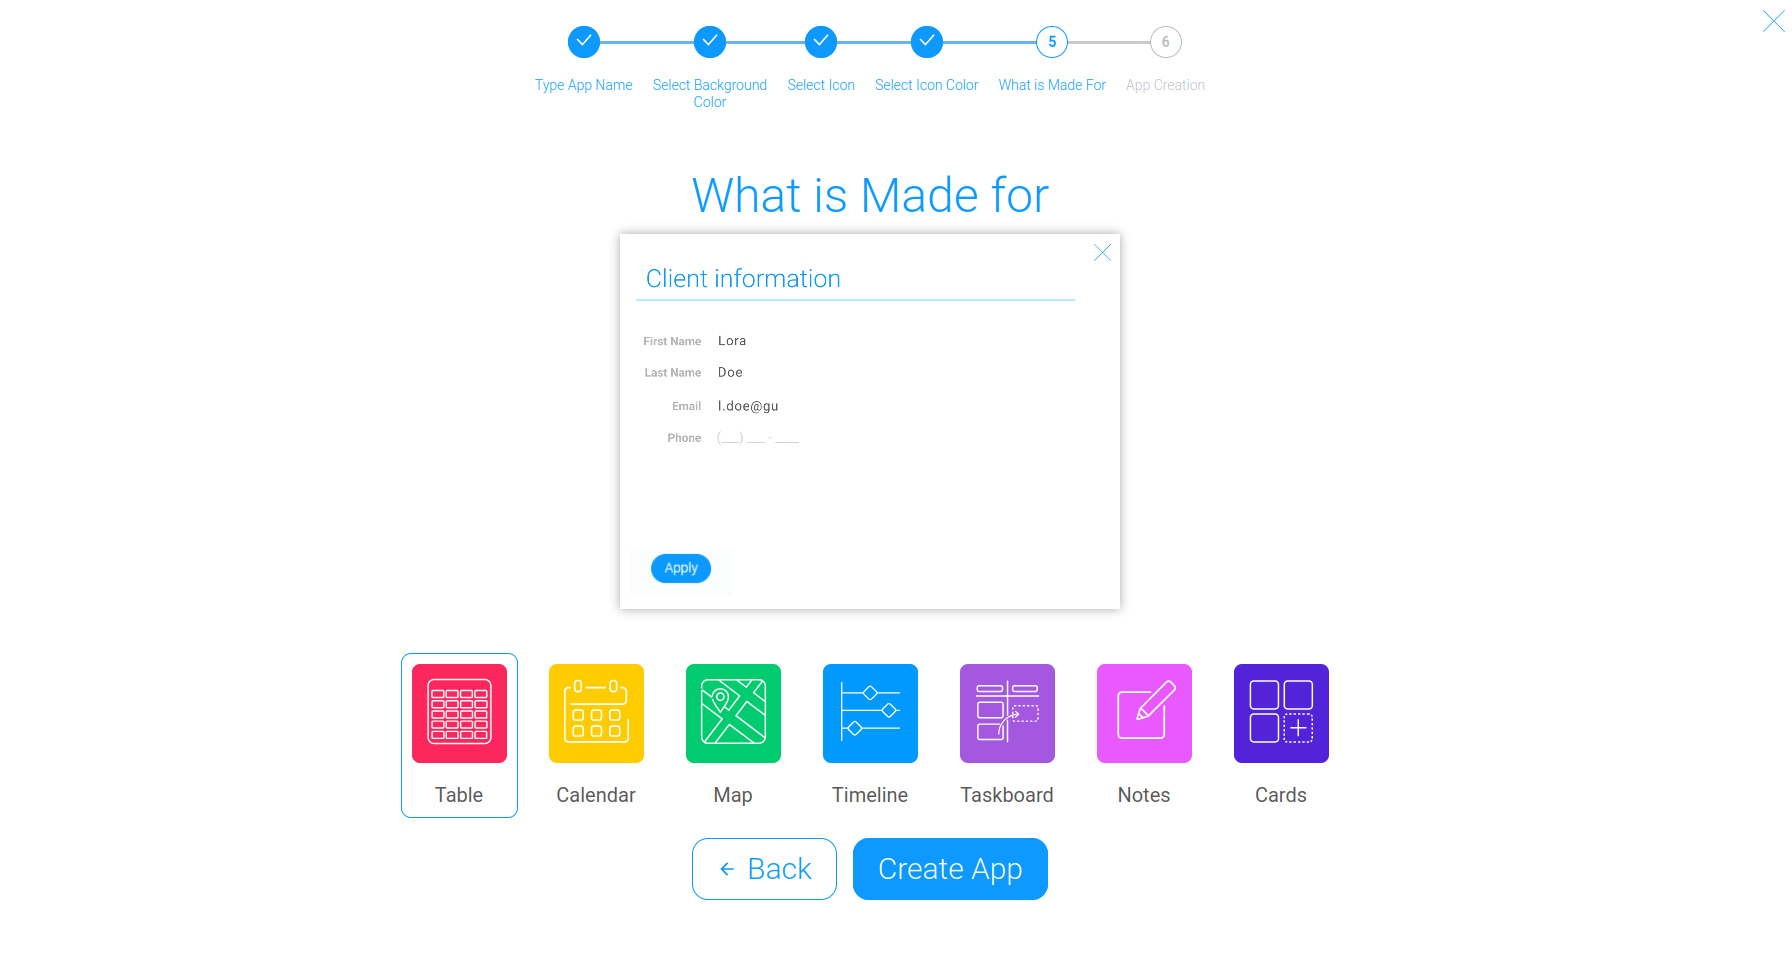
To get started, create a new app and name it “Visits”.
Step 2. Set Up the App Structure #
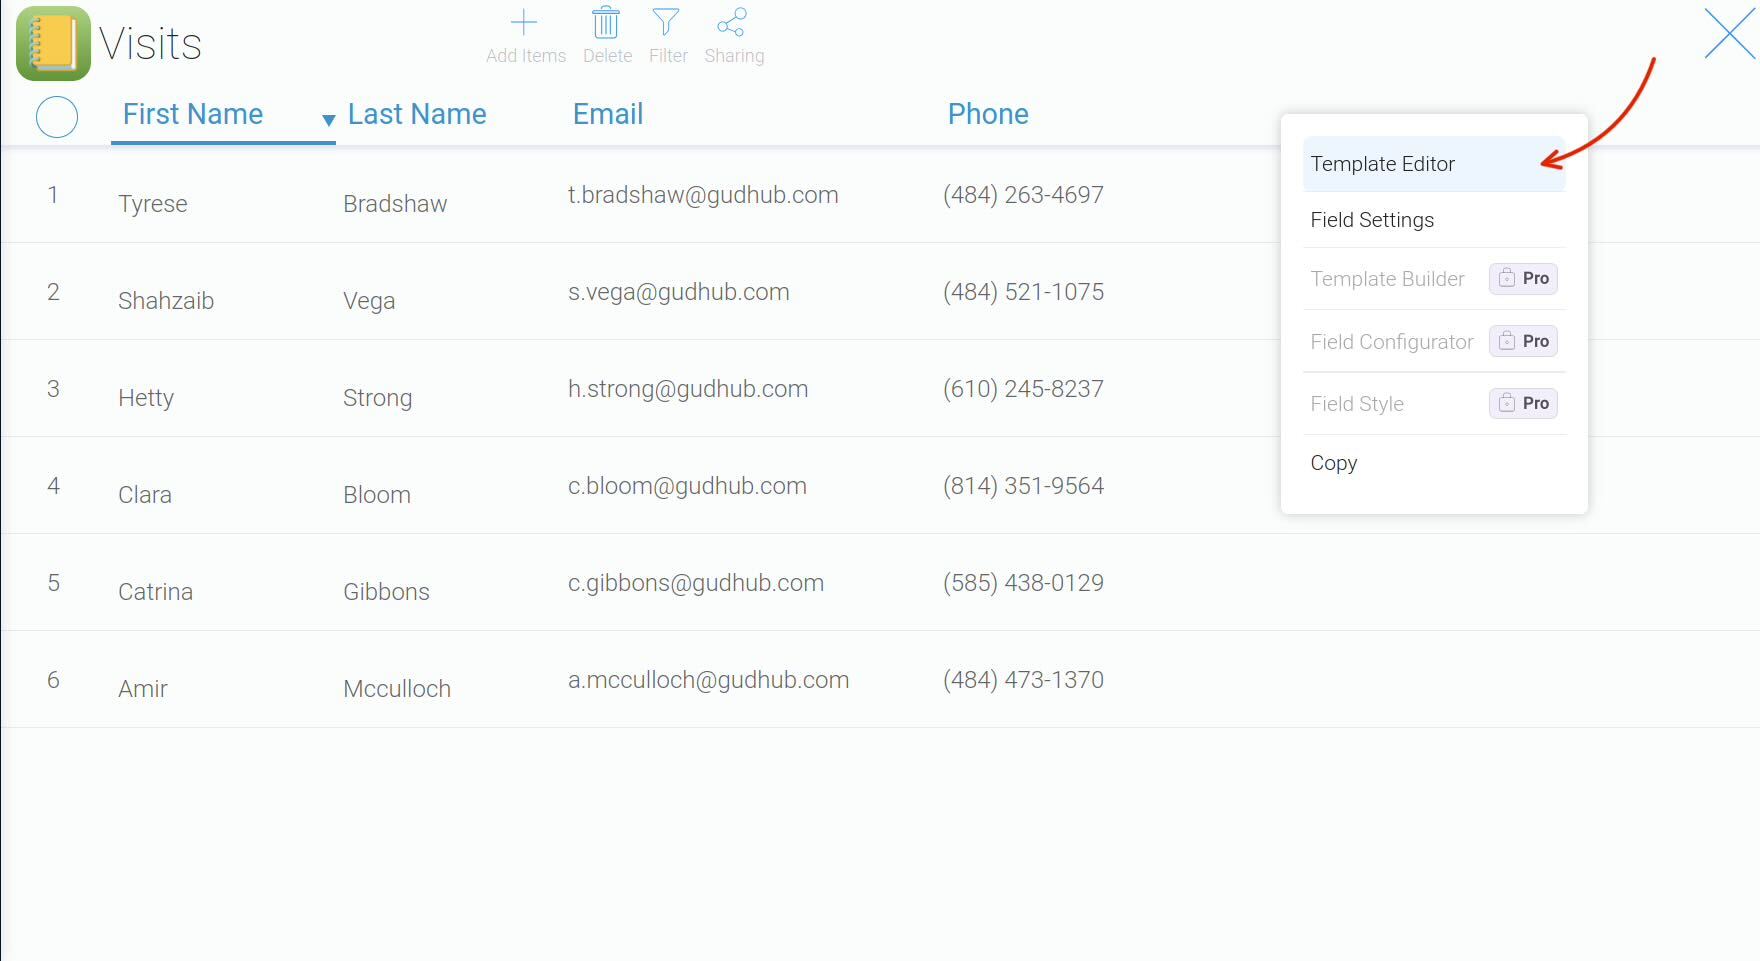
To edit the app’s structure, open the context menu by right-clicking any field in the table, then select “Template Editor”.
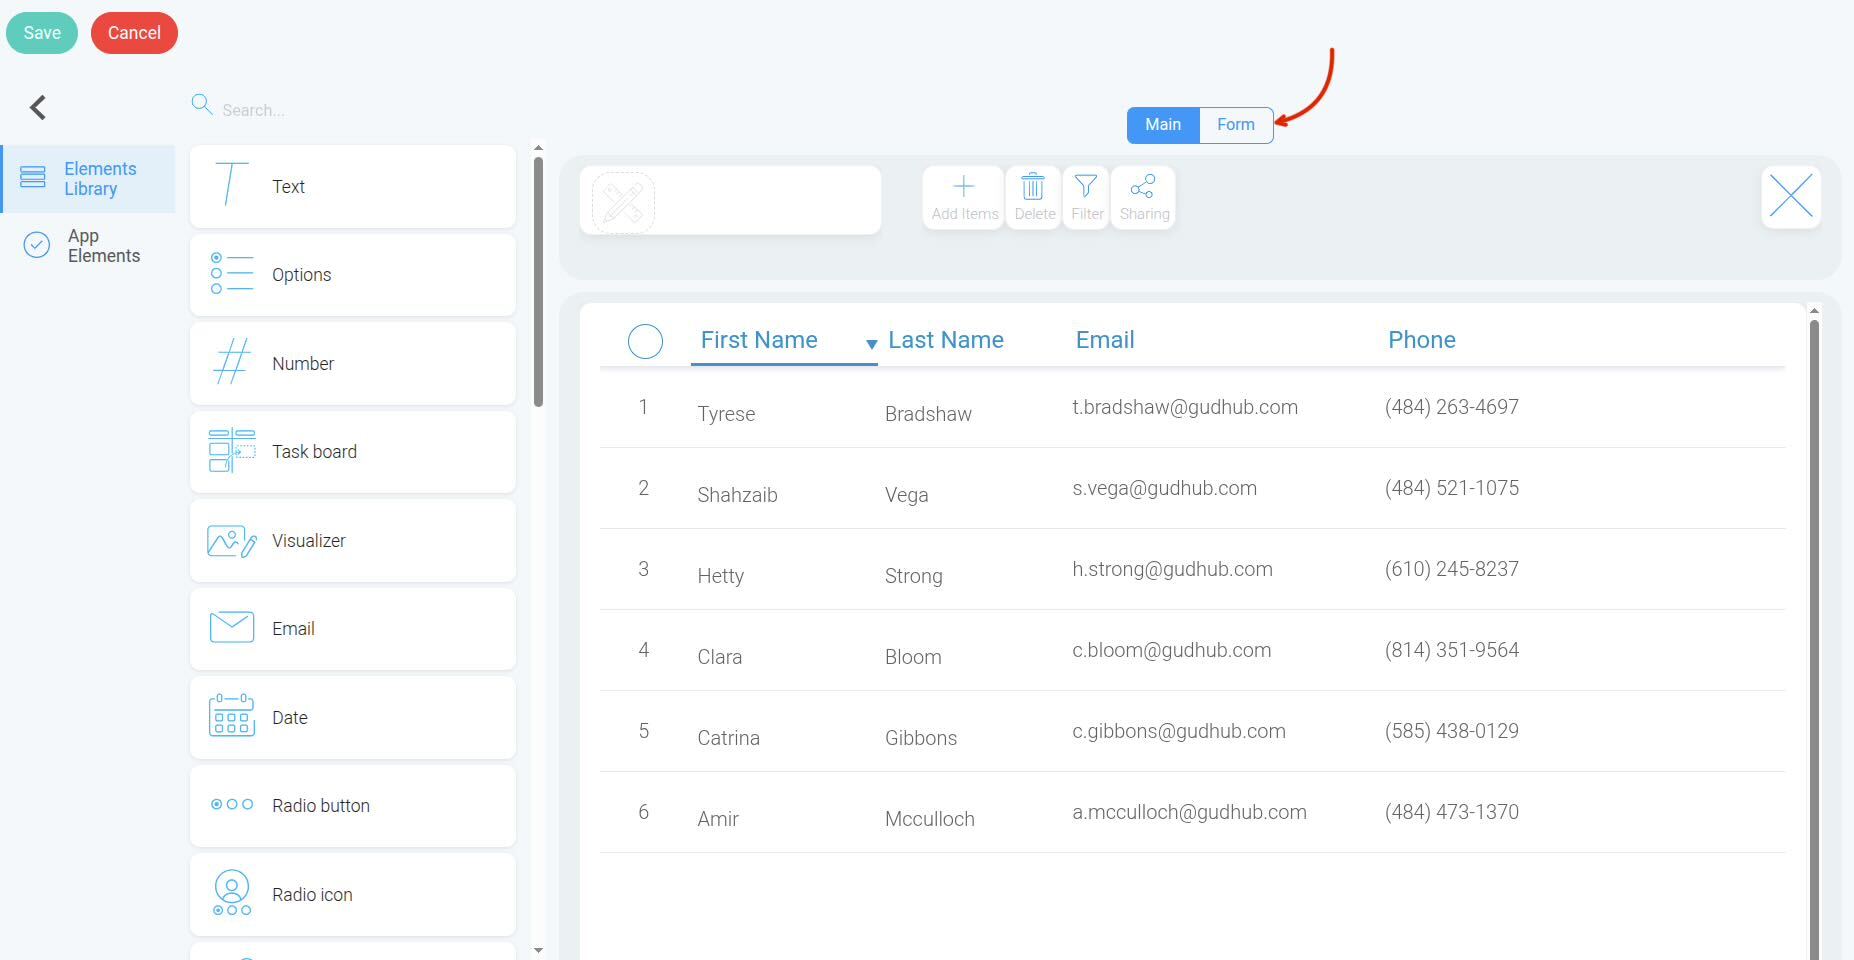
“Elements Library” – contains all the elements you can add to the app.
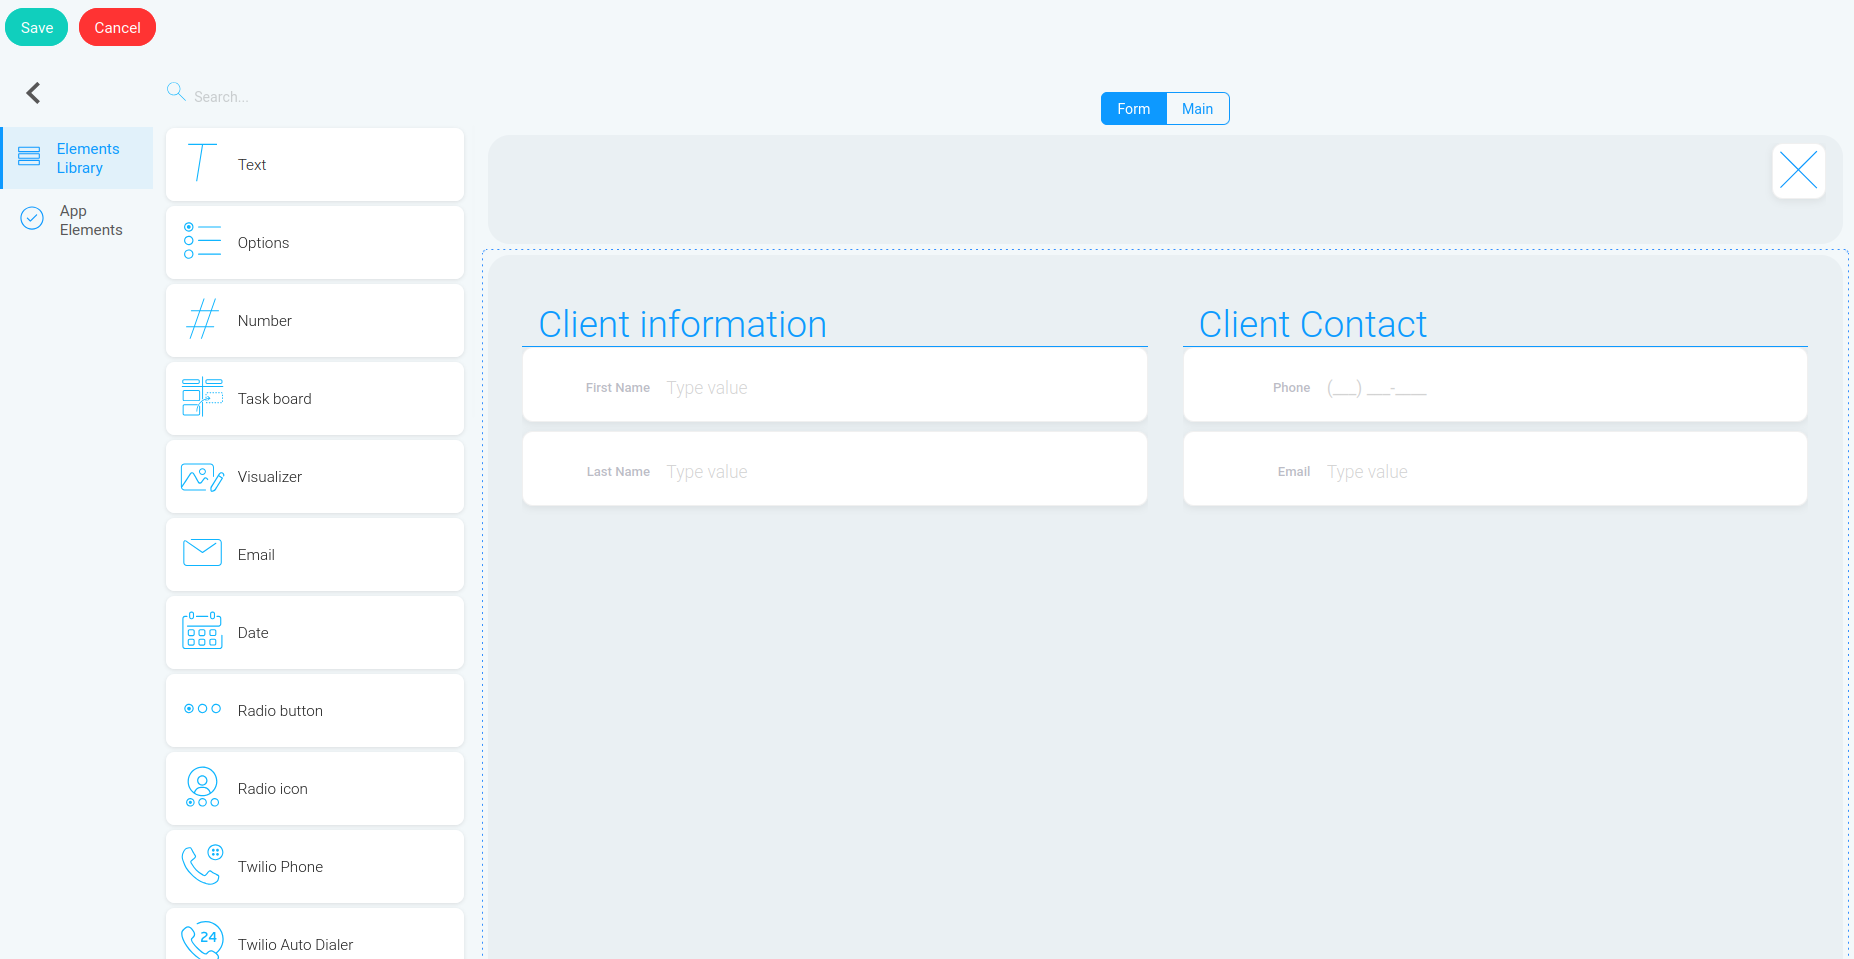
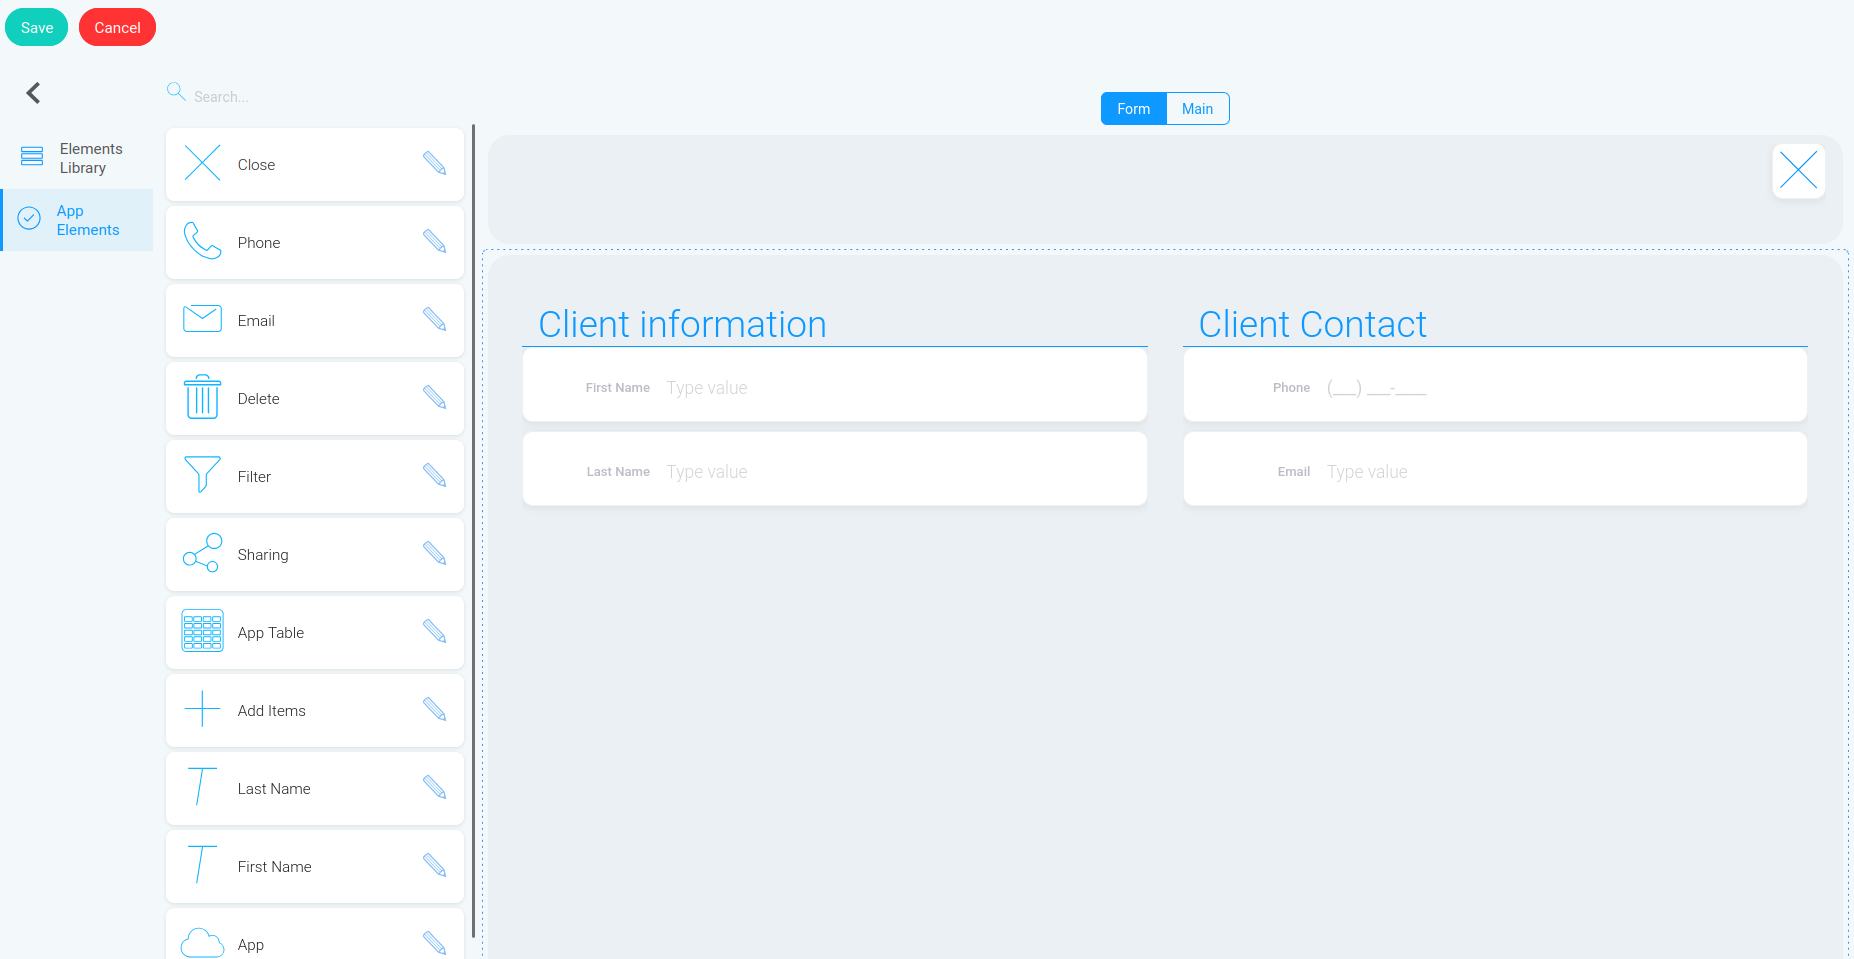
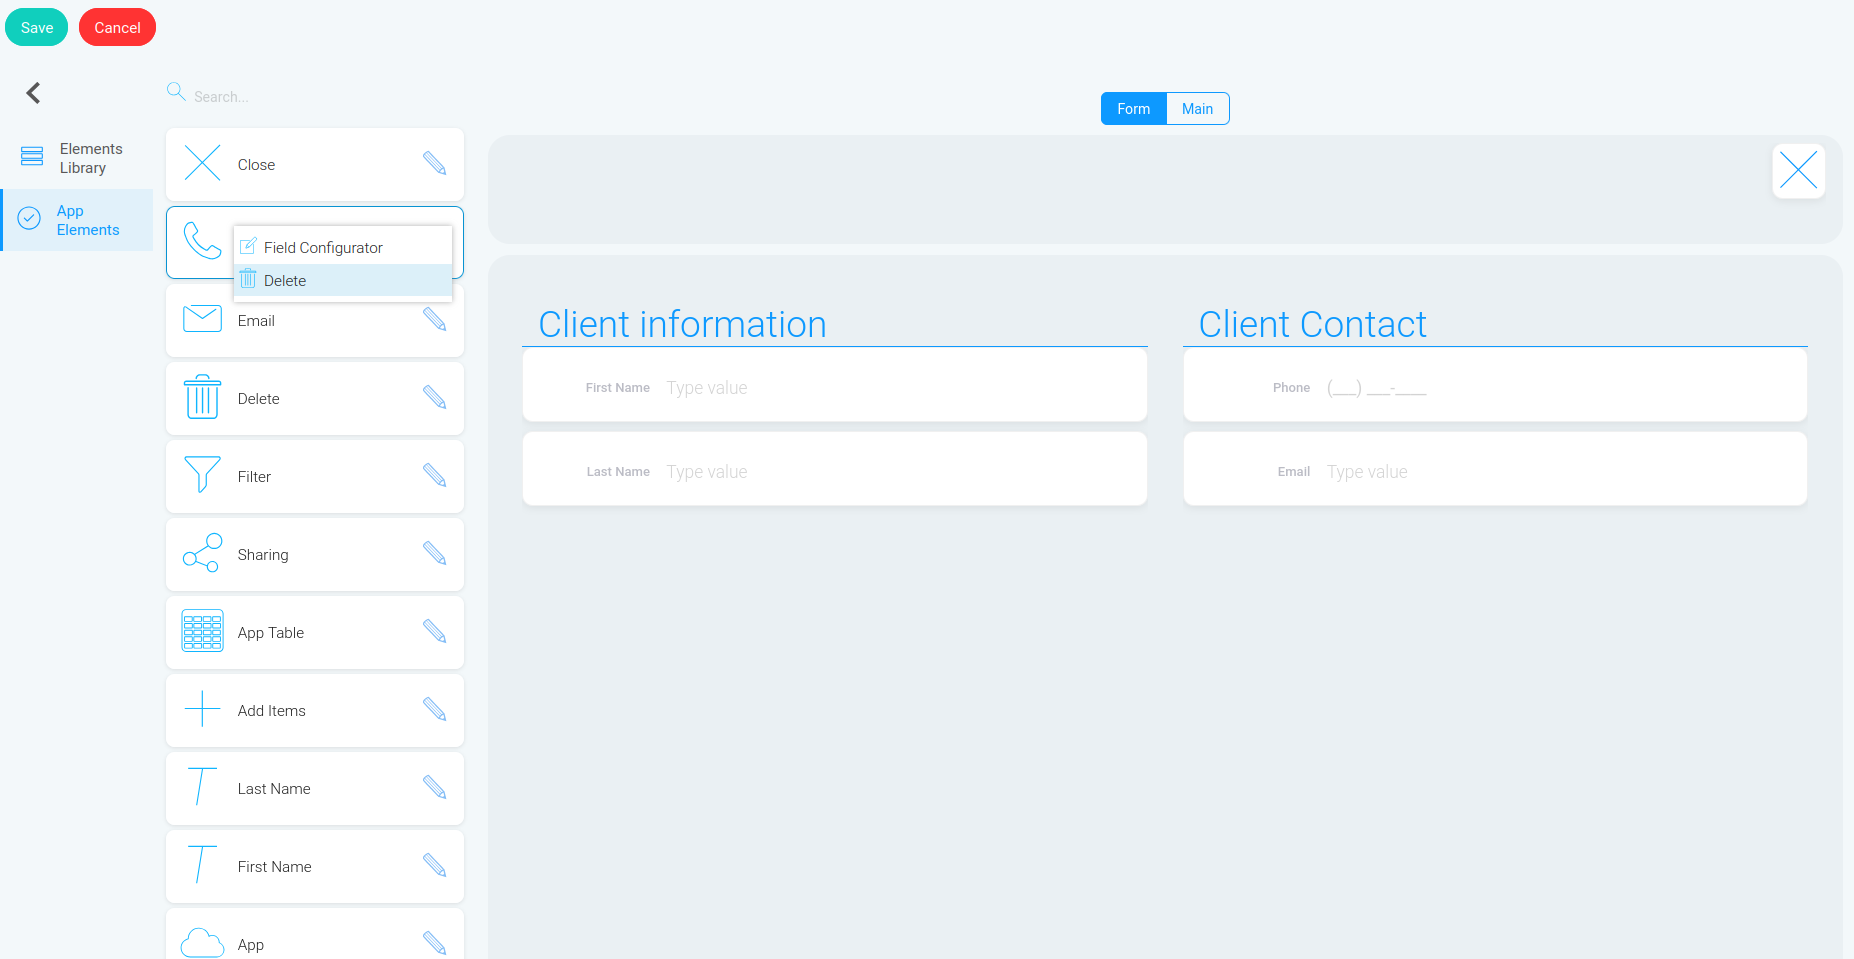
In the “App Elements” section, delete “Phone”, “Email”, “Last Name”, and “First Name”.
To remove an element, hover over its icon and click “Delete”.
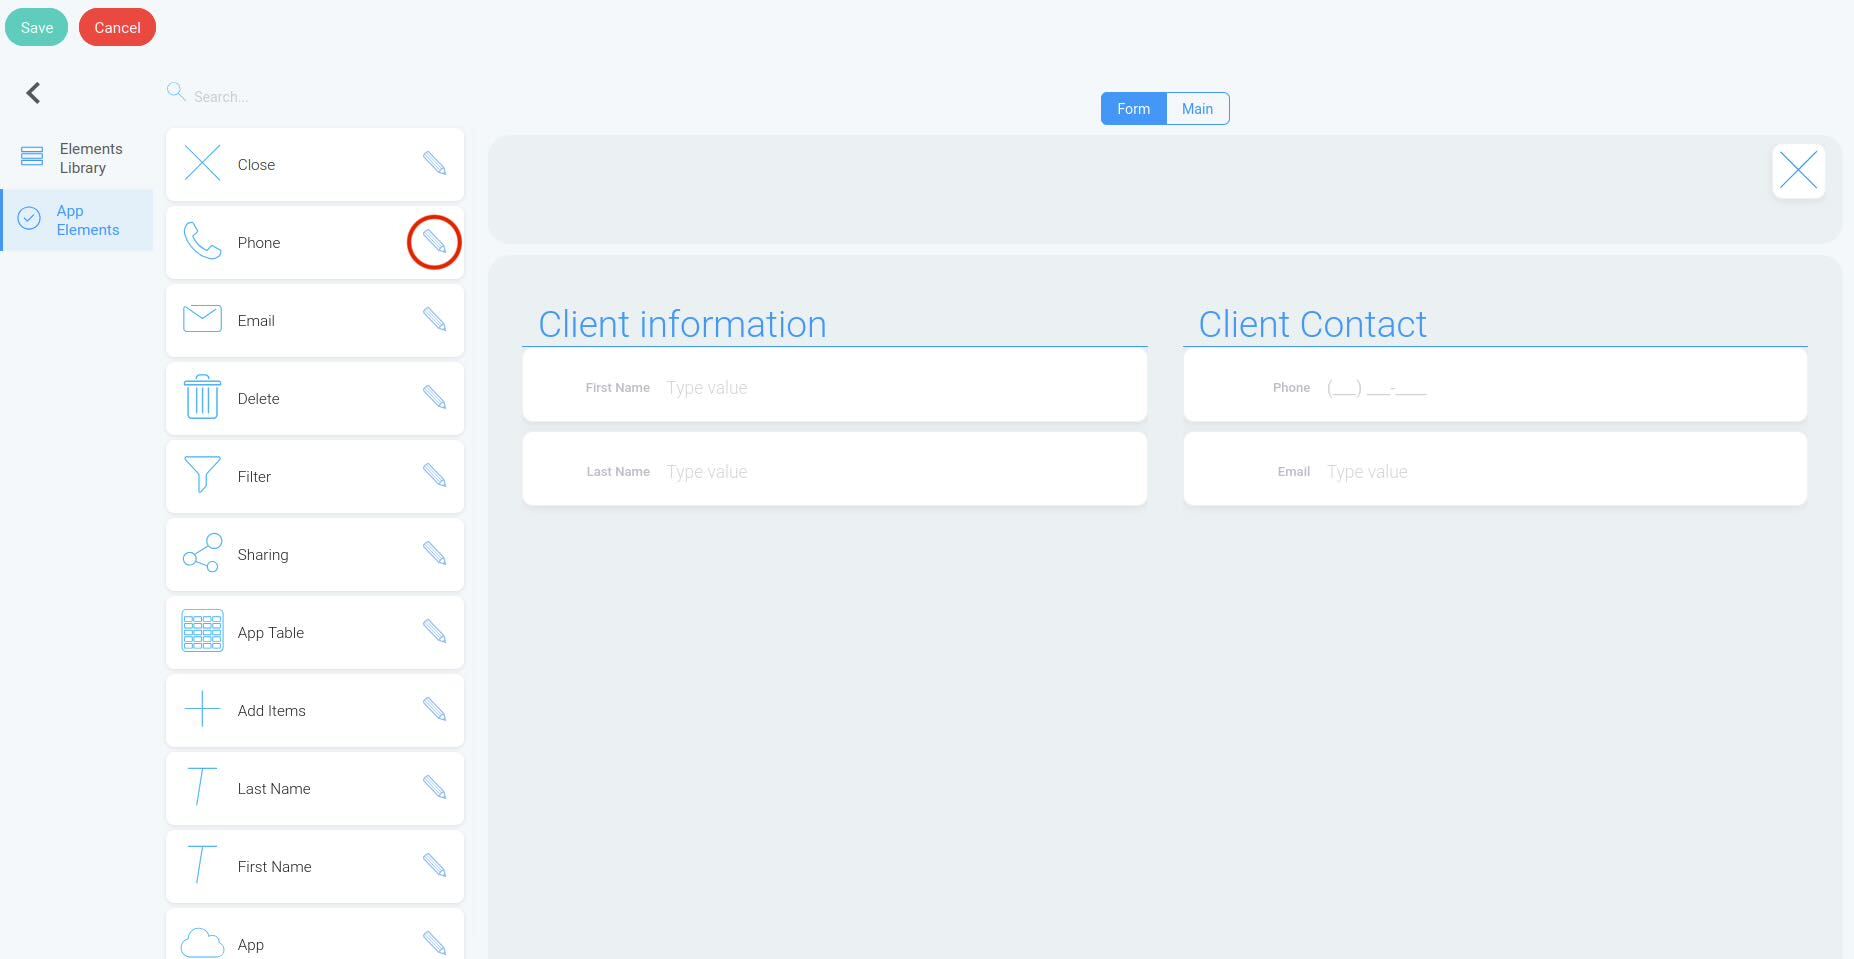
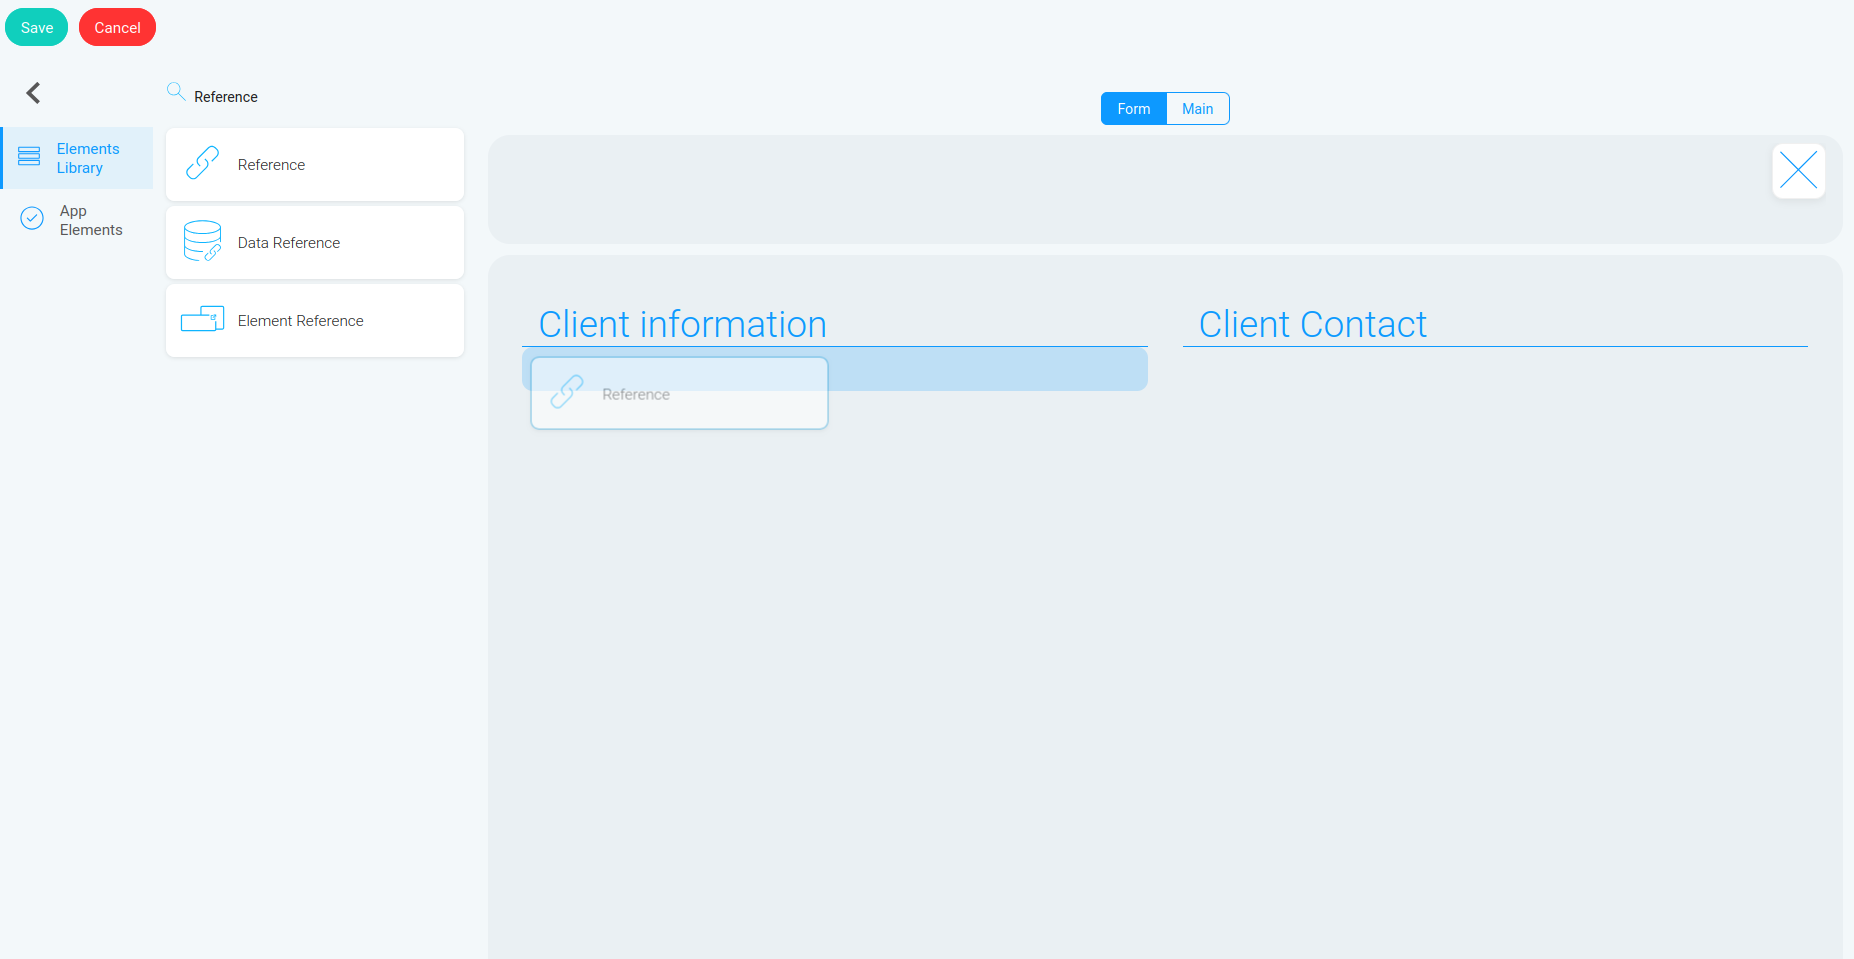
The first one is “Reference”. It will link the “Visits” app to the “Clients” app and allow you to select a customer from the existing database.
Find “Reference” in the list of elements and drag it into the container.
Likewise, find “Date” in “Elements Library” and drag it into the container.
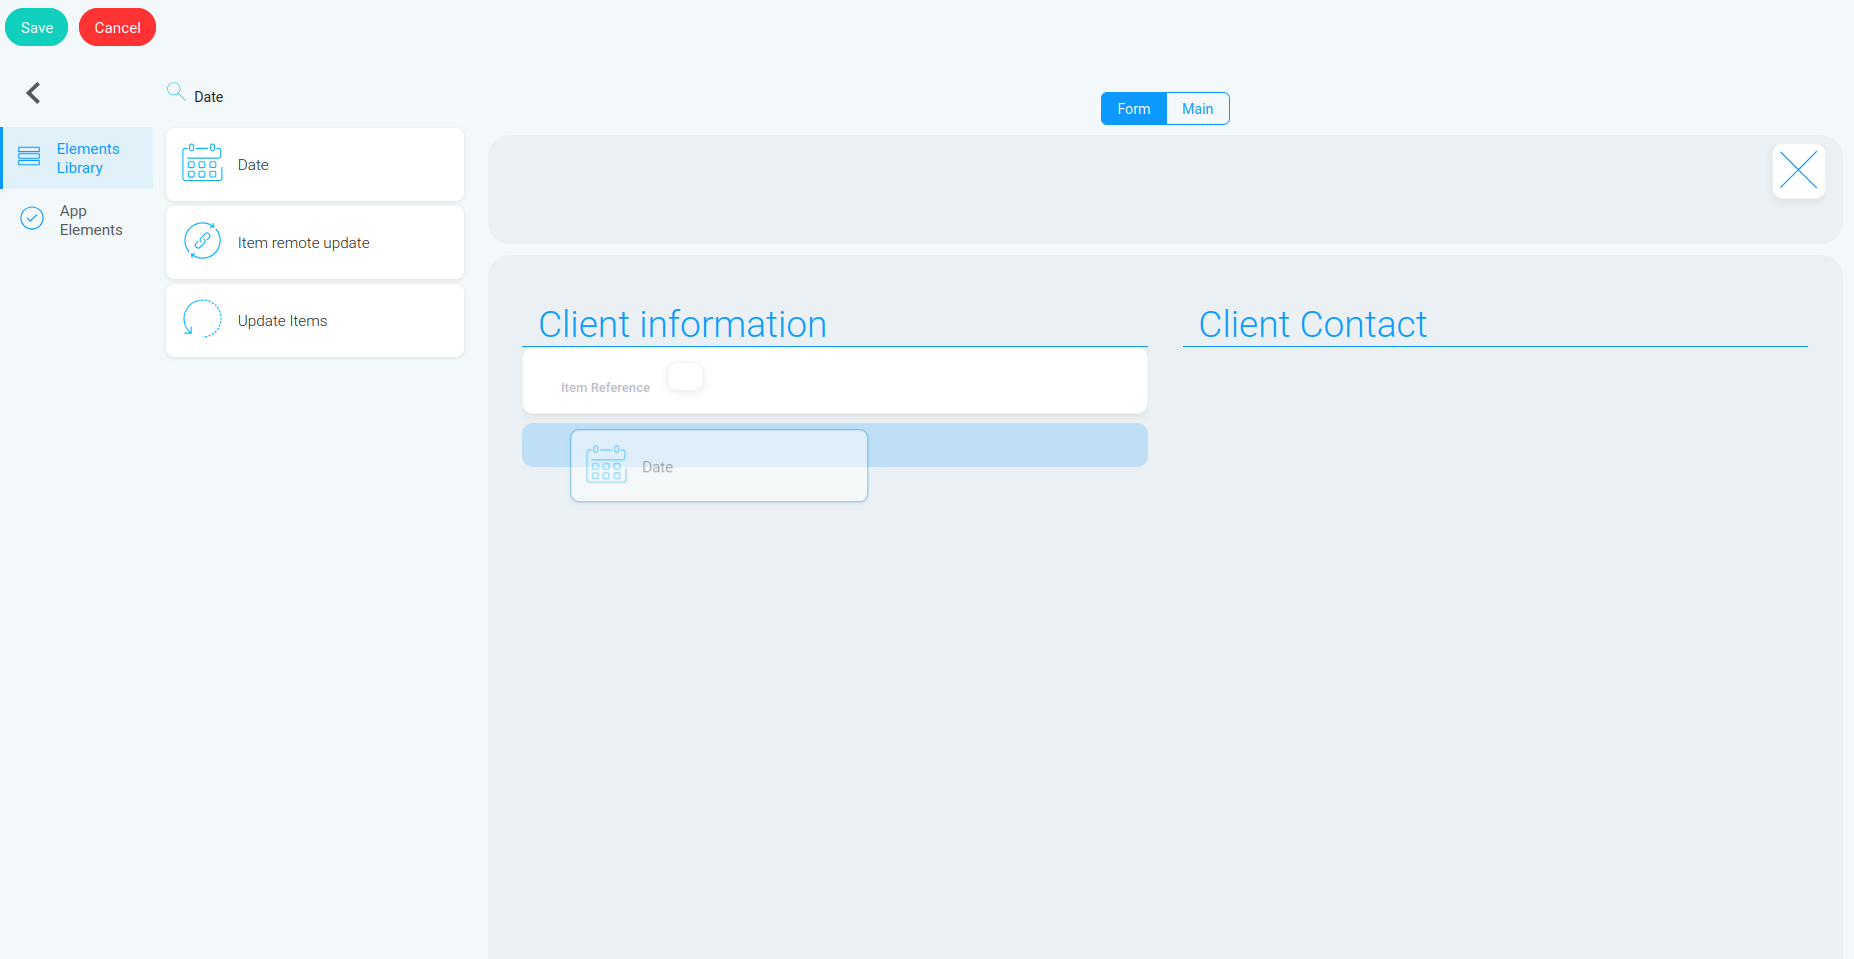
In the next step, we’ll connect these fields to the “Clients” app so that customers can be selected directly from the existing database.
Next step: Connecting the apps