
How to Link Apps in a CRM: A Step-by-Step Guide Series #
In GudHub, apps can work together, share data, and perform tasks across the system. For example, one app can store customer information while another keeps track of customer visits.
In this step-by-step series, we’ll use a practical example to show you how to connect two apps in a CRM. We’ll create a separate “Visits” app, link it to the “Clients” app, and then set it up so each client’s visit history appears in their individual client record.
You can follow the guides in order, as each one builds on the previous guide and takes the setup one step further.
What This Series Covers #
- Creating and setting up an app for tracking customer visits.
- Connecting the apps.
- Exchanging data between apps.
- Displaying related information in a client record in the PRO version.
In the previous guide, we created the “Visits” app and set up its structure. Now we’ll connect it to the “Clients” app.
Once this is set up, you’ll be able to select a customer from the existing database in the “Visits” app and enter their visit date. This allows you to keep a separate record of customer visits while linking each visit to the corresponding customer data.
This is the second guide in our series on connecting apps in a CRM. If you haven’t created the “Visits” app yet, start with the first guide in the series.
Connecting the Apps #
To link the “Visits” and “Clients” apps, we first need to configure the “Reference” and “Date” elements we added earlier.
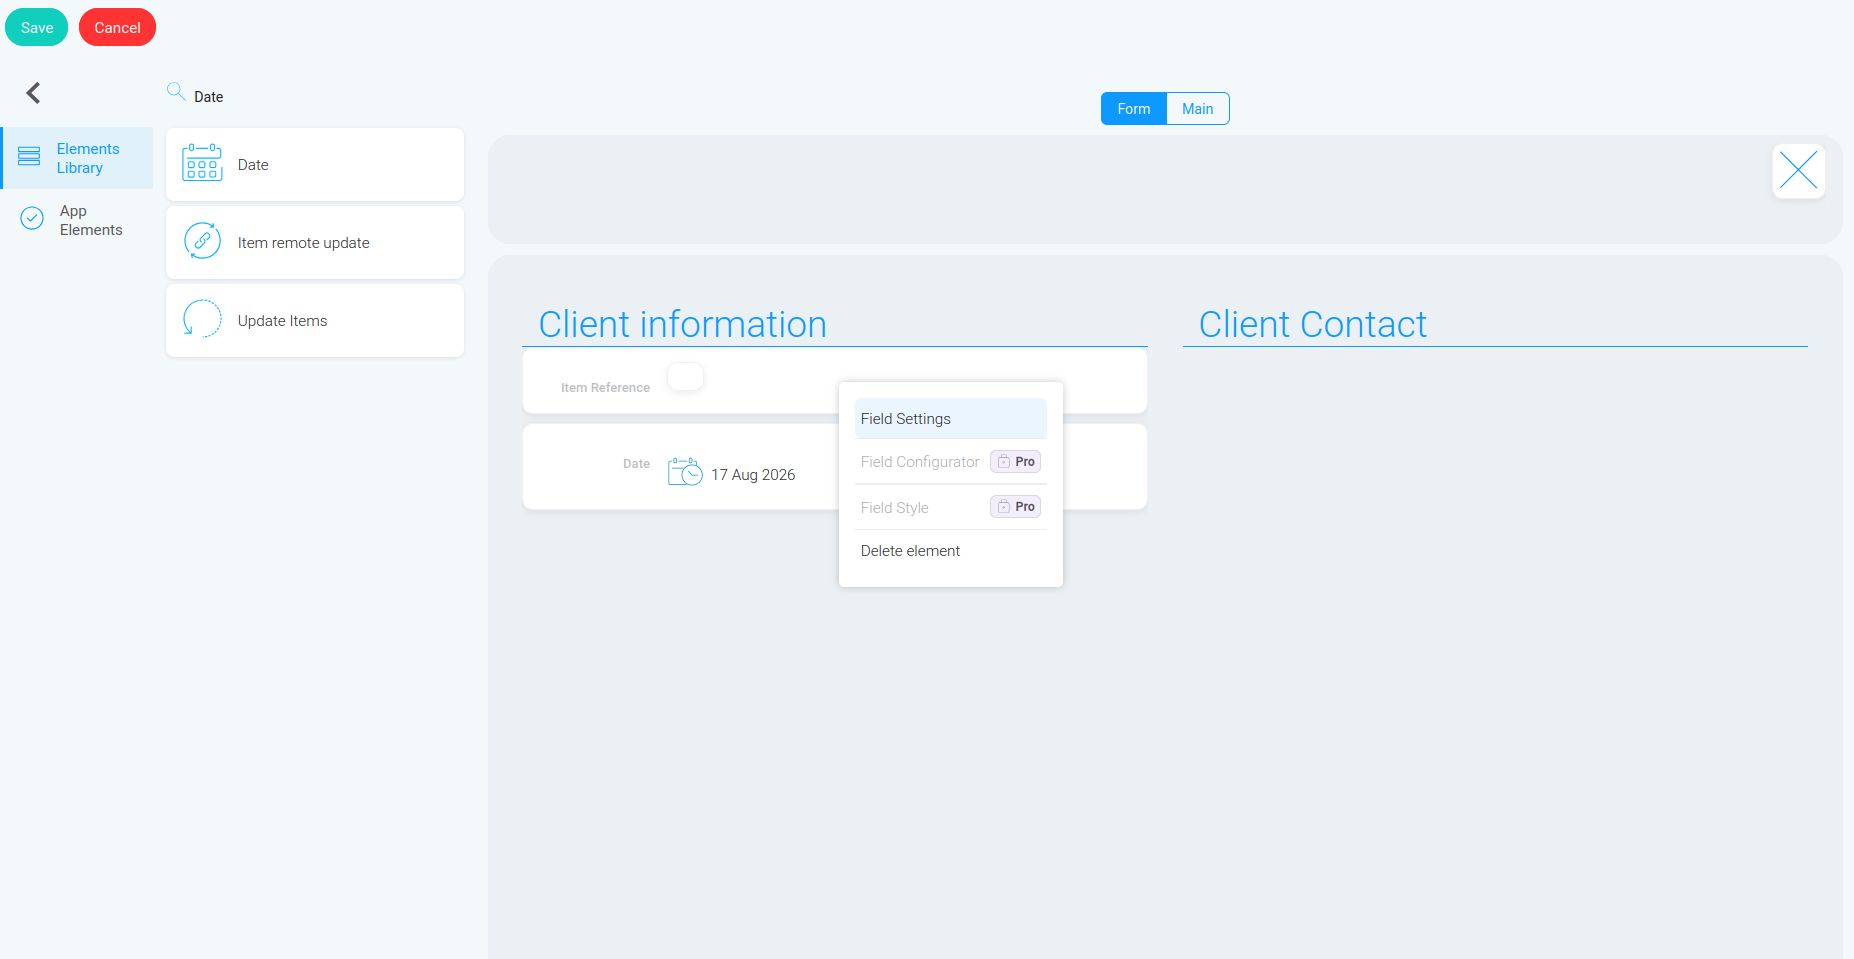
Let’s start with “Reference”. Right-click the field and select “Field Settings”.
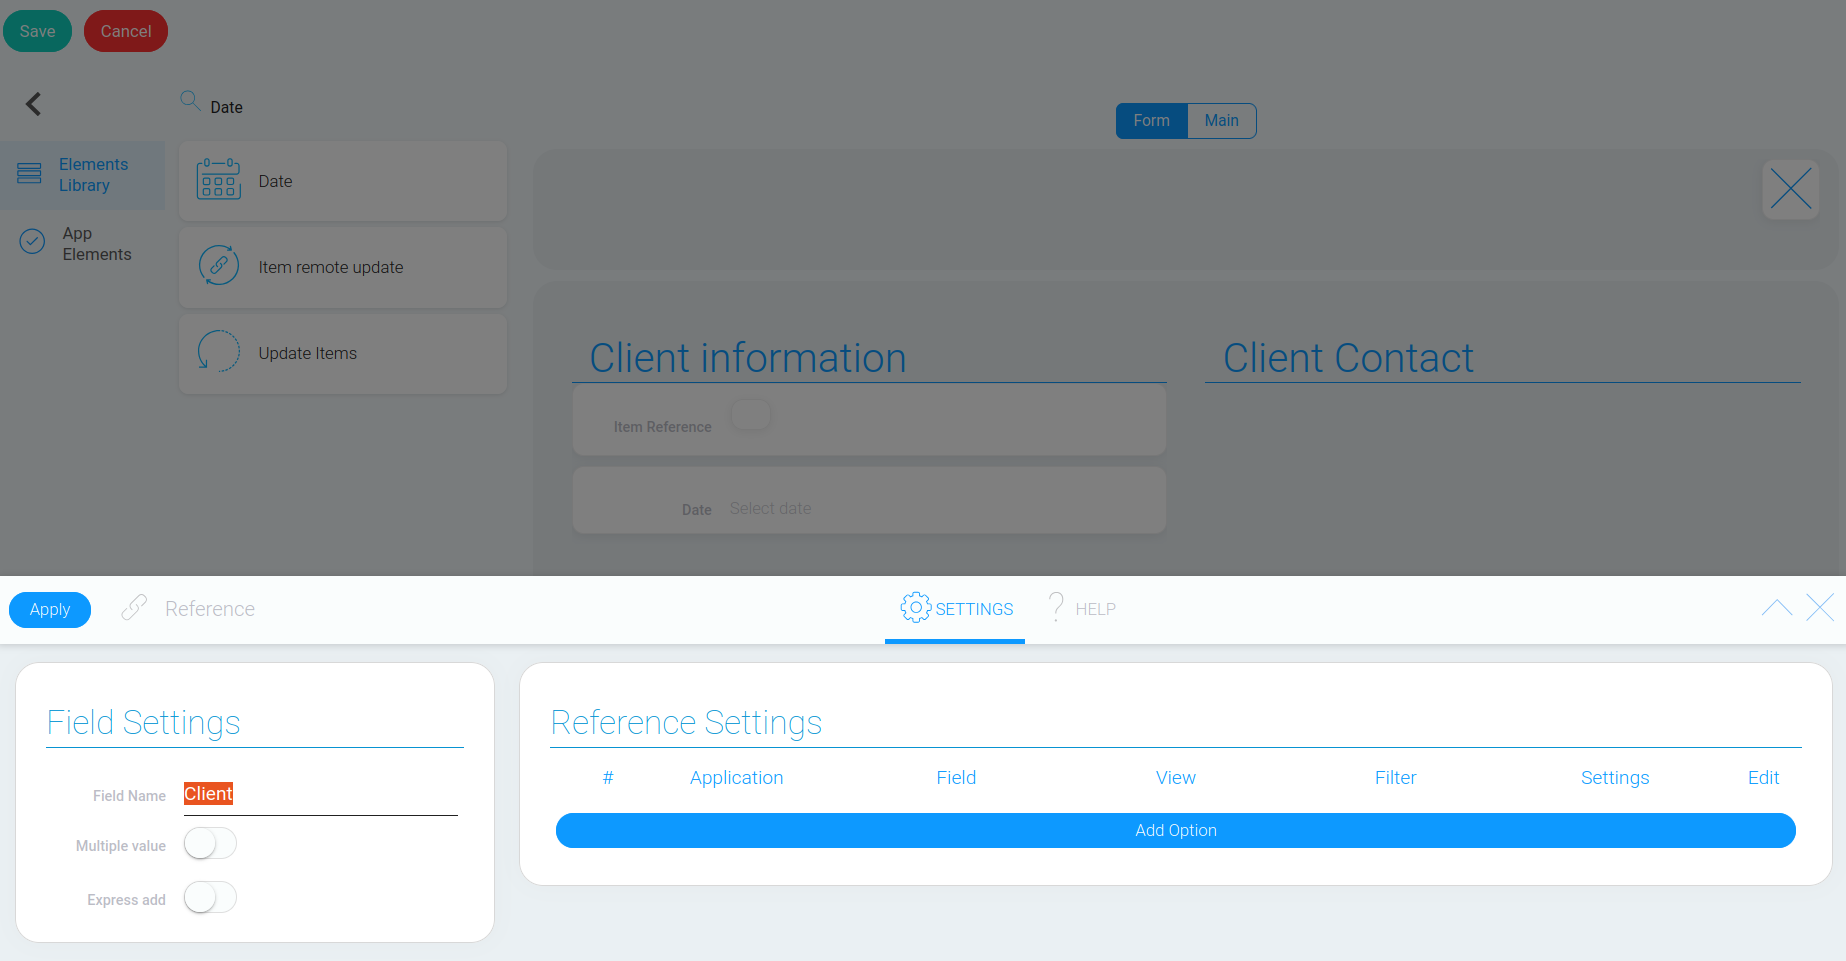
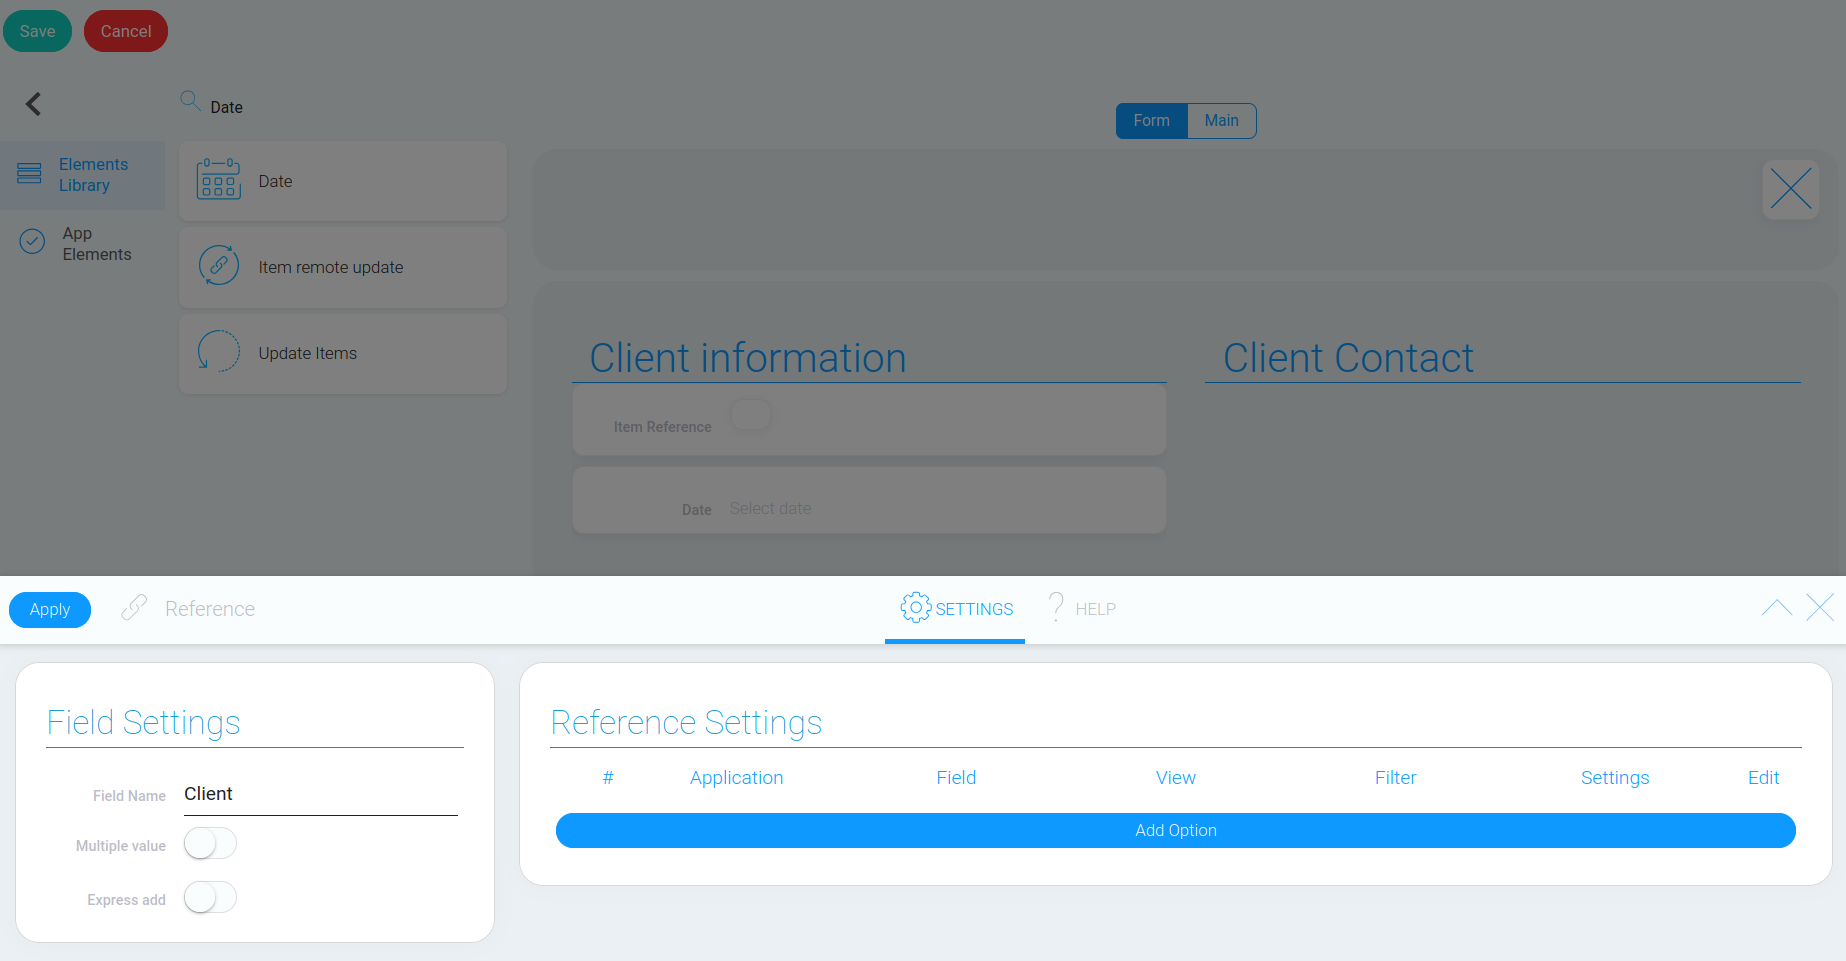
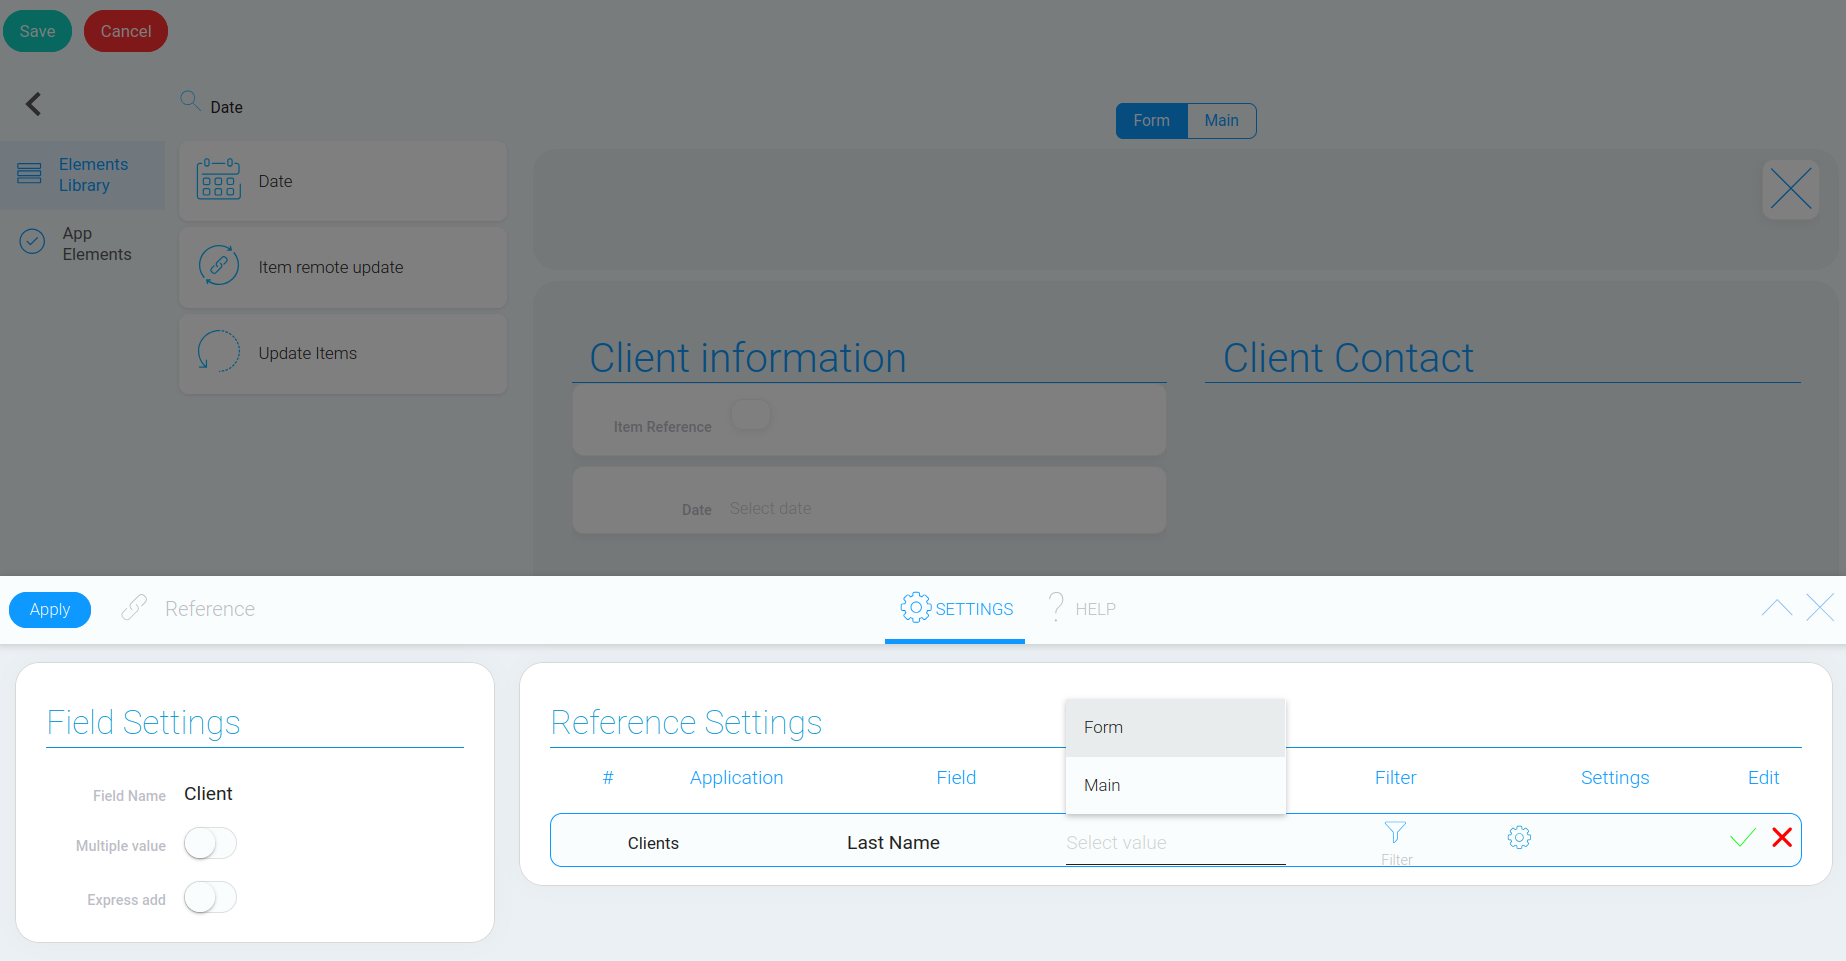
In the next field, select the information you want to pull from the “Clients” app. For this example, select “Last Name”.
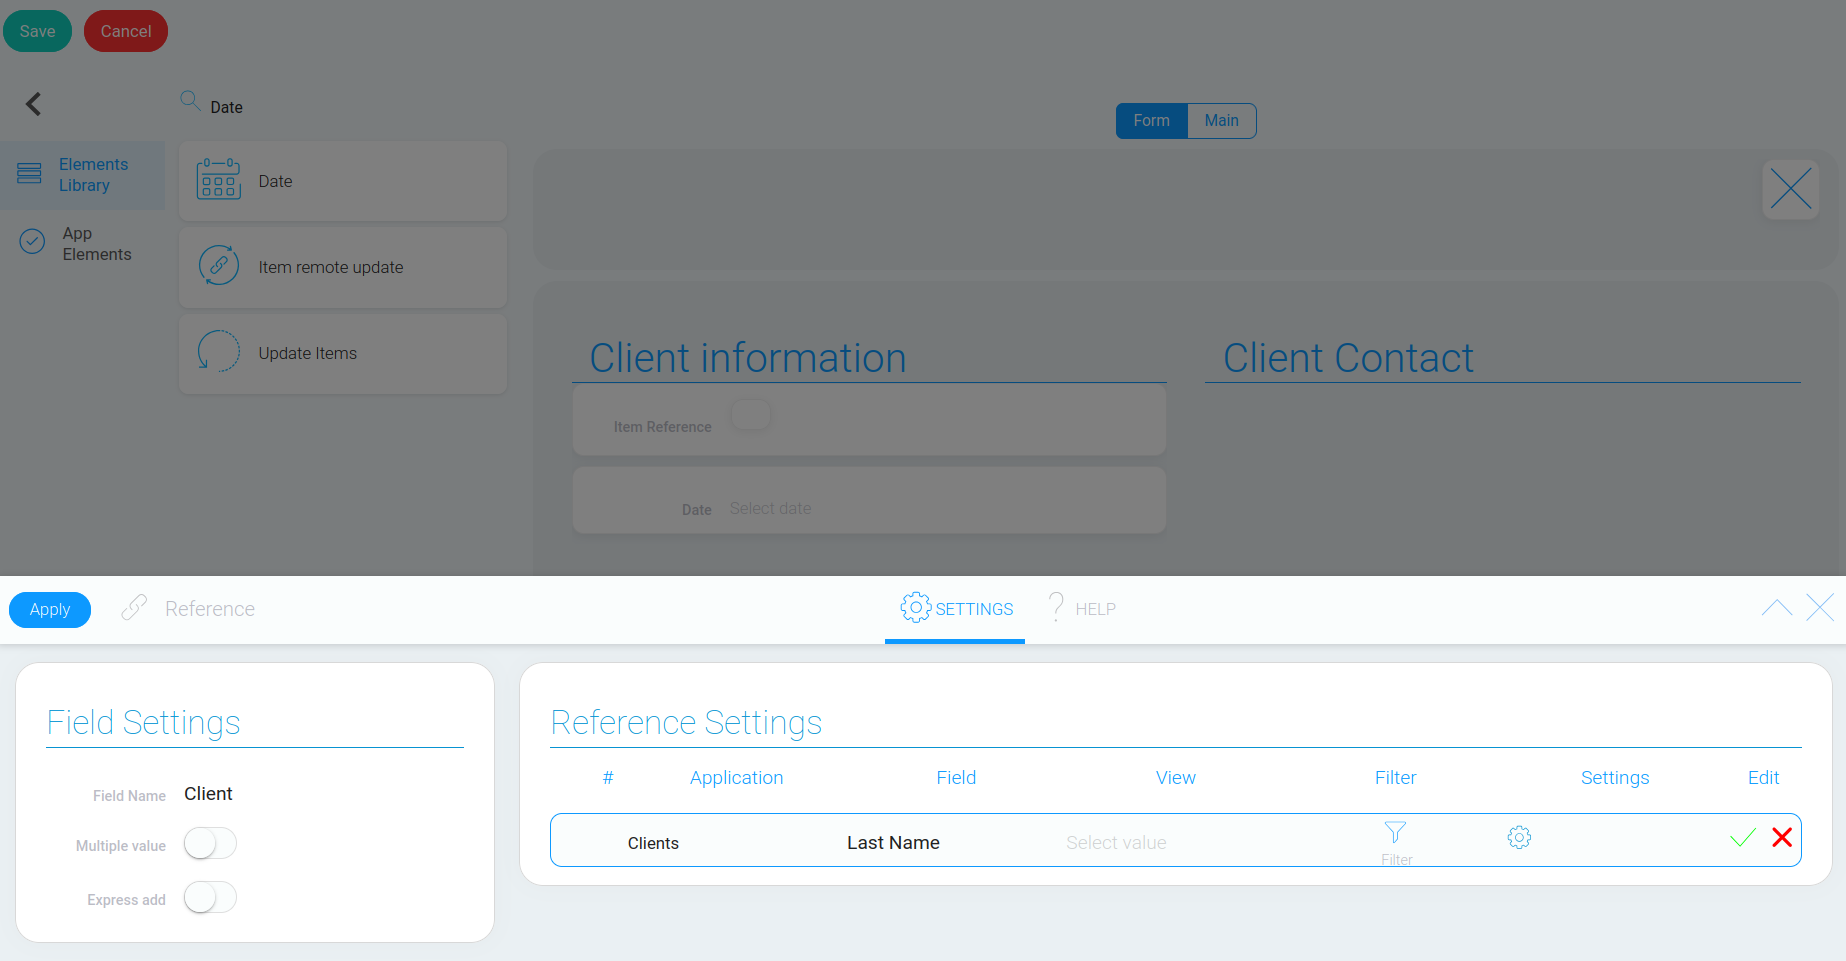
“Main” means that the element will be displayed on the app’s main page.
“Form” means that the element will be displayed in the individual record of the client selected from the list.
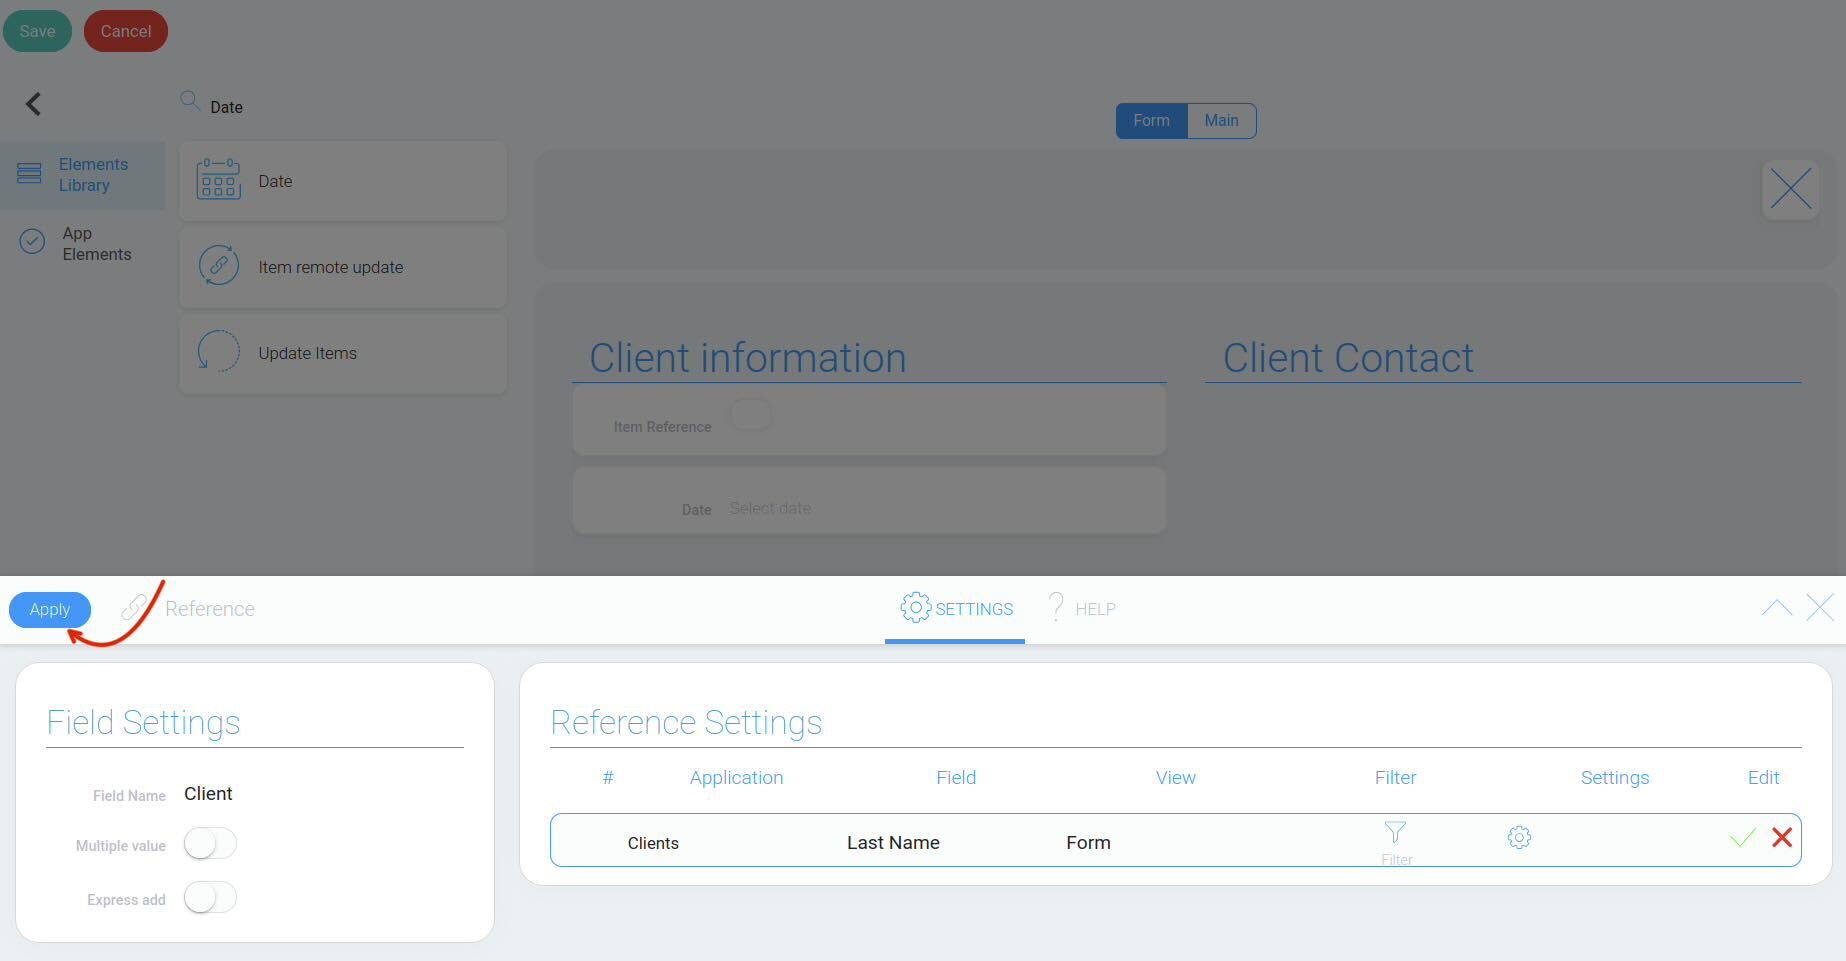
For this example, select “Form”.
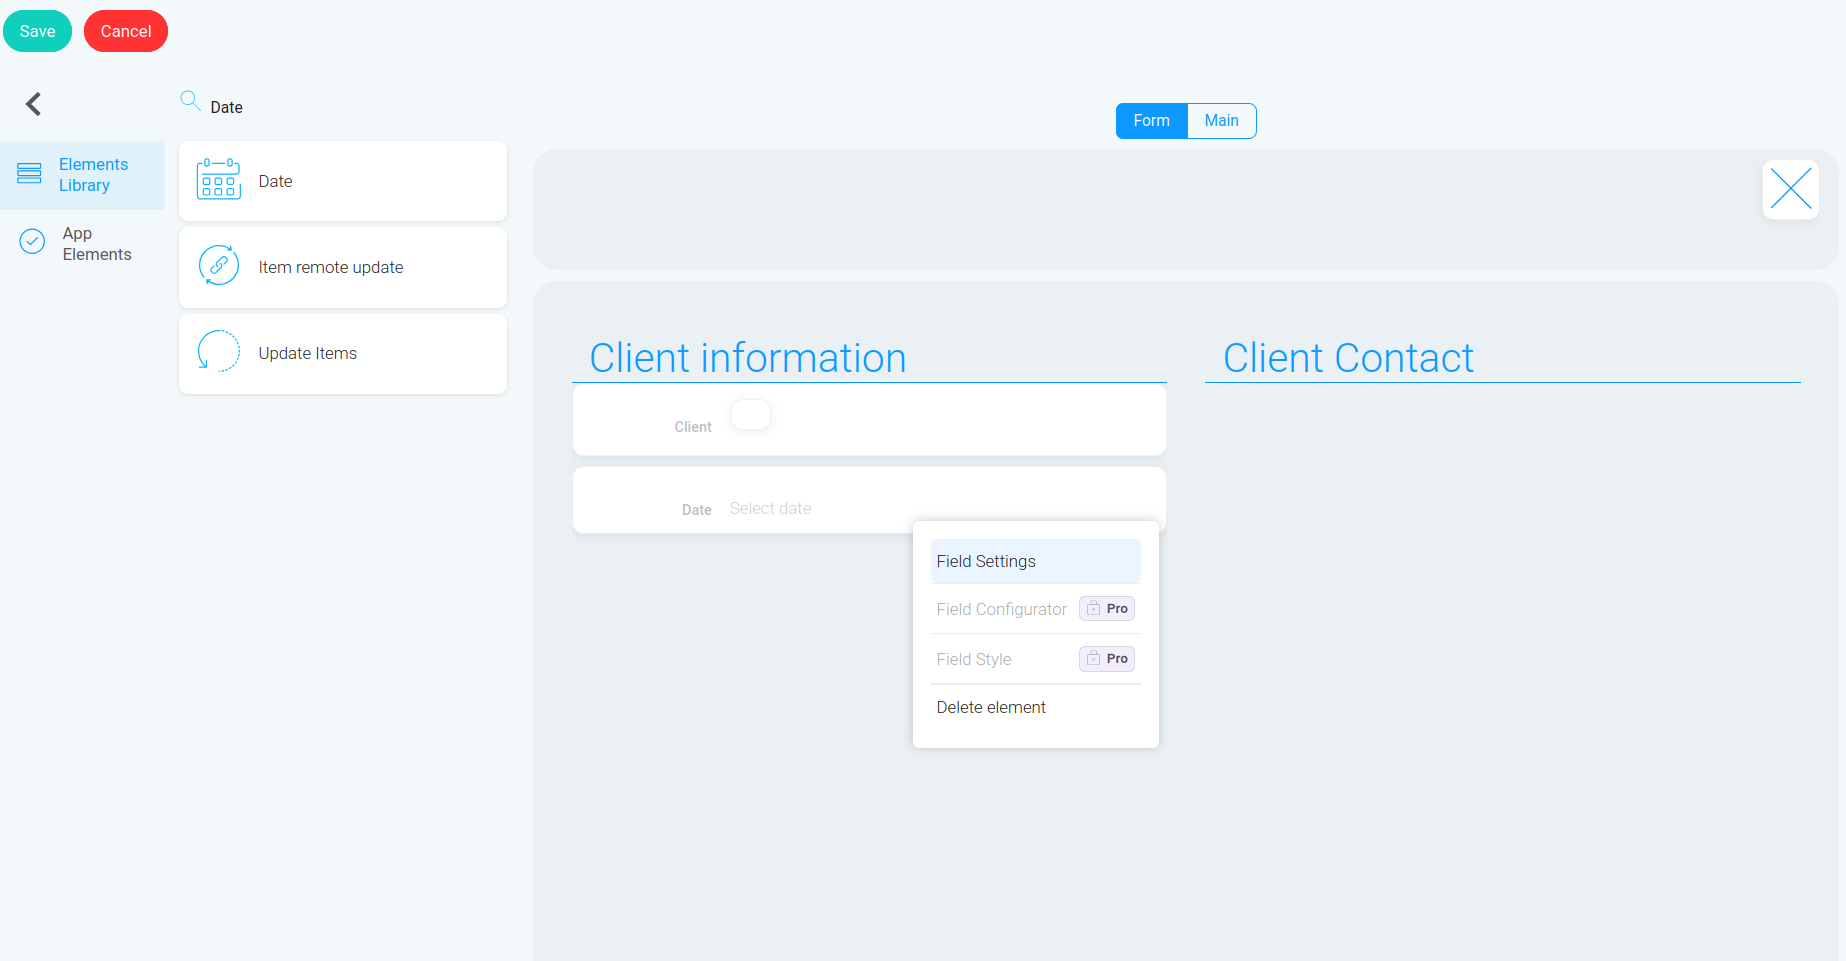
Right-click the “Date” field and select “Field Settings”.
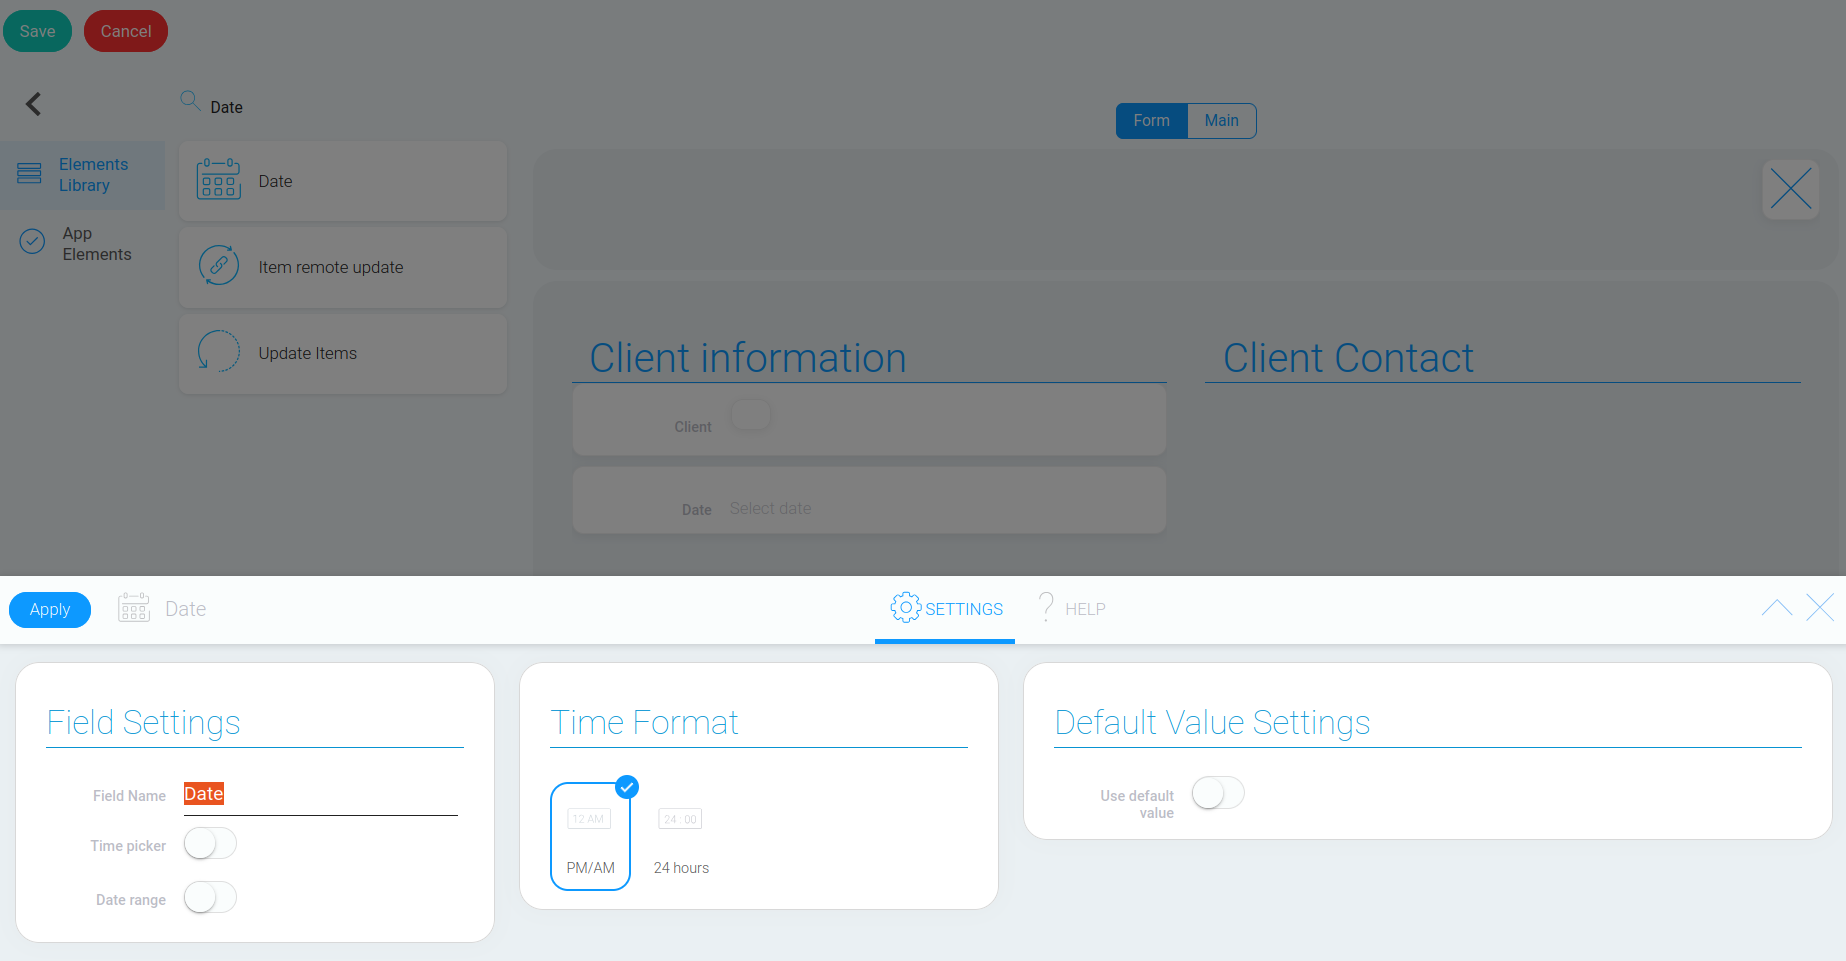
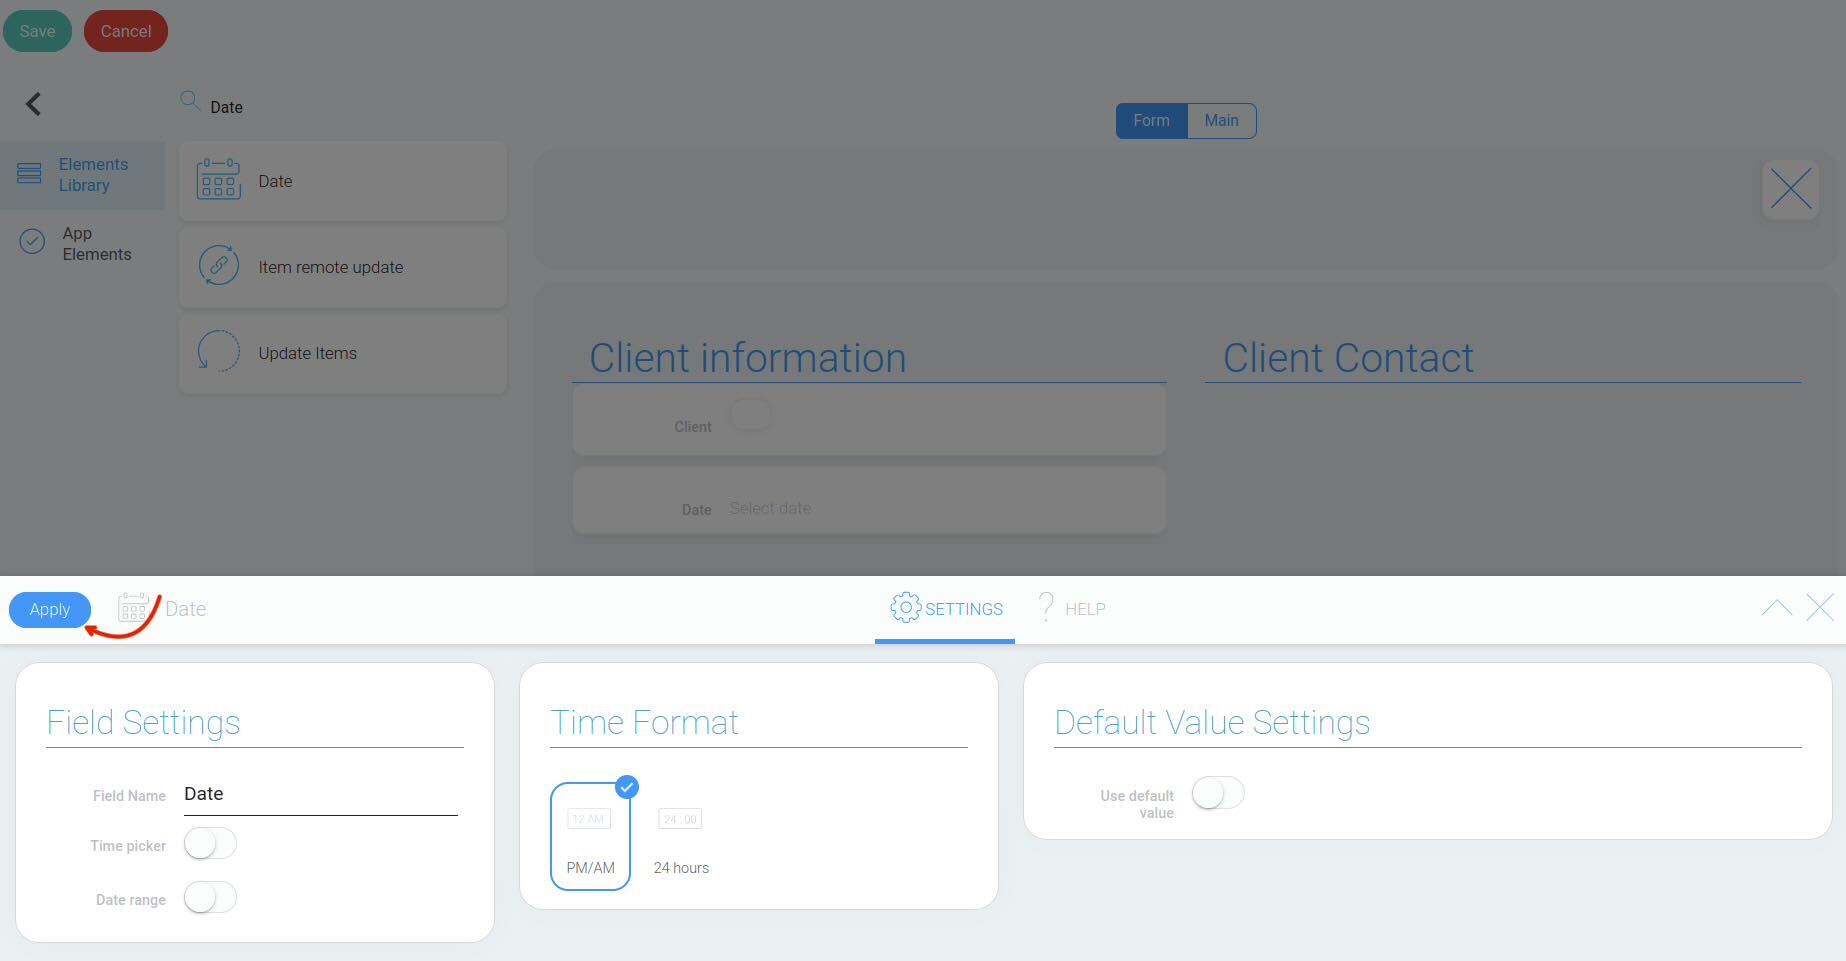
Click “Save” to save the changes.
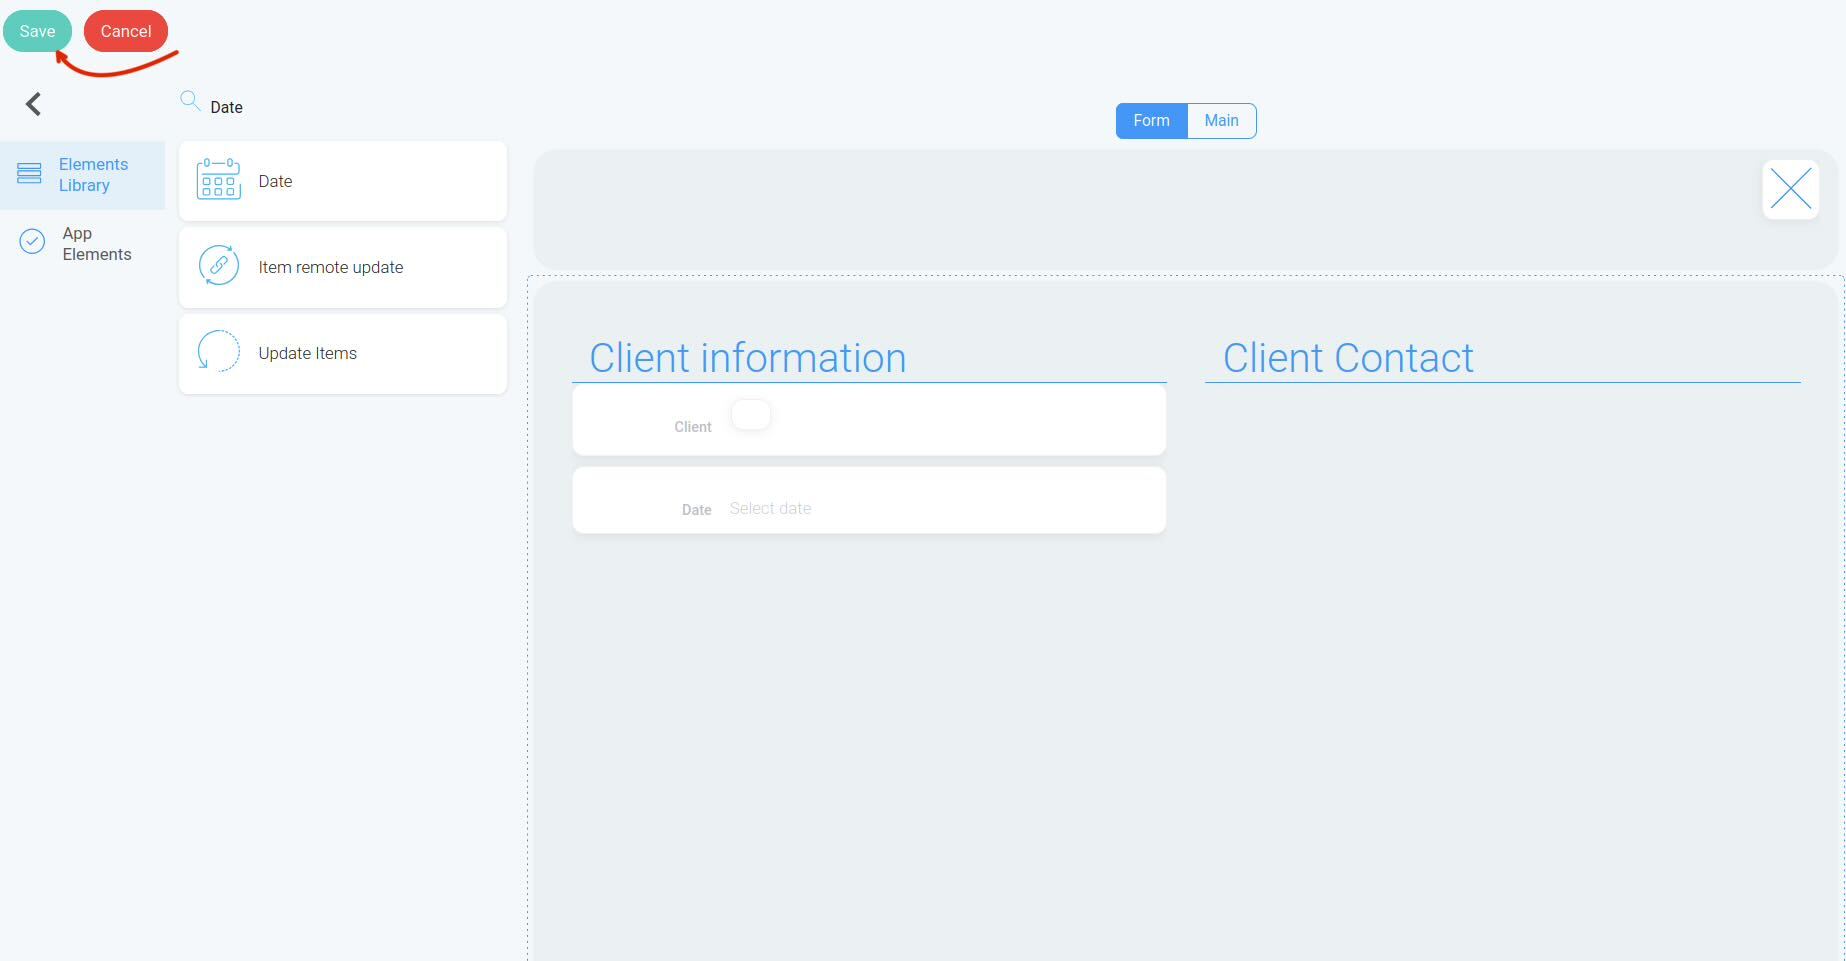
Next, we’ll test the connection by adding the first visit and recording its date.
Next step: Exchanging data between apps