Getting Started
This tutorial helps you to start work with GudHub DXP. We'll use the simplest settings here. More information can be found in the article Server.
First, make sure you have a node and node version is at least 16.18.0. How to install a Node JS read here.
Content
Step 1. Install server
To create server, you need to clone server project repository you need to complete points 1 and 2 Server Install Tutorial
Step 2. Creating Folder
To create the folder firstly open the terminal or press Ctrl+Alt+T. The terminal will opens in the user directory. To create a new folder enter command:
mkdir GudHub_Website
Where
GudHub_Websiteis a name of the folder.
The terminal returns an empty string if the folder is successfully created. After that you have to go to the created folder using command:
cd GudHub_Website
In this folder we will continue to work. In terminal it looks like this:

Step 3. Installing CLI
After that you have to install the @gudhub/ssg-website-cli package. To do this, use the following command:
npm i @gudhub/ssg-website-cli -g
Note, the package must be installed globally.
If the installation is successful, you will see this result in the terminal:
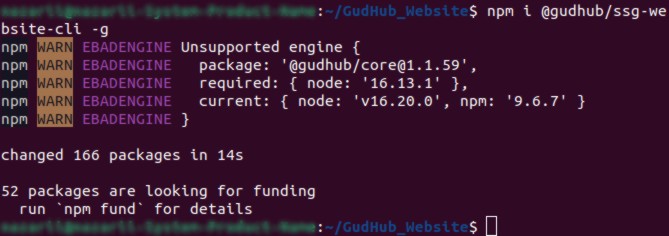
This is a basic package that allows you to use the following features. Wait for it to install, which can take a while.
Step 4. Install Project
After installing the package, you can create a website using the following command:
create-gudhub-website
Next, you will see an information banner. It says that you have to enter your GudHub account to continue. So, enter your email and password.
If you don't have a GudHub account yet, sign up first.

If the authorization is successful you will see the string: Dependencies installed successfully!.
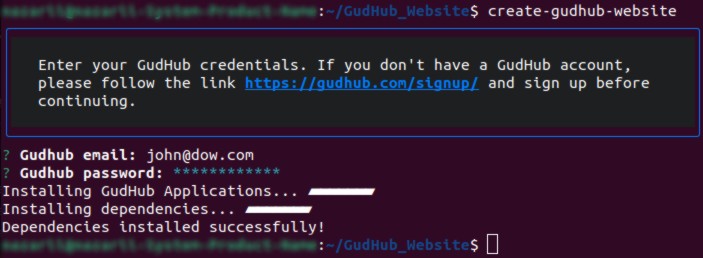
Also, the corresponding files and node modules will be downloaded to the previously selected folder.
Update packages by executing: npm i in project.
Two applications with website content will also appear in the list of applications in your GudHub account.
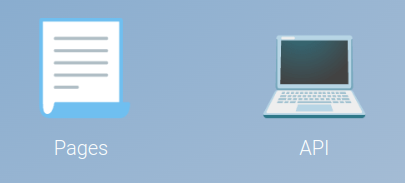
- Pages - contains the data of all pages and their content. Here you can find the endpoint and data of every page.
- Api - the application is responsible for processing HTTP requests. Since the data in the Pages application is static and cannot change automatically, you can display dynamic information on the client side. For example, you can show the number of page views using GET request, and increase this counter by POST request when user opens page. Also, if you need information that should be rendered on the client side, then in order not to pass the account auth_key to the client side, you can receive this data through GET requests.
Step 5. Running Website
After logging in, you need to start your project and server.
Website
The easiest way to do that is to run:
npm run dev
In the terminal, the process will look like this:
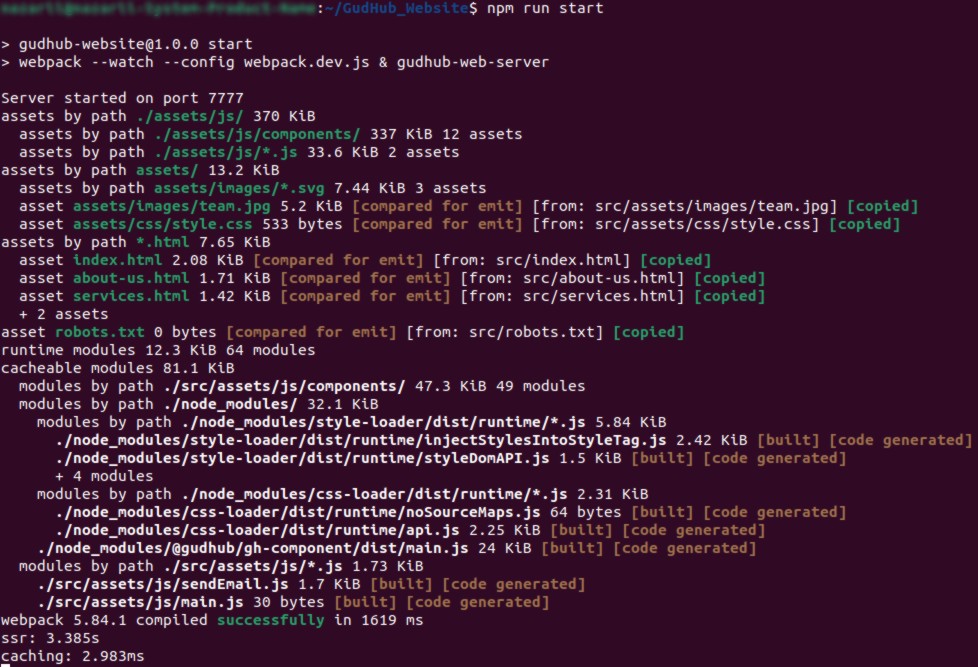
Server
To configure and start server just follow 3-6 points of Server Install Tutorial.
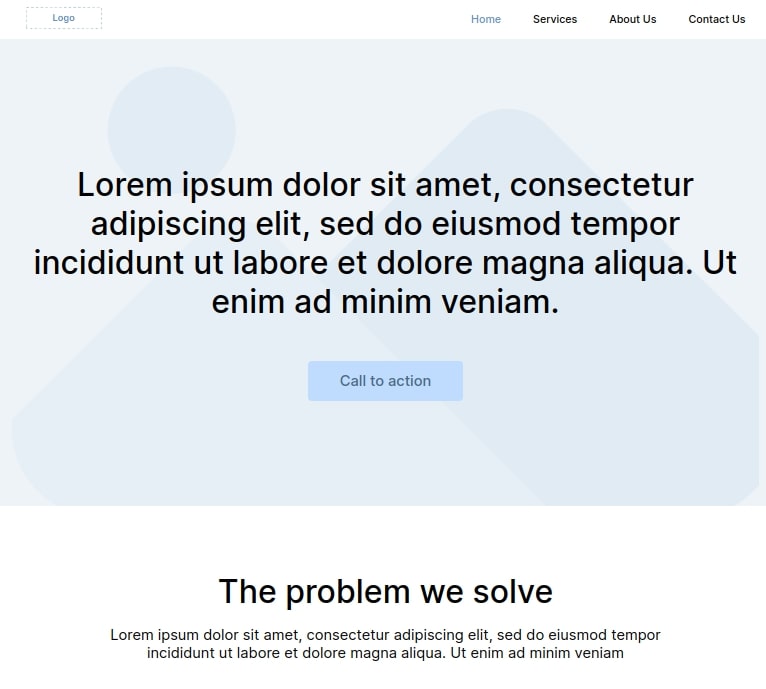
If the process is successful, go to http://127.0.0.1:7777/, the site template will open.
The website template looks like the following picture. More details about the GudHub site you can reed here.

 Edit document